Including a Money Pocket in a handmade card adds a functional and professional touch. Whether you’re gifting money or a small note, this tutorial will show you how to design and cut a money pocket for a card using the Brother ScanNCut and Canvas Workspace.
You will find some free Money Pocket designs in the Create With Sue Resource Library.
Disclaimer: As an Amazon Associate, I earn from qualifying purchases. Links included in this tutorial may be affiliate links, Amazon or others, meaning I may earn a small commission at no additional cost. These commissions will help me continue creating content for you. Thank you for your support! Read my very boring full disclosure policy here.
Video Tutorial for the Money Pocket
Make sure you watch the step-by-step video tutorial to see exactly how the Money Pockets are created.
Materials Needed
Before we start, gather the following materials:
- Brother ScanNCut machine
- Canvas Workspace software (downloaded version)
- Cardstock or patterned paper
- Adhesive (glue or double-sided tape) I used Art Glitter Glue for this project
- Cutting mat
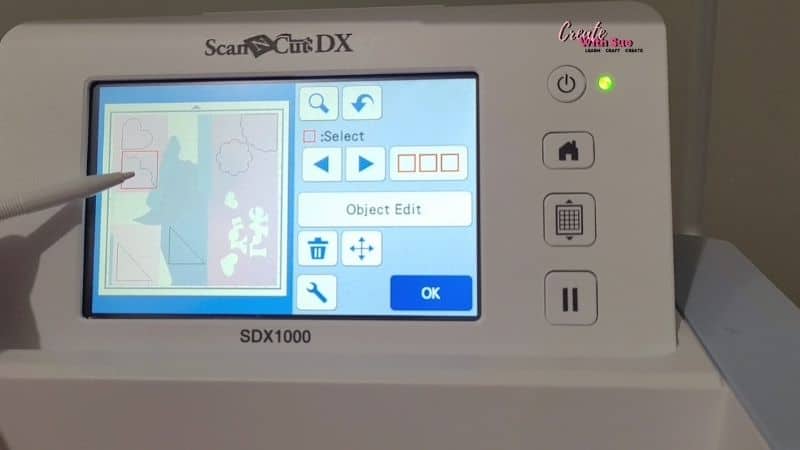
Open Canvas Workspace and Set Up Your Design
Open Canvas Workspace on your computer. You can do this project in the online version of Canvas Workspace as well however these instructions are for the downloaded version.
Creating a Card
First, for this project, we will create a 5×5 card. If you have a card already created, you can use that, or you can use these instructions to create the size card you require. You will also find video instructions for these steps on my YouTube channel.
Open the Shapes panel on the left-hand side of Canvas Workspace and select the Rectangle shape. Use the corner handles or the Edit panel sizing to create a 10″ x 5″ card. This can be in the direction you prefer eg 10″ high x 5″ wide or 5″ high and 10″ wide as it makes no difference to the finished card. You can use the card as a flip up card or open sideways card.
Use the Path tool to create the fold line and holding the shift key down (PC), click at the top of the shape, then drag your mouse to the bottom of the shape and double click. The shift key will ensure that the line is absolutely straight.
Next, go to the Edit panel on the right-hand menu, select both the rectangle and the line you have created, and use the Align tools to center the line. Use the appropriate direction for the type of card you have created.
Adding the Money Pocket
Now to create the Money Pocket.
Add a triangle shape for the base section of the Money Pocket. Ensure it is set up squarely on the mat. This can be checked in the right-hand menu. Look in the Edit menu under Transform. Check the Angle.
Use the corner handles to adjust the size to approximately 2.5″ x 2.5″. This is a good size for a 5″x5″ card however you can create a size suitable for your project.
Here is the fun bit! You can add a shape of your choosing. In the video tutorial, I selected a heart shape and also made one with a fluted edge circle.
BOTH turned out super cute. The fluted edge shape could easily be turned into a flower by adding a small yellow or orange circle in the center.

Variations of the Money Pocket
I can think of so many variations of this Money Pocket. Plus… it can be used in any card, whether you make the card yourself or not. The only restriction on a purchased card is where the design is located on the card. This could hamper placement.
I created two types of Money Pockets. One where I welded the triangle and heart shapes together to form a one-piece Money Pocket. The others I left as two separate shapes and glued them together. Which do you prefer? Comment at the bottom of this tutorial.
Look through the shapes panel and find shapes that might suit your project. Many might use the triangle base to make them suitable however I know there are some in there that will work really well on their own.
If you want to create the Money Pocket for a gift card, size your design accordingly. Remember to measure the card to ensure it will slot into the pocket.
Cutting the Money Pocket with ScanNCut
Ok, let’s keep moving forward. After saving your design, Export the card and then the Money Pocket to your ScanNCut. If you can fit both on the mat then do so. I cut a lot of Money Pockets at once and used a heap of my scrap to create them. This is one of my favorite features of the ScanNCut machine. Using the scanner for precision placement.
Place your cardstock onto the mat and then cut. Perform a test cut and make any adjustments if necessary.
If you have decided to use scrap cardstock like me, scan the cardstock you have placed on your mat and then adjust the shapes to fit your scraps. Make sure your scrap is adhered fairly well, I sometimes use painter’s (masking) tape to ensure it holds well. I use blue and very long pieces so it is easy to see and retrieve if a mishap happens.
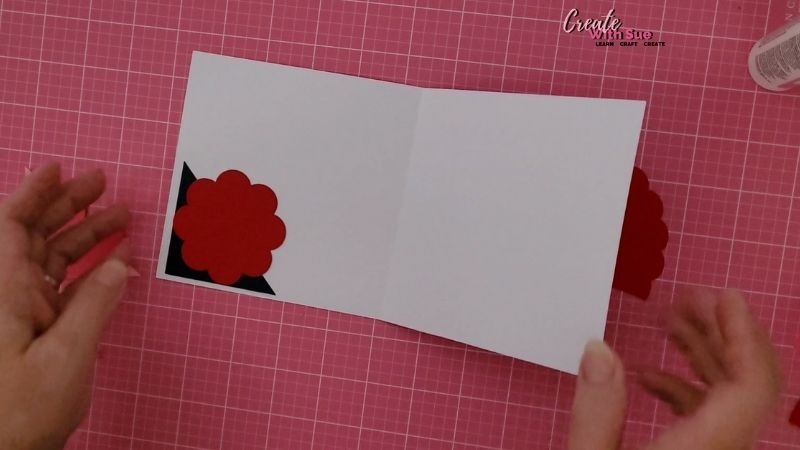
Assembling the Money Pocket on the Card
These are easy to put together. If you created two separate shaped Money Pockets then glue them together first. Once they have dried, place a thin line of glue around the bottom to edges (longer edges) of the triangle and only glue that section down. I used Art Glitter Glue however I also like Tombow glue and a few others. The Art Glitter Glue has a nice fine tip and also comes with a metal tip that is even finer.
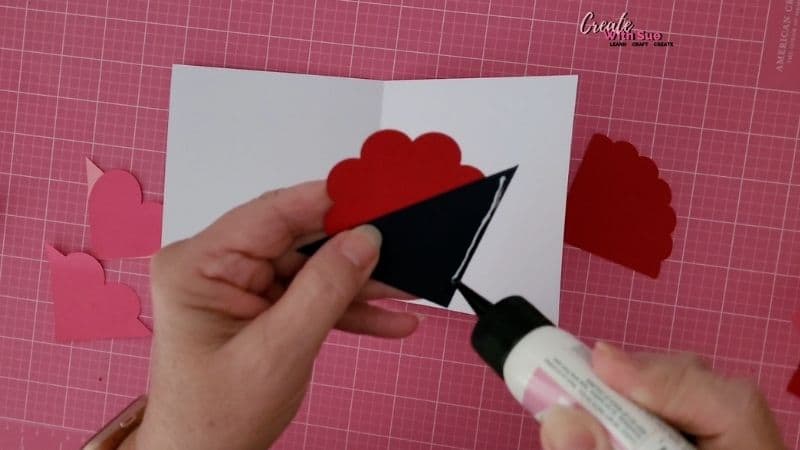
If you watched the video tutorial you will see I had some indecision on how to place the Money Pockets. There are SO MANY choices. I rather liked the heart design with the heart pointing upward. This position might only be suitable for money and not a gift.
You can place your Money Pocket in the left-hand or right-hand bottom corner of either the back side of the front fold or the back fold of the card.
Customizing Your Card with Embellishments
- Decorate your card using stickers, stamps, or die-cuts.
- Use patterned or textured cardstock to enhance the pocket’s appearance.
- Add a sentiment or message on the front to match the occasion.
Final Thoughts
Creating a Money Pocket for a card with the ScanNCut is a simple yet creative way to make your handmade cards even more special. With Canvas Workspace, you can customize the size, shape, and design to suit any occasion. Try this technique for birthdays, weddings, and holidays!
Looking for more ScanNCut tutorials? Subscribe to my YouTube channel and visit my website for free SVG files and crafting inspiration!
Watch the full tutorial in the above video for a step-by-step walkthrough.
I’d love to see your creations! Share your creations in the Facebook group and let me know how your card turned out.
Happy creating


Would you like to learn all about creating your very own designs in Canvas Workspace? This course is ideal for beginners and intermediate users of Canvas Workspace (downloaded version)

Find out more about the course here.
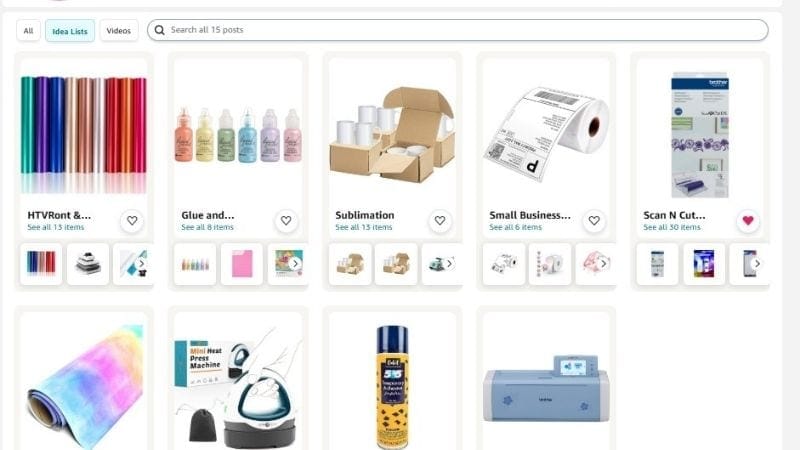
My Amazon Store
Did you know I have an Amazon Storefront? Check out my favorite craft items for all the crafts I love. You will find my favorite HTV, ScanNCut accessories, favorite glues, and sublimation items to name a few. Here is the link if you are interested.
As an Amazon Associate, I may earn a small commission on any sales. These will not cost you a penny more.