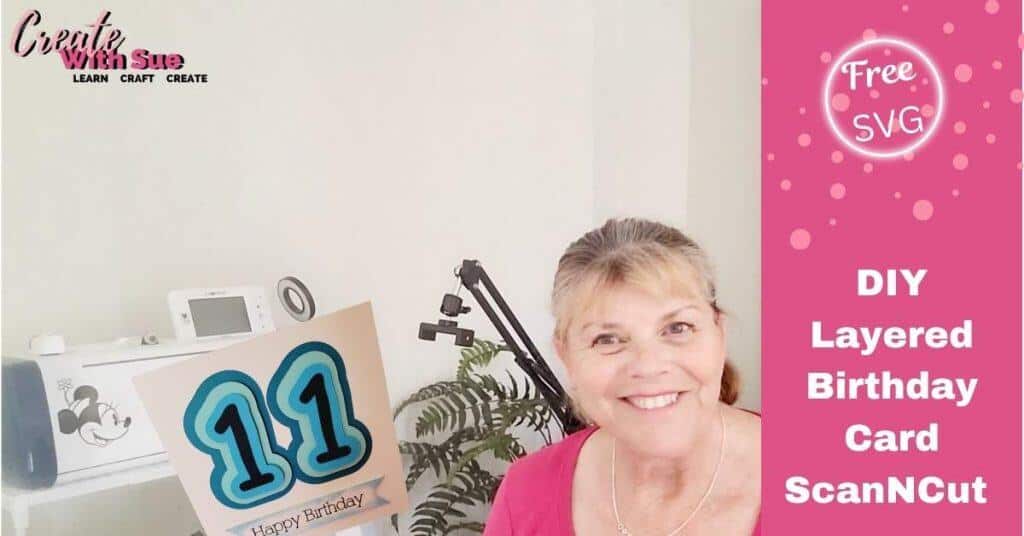
Make a layered birthday card with your ScanNCut. Creating handmade birthday cards is a special way to show someone you care, and with the Brother ScanNCut, designing a personalized card has never been easier. In this tutorial, I’ll guide you through making a layered birthday card featuring an age number, perfect for celebrating special milestones. Plus, I have included a free SVG file that you can download and use with your ScanNCut machine.
Designing the Birthday Card
For this project, I wanted to create a layered effect that adds depth and dimension to the card. I designed an 11th birthday card for a special celebration, but you can easily modify the number to suit any birthday. A different layered number can be created using the Offset feature in Canvas Workspace or on later models of the ScanNCut.
The card design includes multiple layers that stack beautifully, giving it a professional and polished look. The SVG file is available in the Create With Sue Resource Library, so you can cut the layers with precision using your ScanNCut machine.
Video Tutorial for the layered Birthday Card
Here is the tutorial on how to make the 11 year old age birthday card. It is an easy project to put together and you will find the SVG file in the Resource Library.
Create your Sentiment – eg Happy Birthday
You can create whatever sentiment you would like on the front of the card, in fact, inside the card too. I used a Single Lined font called Industrial for the Happy Birthday. You could place the child’s name on the front or write alternative wording that would suit your project. You will find a tutorial on using Single Lined fonts in Canvas Workspace here. Keep in mind to add your own fonts in Canvas Workspace, you will need to use the downloaded version of the software.
Some of the later model ScanNCut cutting machines have a single lined font in-built. They are normally located in the design/picture section of the machine…not in the fonts section. I know…right???
If you haven’t used your inbuilt designs before, here is a great tutorial to help you find your way around them.
Cutting the Design with the ScanNCut
Once you have downloaded the SVG file, unzip the file and transfer it to your ScanNCut. If your machine supports Wi-Fi transfer, you can send it wirelessly from Canvas Workspace, making the process seamless and efficient. Here’s how to set up the cut:
- Load your cardstock onto the cutting mat.
- Upload the SVG file into your ScanNCut.
- Insert the Universal Pen Holder or appropriate drawing tool and select the Draw setting to create any writing first. This is my preference as it reduces the risk of the cardstock moving during the Draw process
- Once the writing has been completed, install the black Auto Blade on a SDX model or the blue blade on the CM range to complete the cutting out of the card.
- Start the cutting process and watch as your ScanNCut brings your design to life!
Assembling the Layered Card
With all the pieces cut out, it’s time to assemble your birthday card. Carefully stack and glue each layer together to create the 3D effect. I used Art Glitter Glue for this project. You can use foam adhesive squares between layers for extra depth. Finally, attach the layers to the card base, ensuring everything is aligned perfectly.

Watch the Full Tutorial
For a step-by-step walkthrough, watch the full video tutorial. In the video, I demonstrate the entire process, from downloading the SVG file to assembling the final card.
Download the Free SVG File
Excited to make your own layered birthday card? Download the free SVG file from my Resource Library and start crafting today!
More ScanNCut Tutorials
If you love creating with your ScanNCut, check out my other tutorials! Whether you’re making vinyl projects, stickers, or more layered designs, there’s always something new to learn.
Happy Crafting!
I hope you enjoy making this layered birthday card as much as I did! If you create your own version, I’d love to see it. Share your projects in my Facebook group or tag me on social media. Don’t forget to subscribe to my YouTube channel for more crafting inspiration!
Happy creating,


Join me on Facebook
Join me in the Scan N Cut – Let’s Create With Sue Facebook group. It is a group of awesome craft friends sharing and caring.
I would love to see you there.
You are always welcome to say Hi at [email protected] or [email protected]. It would be great to hear from you!


Do you have a tutorial on how to make the Initialed Cork Pouch from the Canvas Workspace as the video doesn’t show when to use the Contact adhesive support Sheet? Thanks
Hi Suzanne, I don’t have a tutorial on the Cork Pouch. It sounds good though. You can use the contact adhesive support sheet for all fabric projects. Having said that, I never use the support sheets and have a heap stitting in my cupboard LOL. How I manage I make certain I have a very sticky mat, or I use the Rotary Blade for the SDX models. I also create a lot of Applique where I add the Iron on Applique adhesive from Brother and it kind of sticks without the mat being super sticky. If you have a SDX fabric mat that is very sticky, then do not use the support sheets on that mat.
I will take a lootk at the Cork Pouch 🙂 Sue