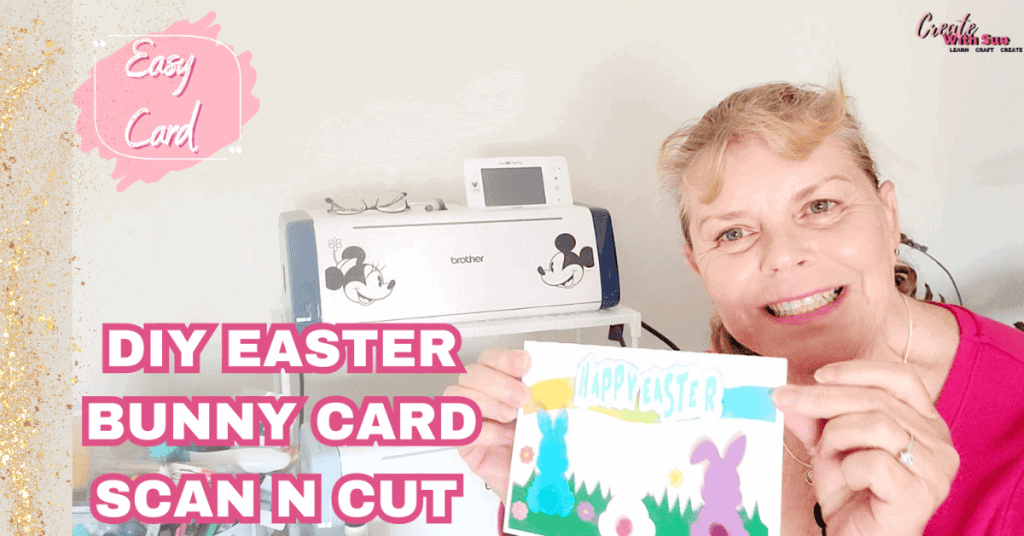
Creating a handmade Easter Bunny Card is a fun and rewarding way to add a personal touch to your Easter celebrations. This tutorial will guide you through each step, from cutting the design to assembling and decorating the finished card. Whether you are using a Brother Scan N Cut or another cutting machine, these instructions will help you craft a delightful card perfect for gifting to family and friends.
Disclaimer: As an Amazon Associate, I earn from qualifying purchases. Links included in this tutorial may be affiliate links, Amazon or others, meaning I may earn a small commission at no additional cost. These commissions will help me continue creating content for you. Thank you for your support! Read my very boring full disclosure policy here.
Easter Bunny Card Video Tutorial
In this video, I am able to share several techniques, including how to add text on your ScanNCut machine and then add an offset to make your text pop on your Easter Bunny card …. or any card you make.
What do you need?
- 2 sheets of white A4 (or letter) cardstock. I used 300 gsm or about 110lbs
- 1 sheet of contrasting cardstock. Mine was 120 gsm rainbow cardstock. (35lb)
- Small scrap pieces for the green grass, 3 bunnies, and flowers. Some of my scraps were from my American Craft cardstock collection. I really like this cardstock.
- Art Glitter Glue
- Foam tape
- 3D Pearl drops for the flower centres – these could be created with cut cardstock, or drawn with a Sharpie. The Pearl drops add dimension.
- The Easter Bunny Card design from the Resource Library
Preparing the Easter Bunny Card Design
Before beginning the cutting process, ensure you have the correct design file ready. If you are using an SVG file, upload it to either Canvas Workspace or your cutting machine software and check the settings to match the type of cardstock you will be using. Adjust the size if necessary, making sure it fits your intended card dimensions. This card is a 5×7 card which flips upward to open.
When you import the file into Canvas Workspace, verify that all the elements, including the bunny shape and any decorative pieces, are properly set up. Check that fold lines are either dashed or set to “Draw” to ensure they are easy to fold later. I like to group the base card with the fold line before sending it to the ScanNCut. This prevents any movement of the fold line and ensures it folds correctly in the middle.
You can alter the dashed line style in the Properties panel in Canvas Workspace. You will find a variation of dashed lines from a dot-like dash to a very spaced dashed line. Test some of the different dashes to find one you prefer as a fold line for your cards. Alternatively, change your line to a Draw line to score the fold line with a scoring tool. You will find a tutorial here to see some options for the ScanNCut.
Cutting the Card Components
Once the design is uploaded to your ScanNCut, select the appropriate material settings based on your cardstock thickness. A test cut is recommended before cutting the full design to ensure clean cuts and avoid tearing. While you can cut multiple pieces of cardstock at once, I recommend only cutting materials of the same thickness together to ensure the best results.
Once everything is set, place your cardstock onto the cutting mat, load it into the machine, and begin cutting. Where scrap cardstock is used, scan the mat and place the pieces where needed.
Below are the various shapes in the Bunny card layers shown in the downloaded version of Canvas Workspace. To send them separately from Canvas Workspace, toggle the “Eye” icon in the layers panel.

Managing the different thicknesses of cardstock
You will notice in the video that I cut the rainbow cardstock separately from the other card. This is because it was quite a bit thinner than the rest of the cardstock in the project, and the machine will auto-set for a different depth. Always keep in mind the blade setting for a particular thickness.
Below are the Easter Bunny pieces after being scanned on the ScanNCut and being moved so they align with the scrap cardstock on the mat. This is demonstrated in the video.
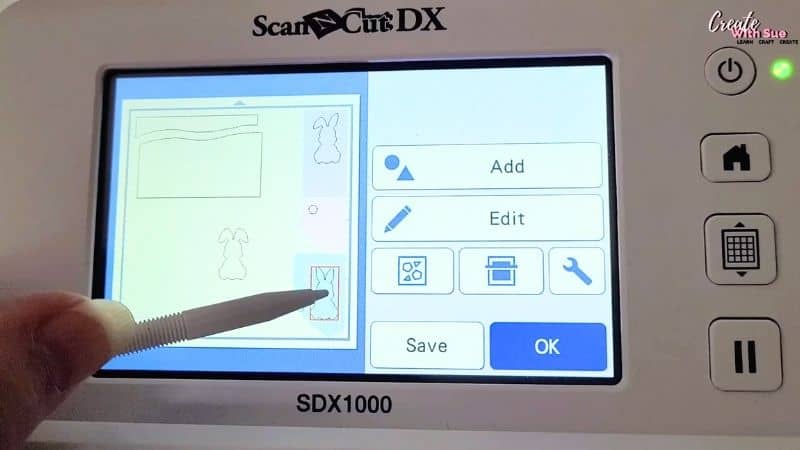
After the cutting process is complete, carefully remove the card components from the mat. For intricate cuts, use a weeding tool to gently remove small details that don’t pop out easily. Giving the mat a bit of a bend will also help “pop” the card off. If you have difficulty, flip the mat over so that the card is against the bench and gently bend the mat upwards.
The bunny shape, base card, and any decorative elements should now be ready for assembly.
Folding and Assembling the Card
With all the pieces cut, it’s time to fold and assemble the card. Fold the card at the dashed line. If the dashed line in the design was altered to a score line, score the fold line, then bend along the line carefully to ensure crisp edges. Using a bone folder can help achieve clean folds.
I added the rainbow card layer to the front of the card. I spent time deciding which way the paper should be placed for the best effect. What do you think?
Adhere the layers and embellishments in place using Art Glitter Glue or a similar craft glue. You can also use double-sided tape for the layers if preferred. Ensure each layer aligns correctly to create a dimensional look.
This next layer is the two-piece layer. Add these pieces so that the layer below is hidden at the top, bottom, and sides but pops out through the gap between the two pieces. You could skip the split layer for a different effect if you prefer.
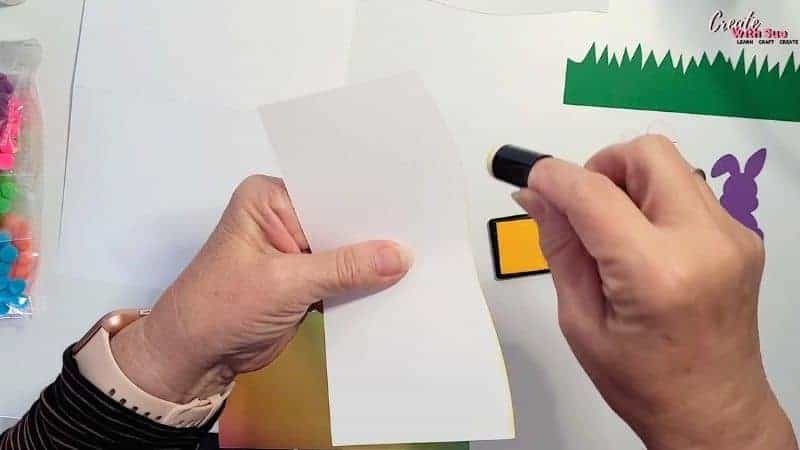
I edged this layer with ink and used finger daubers to apply it sparingly around the edge of the card.
For additional stability, press down gently after applying glue and allow time for it to set before proceeding to the next step. If using adhesive foam squares, ensure you have enough foam added to be stable for the bunny and embellishments layers to come.
Decorating the Easter Bunny Card
Now comes the fun part – decorating the card!
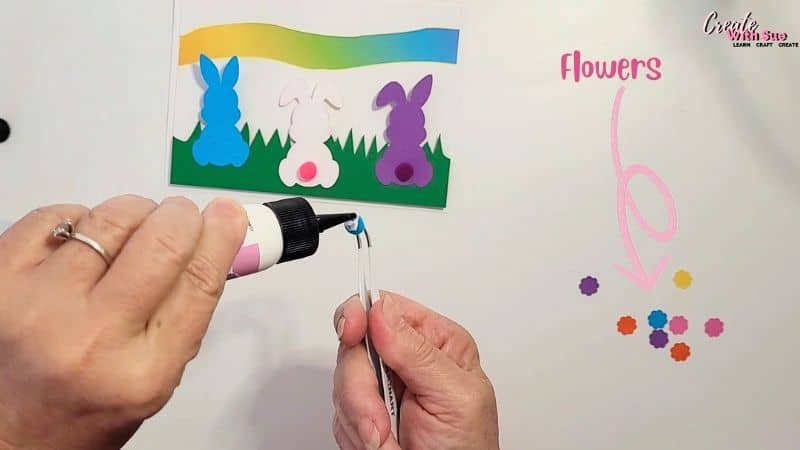
Apply the green “grass” layer next. I placed this layer on foam tape under the green layer to add dimension to the card. You can choose a different layer to create dimension or even add them to the bunnies instead.
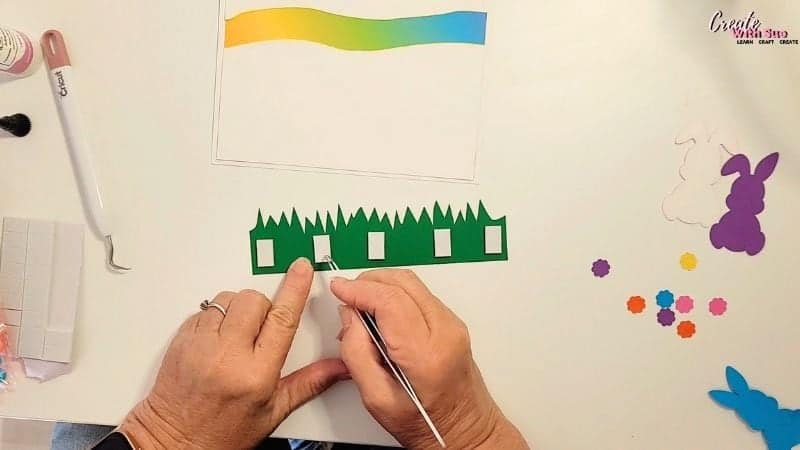
To add further personality to your Easter Bunny Card, consider using different embellishments such as ribbons, sequins, or ink shading. If you prefer a simple and elegant look, leaving the bunny silhouettes plain can also be effective. I inked the white bunny lightly with pink ink and left the other two plain. Adding the mini pom poms as their tails was a fun addition for that added “pop”.
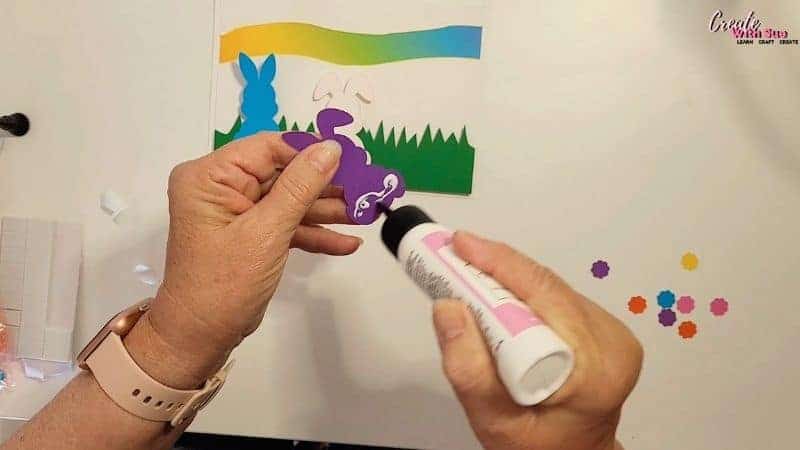
Adding mini Pom Poms as Bunny tails is a cute way to add dimension.
Create a text heading and offset for the card
This is very easy to achieve. I go through the steps in depth in the video tutorial using in-built text on the ScanNCut SDX 1000 model and then use the offset feature in the edit panel on the machine to create an appropriately sized offset.
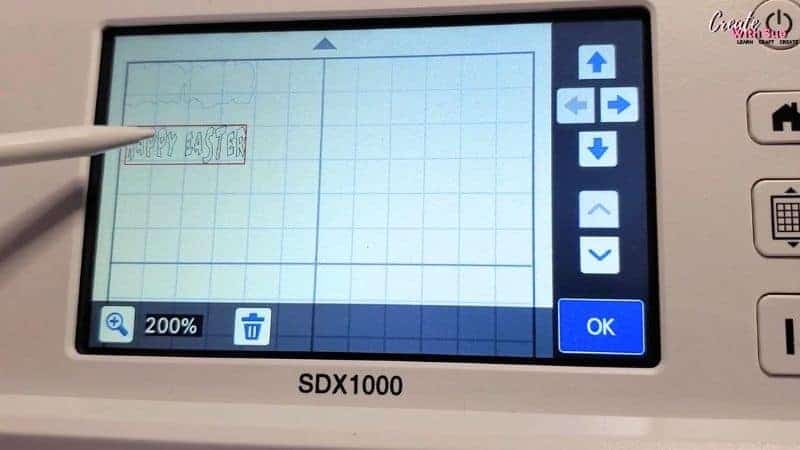
Text and offsets can also be created in Canvas Workspace.
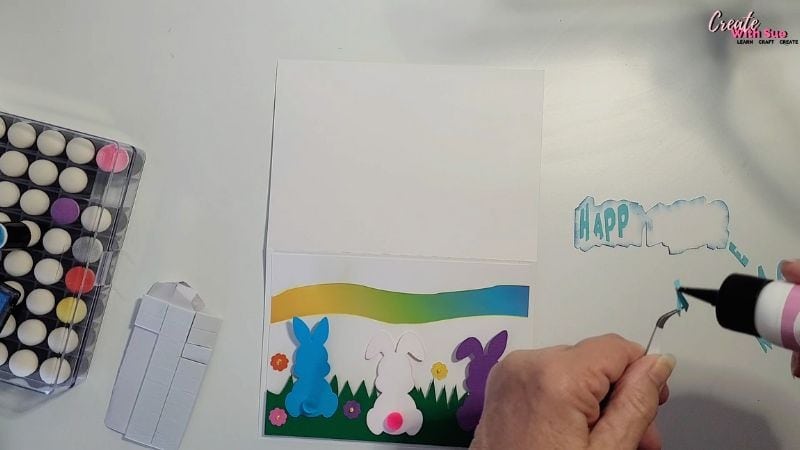
I used tweezers to hold the text while applying the glue, as this makes them a little easier to manage. Inking the offset section makes it pop.
Text being glued to the offset that was created in the ScanNCut
If you would like to add text, stamps or handwritten messages inside the card can make it extra special. Using a gel pen or calligraphy marker, write a heartfelt Easter greeting or personalize the card with the recipient’s name.
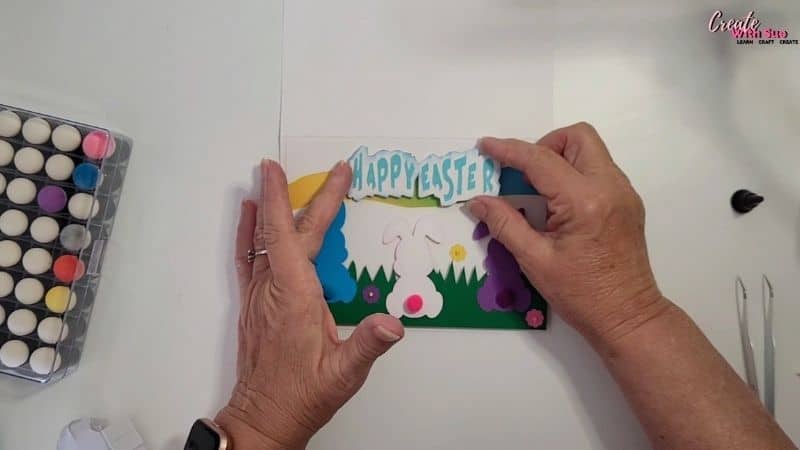
Lastly, attach the text to the card using foam tape to add dimension. I placed mine toward the top center, but you can position yours wherever it looks best for your design.
Adding a Money Pocket
For giving gifts of money, why not add a Money Pocket inside the card? Here is my easy tutorial on how to create a Money Pocket from scraps. These Money Pockets can be created for any card you need them for.
Final Touches and Display
Once your Easter Bunny Card is fully assembled and decorated, take a moment to check for any adjustments needed. Ensure all elements are securely attached and that the card folds properly.
If you are gifting the card, pair it with a matching envelope or place it inside an Easter basket for a thoughtful presentation. Whether you give it as a stand-alone greeting or as part of a larger Easter gift, this handmade card will surely be cherished.
By following these detailed steps, you can create a unique and beautiful Easter Bunny Card that showcases your creativity and adds a personal touch to your Easter celebrations. Enjoy crafting and happy Easter!
Creative Fabrica
Do you sometimes need a little help in the creative department? You will find so many designs in Creative Fabrica to create various projects. I have a passion for all types of crafting, so when I am on the Creative Fabrica website, I find fonts, SVG files, Embroidery designs, appliqué patterns, and graphics for sublimation projects. They have so much to choose from. Here is my link to the website, where you will find that they also have many free designs and fonts to choose from.
You will even find some of my courses on Creative Fabrica. They are free to access with the Creative Fabrica subscription.