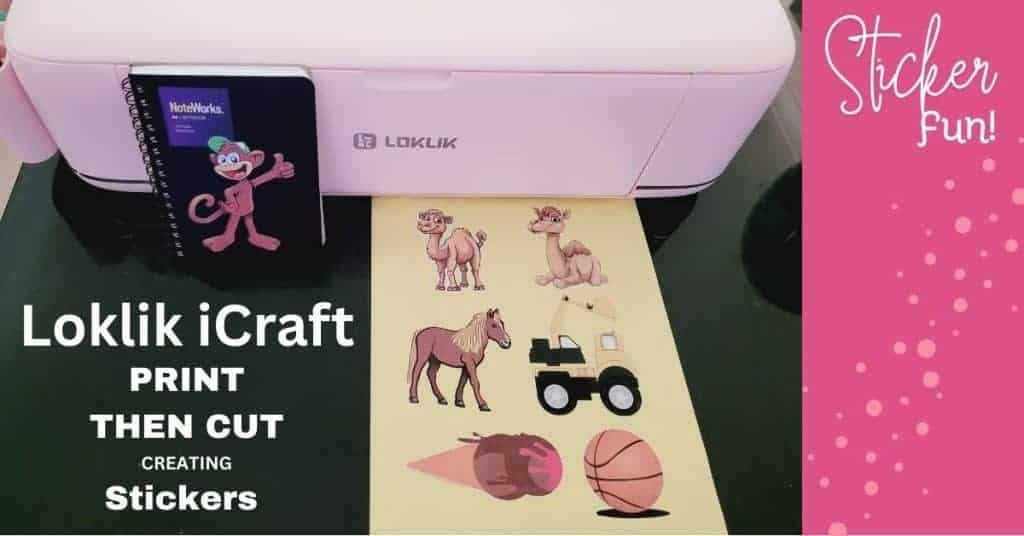
Today, I’m having fun making stickers using the Loklik iCraft cutting machine using the Print then Cut feature of the Idea Studio software. Creating stickers is such a fun way to personalize your projects. If you’ve been curious about this machine and how well it handles stickers, you’re in the right place!
Disclaimer: As an Amazon Associate, I earn from qualifying purchases. Links included in this tutorial may be affiliate links, Amazon or others, meaning I may earn a small commission at no additional cost. These commissions will help me continue creating content for you. Thank you for your support! Read my very boring full disclosure policy here.
Video Tutorial for the Print then Cut
Here is the video tutorial using the iCraft Print then Cut feature of Idea Studio and cutting the stickers with the Loklik iCrafter.
Getting Started with Loklik iCraft and Idea Studio
Before we jump into cutting, let’s talk about what you’ll need. The Loklik iCraft is a cutting machine and has its own unique software called Idea Studio. This software is where all the designing and cutting setup happens. This was my first time using Idea Studio, which I found easy to navigate, however, I did make a small error. I’ll be sharing what worked, what didn’t, and some handy tips along the way.
If you missed it, you will find my Unboxing the Loklik iCraft cutting machine review here.
Exclusive Offer From HTVRont
I have been provided an exclusive $30 discount code when purchasing the Loklik iCraft cutting machine. (I think this is on the Australian HTVRont website only??) The code is – SUE30 and is valid from now until the 31st of March 2025. This makes the machine even more budget friendly.
Setting Up Your Print then Cut Sticker Design in Idea Studio
To create stickers, the first step is setting up your design in Idea Studio. You can either upload your own artwork or create a design using the free inbuilt images directly in the Idea Studio software. I tested out a few different designs, making you select the Print then Cut settings and choose the correct materials. I chose Kraft sticker paper as I used a fairly cheaper paper type sticker paper. This was just what I had in the cupboard.
One thing I noticed is that Idea Studio has a different interface compared to Canvas Workspace. It has a slight look and feel about it which at a first glance, is similar to Cricut Design Space. It has a few additional features to Design Space though. One big one is the ability to create images using their AI (Artificial Intelligence). The Idea Studio software includes a large number of images, cut files, and designs.
When creating stickers, you can select Print then Cut on the left hand menu and all the images suitable for stickers or cut out embellishments magically appear. You can then use the search feature up the top left hand side of the screen to choose particular categories. I selected designs searching “Bears”, “Horses”, “Trucks”, and then “Icecream”.
I chose the ice cream search term as I wanted to fill in the bottom blank section of the sticker paper and figured an ice cream would be in a rectangle shape and I could rotate it sideways to fit the blank space.

Printing and Cutting the Stickers
Once the design was ready, it was time to print! I used printable sticker paper and made sure to select the correct print settings for the best quality. After printing, it’s important to align the registration marks correctly so that the machine knows where to cut. To do this, you move the little rubber rings on the cutting machine to align with the registration marks.
As you progress through the screens in Idea Studio, you select the type of project (Print then Cut), the type of materials, and what you want to cut.
I selected Kraft sticker paper as the sticker paper was quite a cheap, papery sticker paper. I use it for all sorts of stickers and label projects. I have had the packet so long that I can’t even remember where I purchased it. LOL.
The material selection has a good range of selections to choose from, and the ability to save your favorites.
Calibration of the Loklik iCraft Print then Cut feature
Oh, and I nearly forgot… it asks you whether you would like to calibrate the cutter prior to cutting your project. You can either calibrate or skip that. I calibrated it before I did my first lot of stickers. It was fairly easy to calibrate.
To calibrate, you first print a sheet with calibration markings and run it through the calibration cutting cycle. Once that’s complete, you review the markings, choose the ones that look the best, and enter the corresponding numbers into the Idea Studio settings.
I vaguely remember doing a similar process for something else I used. It felt very familiar and it was really easy to do.
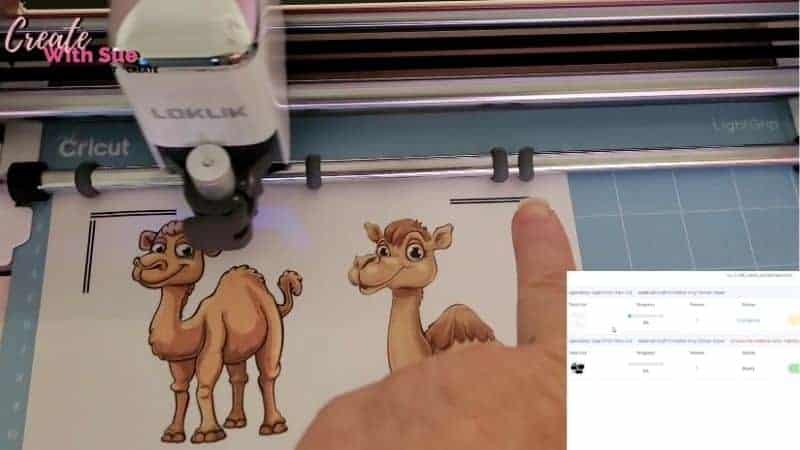
Before cutting your stickers, move the rubber guides on the Loklik iCraft cutting machine to ensure that the machine follows the registration marks added by the Print then Cut feature.
Cutting Results and Lessons Learned
I managed to get some great sticker cuts! The machine did a good job. What I discovered after my first lot of stickers was that when I created an offset in Idea Studio, it placed an additional layer at the bottom of the layers panel. I neglected to remove or hide the original layer and therefore cut both the original outline AND the offset. Ah well. The stickers still turned out great and now I know not to do that again.
This is called “a learning opportunity” !!
You can drag and drop the layers into the relevant group in the Layers panel. Once I worked out what I had done wrong, I hid the original cut layer for that image with the “eye” icon (now that’s familiar isn’t it). Then I dragged the new offset layer into that group so it was neat and tidy.

Camel sticker with an offset created with the Expand option in the Print then Cut feature of Idea Studio. He’s pretty cute isn’t he. The Print then Cut did a great job of cutting him out.
Final Thoughts on Making Stickers with Loklik iCraft
Overall, I was really happy with how the Print then Cut feature worked and the stickers turned out! The Loklik iCraft cutting machine has some great potential, especially for sticker makers. Idea Studio is fairly easy to navigate and has some nice features.
If you’re thinking about trying Loklik iCraft for stickers, go for it! Just remember to calibrate your settings, align your print correctly, and don’t be afraid to experiment. Have fun creating, and happy crafting!
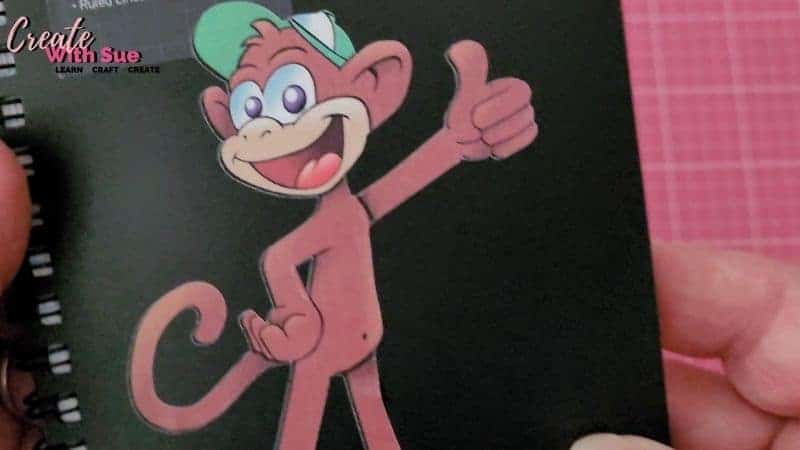
This is the monkey sticker I stuck on my notebook. I didn’t really plan what I was going to attach him to and then he turned out so cute I grabbed my notebook. This is the sticker that I inadvertently left both cut layers active in the Layers Panel, and so both the original cut line and the offset cut out.
Looking for more tutorials like this? Be sure to check out my other cutting machine guides and design tips on my CreateWithSue.com website!
Happy creating


Would you like to learn all about creating your very own designs in Canvas Workspace? This course is ideal for beginners and intermediate users of Canvas Workspace (downloaded version)


What is Loklik iCraft Print Then Cut, and how does it work?
Hi, the Loklik iCraft cutting machine is a crafting machine from the Loklik/HTVRont company. It is very similar to the Cricut cutting machines, in particular, the Cricut Maker. It uses Loklik software called Idea Studio where you can upload SVG designs or create your own design from scratch. It also has pre-made designs with in the software and some ability to create AI designs for the cutting machine.