
Vinyl T-Shirt designs are so much fun to create! This tutorial will cover how to create a vinyl T-Shirt and includes the featured design as a free file in my Resource Library. The tutorial and tips are not exclusive to this particular design though. They will work for any design that you choose to create.
Disclaimer: As an Amazon Associate, I earn from qualifying purchases. Links included in this tutorial may be affiliate links, Amazon or others, meaning I may earn a small commission at no additional cost. These commissions will help me continue creating content for you. Thank you for your support! Read my very boring full disclosure policy here.
What do you need for this project
- Heat Transfer Vinyl (HTV) – I used Siser Easy Weed
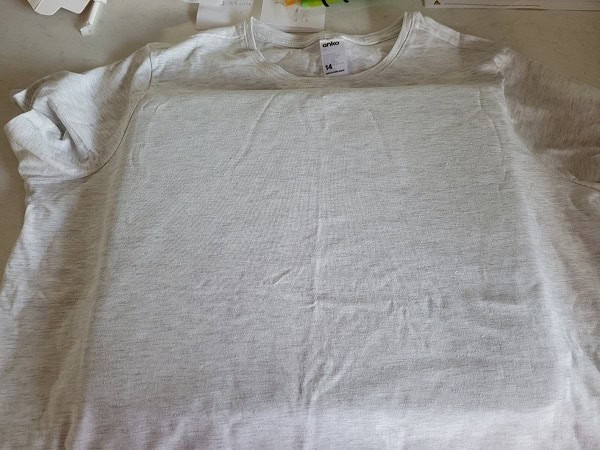
- T-Shirt or something you choose to add the design to
- Iron or heat press
- Cutting machine – I used my Brother Scan N Cut
- Design – download my free design from the Resource Library
Vinyl T-Shirt design
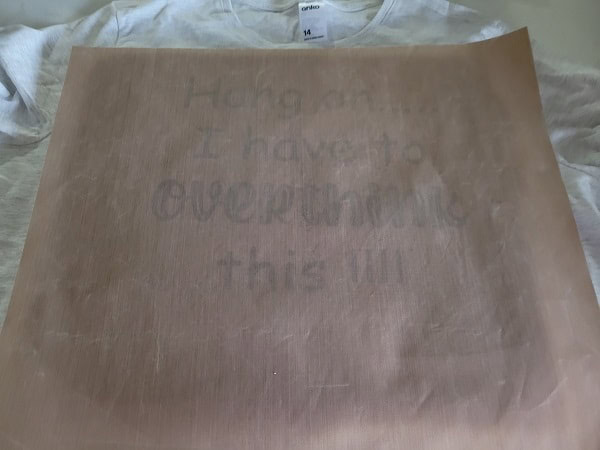
Download the free “hang on ….. I need to overthink this!!!! ” design from the resource library OR create your own. It is quite easy really. The file will come in a zipped format which is how a lot of your designs might come. Check this tutorial if you need help with unzipping files on a PC.
What can you put vinyl designs on?
Well, vinyl designs can go onto many, many items and they are GREAT fun to make. You can use either normal adhesive vinyl which comes in permanent or removable OR Heat Transfer Vinyl (HTV) onto fabrics, wood, basically, anything that will accept the heat required to make the transfer.
I have tutorials with more information about types of vinyl in general and a guide to using HTV which has some value-added tips. Some of those tips are included in this project.
Choices for vinyl T-Shirt designs to create are ENDLESS. You really can put anything that appeals to you on your T-Shirt. I chose to create this particular T-Shirt design as both my daughter and I continually comment on the fact that “we overthink things”! I often ask her where she got that trait from LOL.
What is the best program to create T-Shirt designs
My two favorite software programs to create designs in are:
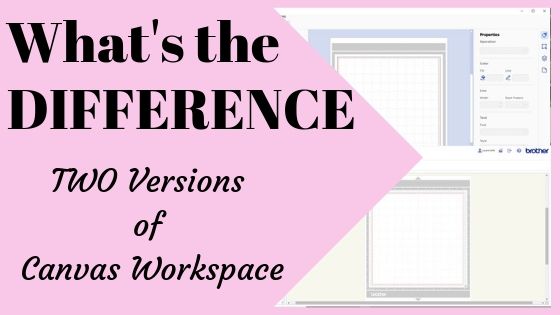
Canvas Workspace
I really love Canvas Workspace which works so well with the Brother Scan N Cut cutting machine. It is quite easy to create designs in Canvas Workspace, especially vinyl T-Shirt designs and it is provided by Brother for FREE. Find out more about the two versions of Canvas Workspace.
I also have a Step by Step course on how to use Canvas Workspace.
SCAL5
I often need to make files in SVG format so my next choice is using SCAL5 which is short for Sure Cuts A Lot 5. This software is a great choice for the Scan N Cut as it will export files in FCM format as well as SVG.
How do you make your own T-Shirt design
When you have your design import it into Canvas Workspace and send to your Scan N Cut or import it directly into your machine to cut out. If you need help with this step I have two tutorials to help you. One is for the online version and the other is for the downloaded version of Canvas Workspace.
IMPORTANT – HTV needs to be reversed or mirrored, especially if there is wording involved.
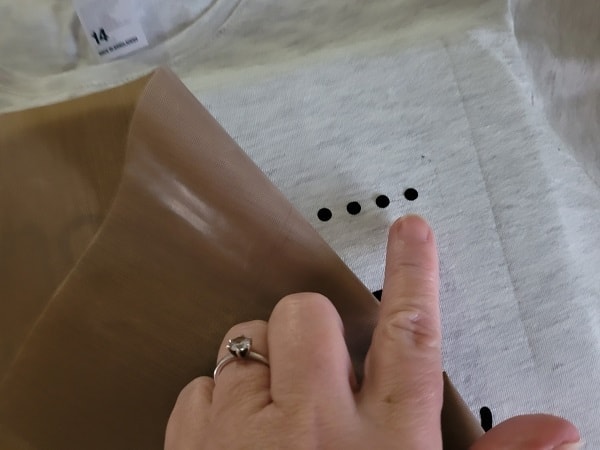
Half-cut your Heat Transfer Vinyl
Set your machine to half-cut if you have a DX or adjust your manual blade for the CM models. Most importantly – do a test cut – read about mistakes made from not doing this below.
Apply the vinyl to your T-Shirt
Heat your shirt prior to applying your HTV design. The added heat will help your HTV adhere to your shirt.
I like to have my Teflon sheet handy. While HTV comes with its own heat-resistant carrier sheet, the Teflon comes in handy if you ever need to reheat the design or when layering.
Once you have heated your HTV onto your T-Shirt, check whether all the design has adhered properly.
Left a corner and double check. If it still has not quite adhered properly and needs a little more heat then apply more heat. My philosophy has been to heat and then check, adding more heat if required. This seems to provide much better results than overheating the HTV in the first pass.
When using the same brand HTV continually, write down the settings so that next time you use the HTV you have a guide making your pressing much easier.
Below is a picture of the finished project – I was very happy with how it turned out.

BUT WAIT ….. I had a few bumps along the way. If you want to find ways to fix the errors that may happen to you check out this tutorial called Tips to fix HTV vinyl mistakes.
Until next time……
Happy creating,

Join me
If you haven’t already, pop in and say hi in our facebook group
Scan N Cut ~ Let’s Create With Sue
Before you go…..DON’T forget to subscribe! I would love you to follow my journey helping you create along the way.

Get Started with Canvas Workspace full course
What if you had a step by step, specially formulated, video course that lead your through learning to use Canvas Workspace from the very beginning and right through to being able to create your own amazing designs from scratch.
Yep, you read that right!!.. From scratch!!
The Get Started with Canvas Workspace course uses the downloaded version of Canvas Workspace and will take you from beginner to pro in very easy steps.
Limited special offer.


Thank you for these great fixer tips.
Hi Kathy, I am pleased that you have found them helpful 🙂
I absolutely love the vibe of this t-shirt! The design and quality are on point. 🖤✨ Anyone else excited about how versatile this piece is for their wardrobe?
Thank you 🙂
Creating vinyl t-shirt designs sounds like a blast! Thanks for sharing the free file and tips. Do you have any favorite design ideas or techniques that work best with vinyl?
Vinyl is definitely a lot of fun. Start with simple designs and then work up to the harder ones. Make sure you check time & temp plus whether HTV is cold or hot peel. For HTV you ususally mirror the design. Regular adhesive vinyl you dont. You can tell the difference between HTV and regular by the fact that regular is mostly a paperback type backing.
Thank you so much for this article very helpful again i want to say you thanks
Hi 🙂 I am so pleased that you found it helpful. Thanks for letting me know. Sue.
Sue,
Thank you for sharing and your support…
Hi Luz, thank you so much. 🙂 I am really pleased that you are finding the tutorials helpful. Sue