Welcome! If you’ve ever wondered how to delete old or unwanted files from your Brother ScanNCut, you’re in the right place. In this tutorial, I’ll walk you through how to remove saved data from your ScanNCut machine. It’s simple once you know where to look!
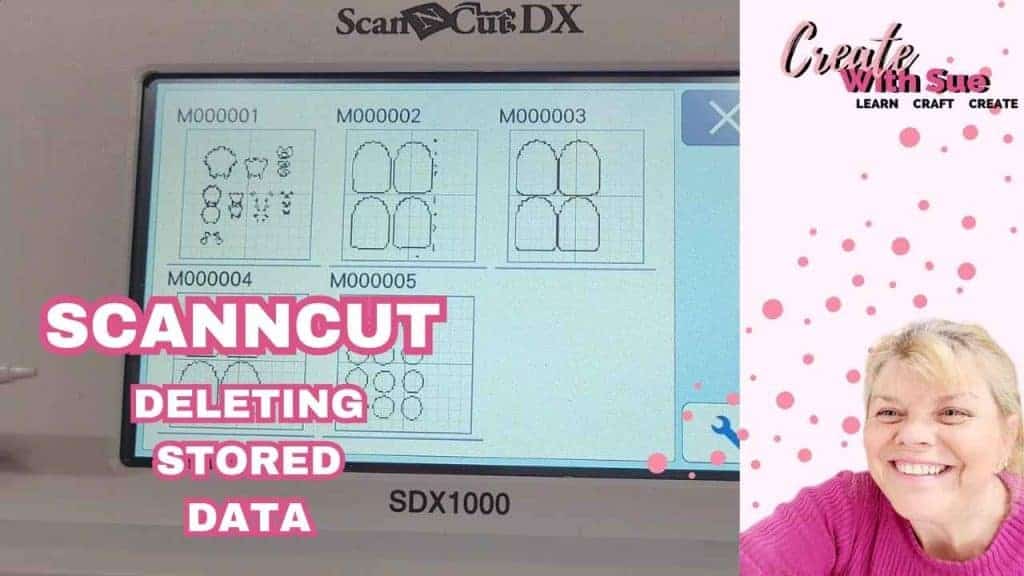
Deleting Stored Data Video
You can also watch the step-by-step video below for a full visual guide on how to delete saved files or projects on your ScanNCut.
Why You Might Want to Delete Saved Files
As you use your ScanNCut more and more, it’s easy to end up with lots of saved files – test cuts, practice shapes, or projects you’ve used a few times and no longer need. Over time, this can clutter your machine’s memory. In fact, it can clutter the memory so much that you can run out of room to save more projects.
Here are a few good reasons to clean things up:
- Free up storage on your machine
- Stay organized by removing old or duplicate files
- Speed up your workflow by decluttering your file list
How to Delete Files from Your ScanNCut Machine
Deleting saved files on your ScanNCut is really straightforward — here’s how to do it:
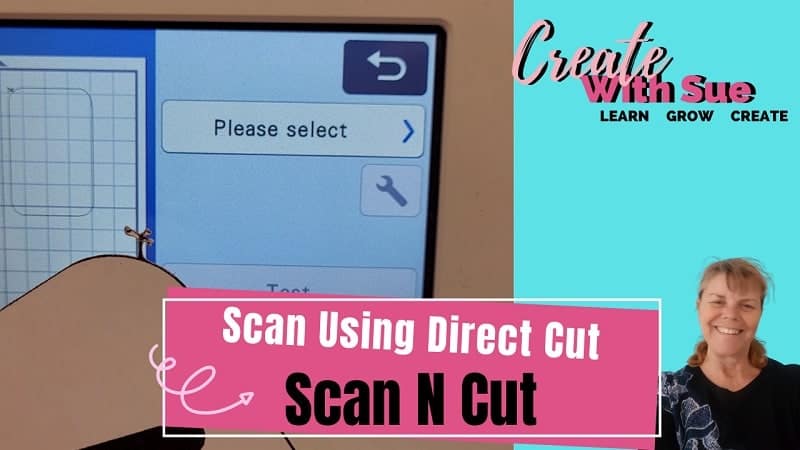
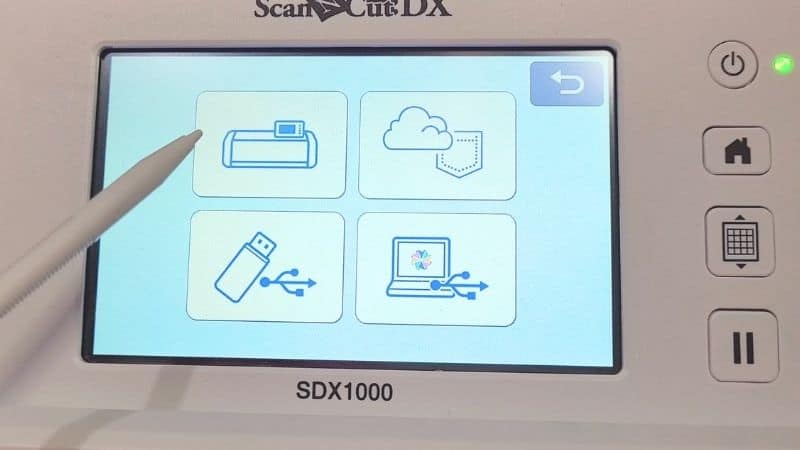
Tap “Retrieve Data”
Start by going to the “Retrieve Data” screen, where all your saved patterns are.
Choose the storage location
Select the machine icon for files that are saved directly to your ScanNCut.
Select the file you want to delete
Browse through the files and tap on the one you want to remove. This will bring it into a new screen.
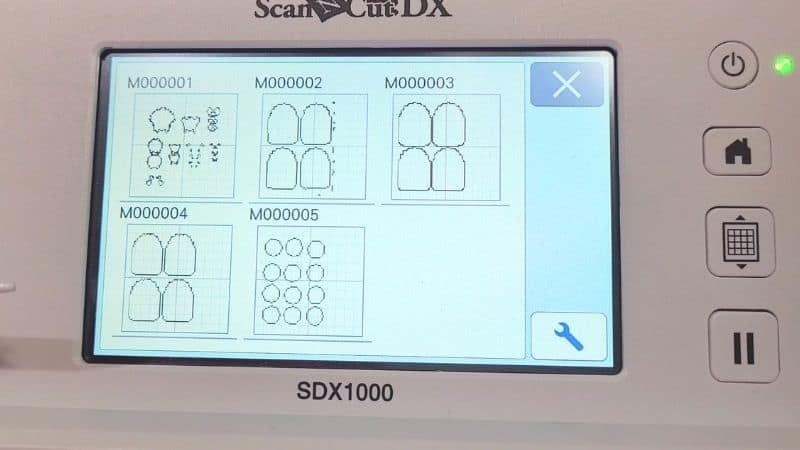
Tap the trash can icon
This will delete the selected file. You’ll need to confirm the deletion — and that’s it!

Note: You can only delete files one at a time from the machine. If you have many to remove, it’s a bit more time-consuming but still easy once you get into a rhythm.
Tips to Keep Your Files Organized
- Only save finished or frequently-used projects to your machine
- Clean out your files regularly, especially test cuts and duplicates
- Consider saving your final versions in Canvas Workspace or directly on your computer for backup
Final Thoughts
Managing your saved data is a small but helpful habit that keeps your ScanNCut running smoothly. Whether you’re working on your SDX125, SDX2200D, or even an older CM model, these steps will help you stay organized and keep your machine clutter-free.
Don’t forget to watch the video for a full walkthrough — and if you found this helpful, check out more tutorials right here on my site!
Join me on Facebook
Join me in the Scan N Cut – Let’s Create With Sue Facebook group. It is a group of awesome craft friends sharing and caring.
I would love to see you there.
Please feel free to ask any questions that you need.
Happy creating

Helpful Resources
Creative Fabrica – Thousands of amazing fonts and designs, plus loads of freebies!
Explore Creative Fabrica here – affiliate link

Would you like to learn all about creating designs in Canvas Workspace? This course is ideal for beginners and intermediate users of Canvas Workspace (downloaded version)
Find out more information here.
Other courses available