
Cutting foam board, which is often referred to Eva, on your Scan N Cut is fairly easy. One thing to note is not all foam board is EVA. The foam board I used does have EVA marked on it. My guess is that the quality of the various foam boards on the market varies greatly and some will cut much nicer than others.
The basics
What does EVA stand for? Well, it stands for Ethyl Vinyl Acetate. Just a little bit of Trivia to add to your repertoire although, I am not certain we are any the wiser for knowing that.
There is a technical difference between the various foam boards and EVA. It is a bit long-winded so I am not going to go into detail here. I don’t know about you, I am really only interested in how well foam board cuts on the Scan N Cut.
Let’s see how we go!
NOTE: There is a video tutorial further down in the tutorial if you prefer to watch the steps.
What does foam board look like?
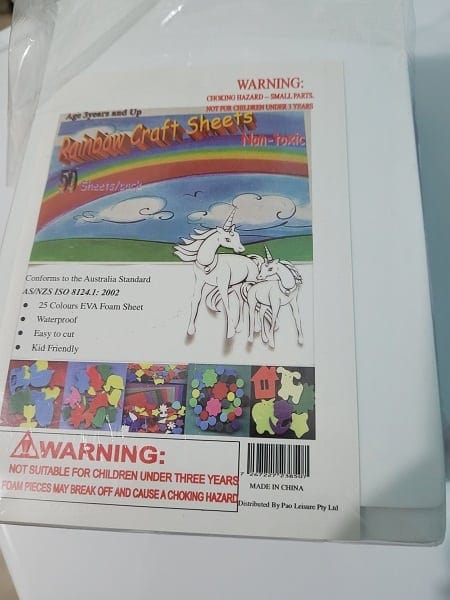
I purchased a multi-colored pack of foam board that seemed to be ok for the Scan N Cut…. besides, I couldn’t resist ALL the colors.
You can purchase it in numerous sizes depending on your project. My pack states that it has 25 colors of EVA foam sheets, is waterproof, easy to cut, and is kid friendly.

Choose a Scan N Cut design
Go into the designs on your Scan N Cut and select one that you think will be great for your project. I am going to pick a floral-type design to see how well it cuts on my SDX2200D Disney model Scan N Cut.
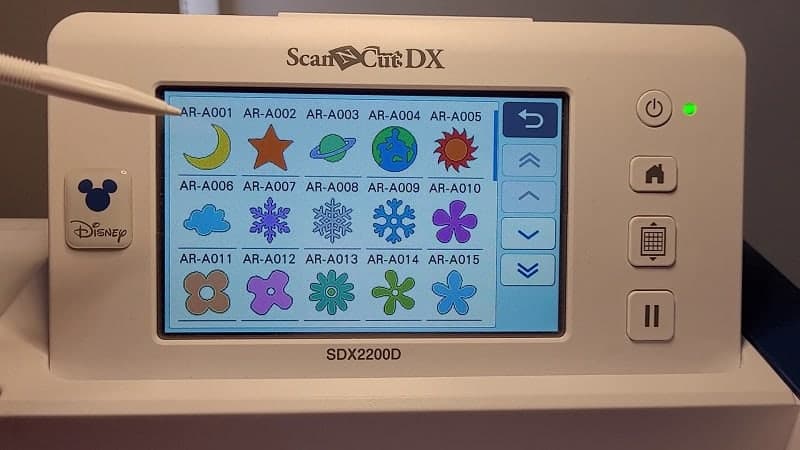
Scrolling down, this is the one that I located. As it has inside cut lines as well as the actual shape it will make a great test piece.
Resize your design to suit your project
The design will import to the Scan N Cut mat at 100mm x 100mm with the default setting. This was a little larger than I wanted to do and I reduced the size using the minus (-) icon to 50mm.
NOTE: If you need this in inches, as many of us do, 50mm = 5cm and there are 2.5cm’s to an inch. This means that the design was reduced to 2 inches.

Select OK and the design will be placed on your mat.
Scan your foam board
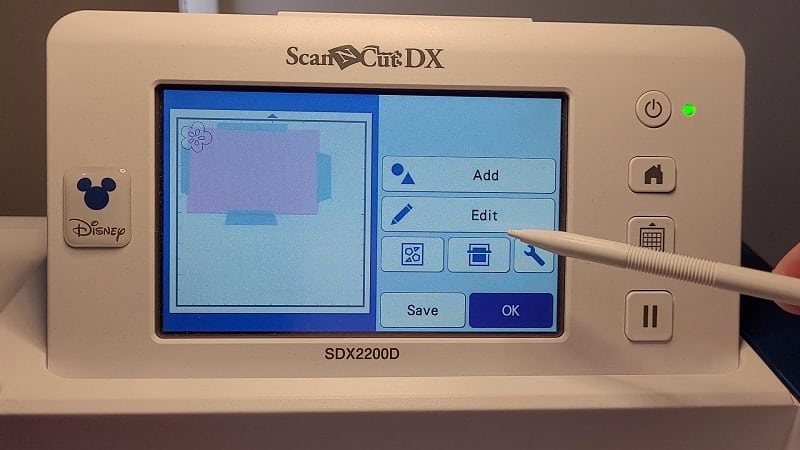
So that you can place the design precisely on your foam board, scan your mat, and move the design to the correct location on your materials.
The blue icon that looks a little like a mat (if you squint) is the scan icon. It is the icon below the Edit button near where I am pointing my stylus.
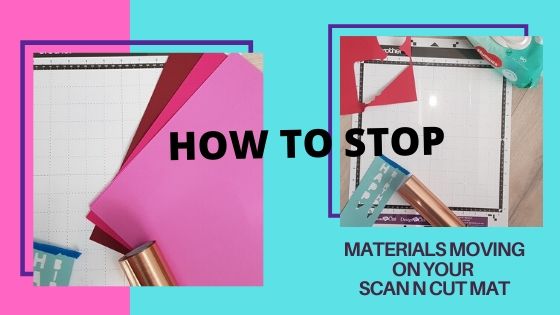
Note that I have taped the foam board down with painter’s tape. This project could probably be taped even more securely as the foam craft board is quite thick with a higher risk of the sheet moving on the mat.
Changing the side lever on the Scan N Cut DX models
Most of what I have covered so far will be very similar on the CM models of the Scan N Cut. The designs available to you will vary as there are differences between all models of the Brother Scan N Cut machines.
This next step however is only on the DX models. If you have a CM model you will not have a lever as covered in this next section.
DX only setting
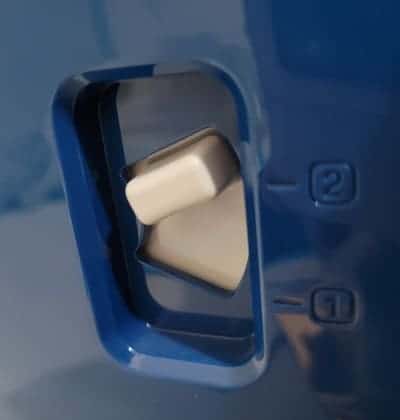
The DX models can cut up to 3mm. Brother has incorporated a lever on the side of the DX models to move the scanner higher to cut thicker materials. There are 2 settings. 1 and 2.. pretty straightforward forward really. The thickness of your foam board (EVA) will determine whether you need to change the lever setting.
Changing your lever setting can be completed before you scan your mat OR you may receive a message from your cutting machine with lovely step-by-step instructions saying that the lever needs to be changed.
Your DX machine does a great job of letting you know what setting is needed.
You don’t need half cut or deep cut blade
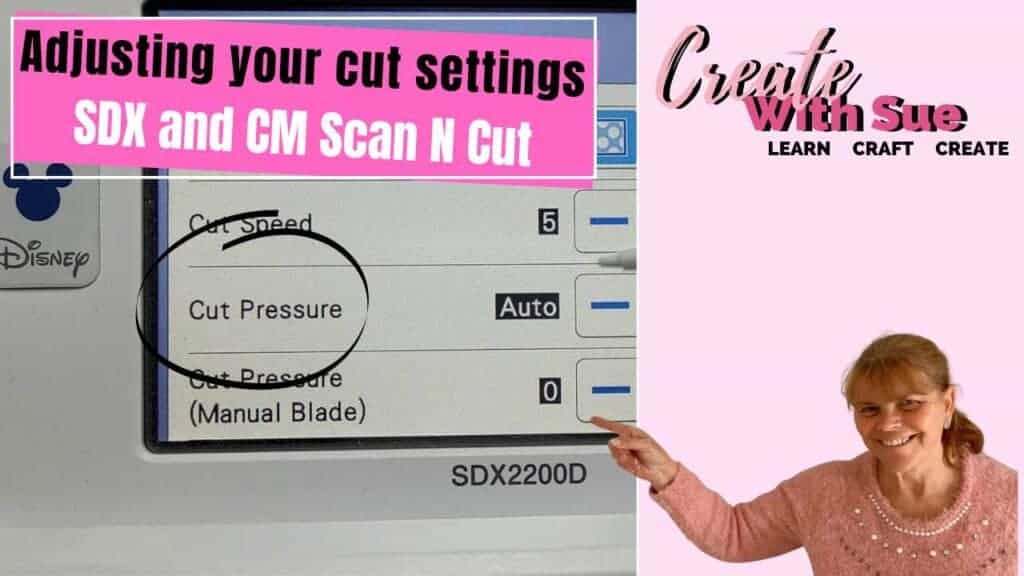
When selecting the cut setting, I noticed that my Scan N Cut was still set to Half-Cut. This was from a previous vinyl project recently completed. I often forget to change this setting which is a pain if you are cutting cardstock as it barely scrapes the surface. If you have problems with the blade not cutting, check if this is the cause first up. There are many other reasons for the blade not cutting properly however this is easy to check.
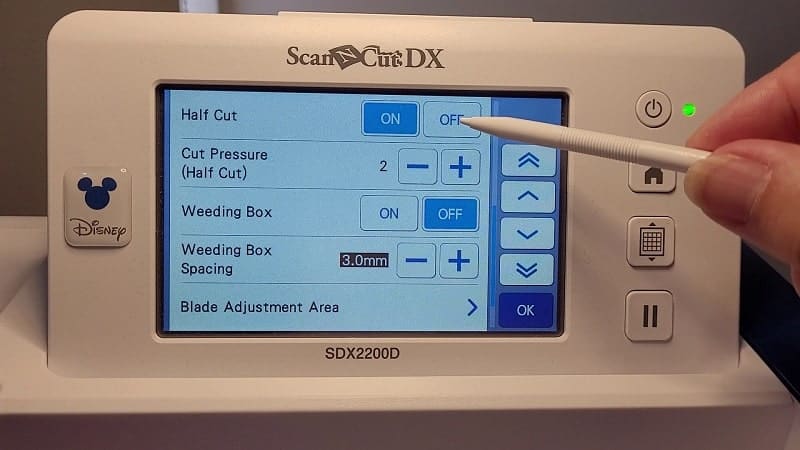
To change the setting go into the Tools icon (wrench) and turn the Half-Cut off.

The below screen will allow you to turn the Half-Cut off and also change the pressure settings for Half-Cut.
Settings can be tweaked for both a normal cut and the Half-Cut. Note, there is the option to use a weeding box to make it easier to weed vinyl. I love vinyl projects and these settings make it so easy to cut vinyl on the DX Scan N Cut.
Blade required for cutting foam board with the Scan N Cut
For this project, I used the black standard blade for the DX. It would be the aqua blue standard blade for a CM model. The foam craft board was not thick enough to need the Deep Cut Blade that you can purchase for the CM models.
NOTE: the purple Deep Cut blade is a manual blade – not an auto blade. It can be used in the DX models by setting the machine to ‘manual’. To be honest, I barely used it in my CM900 and while I have tried the Deep Cut blade in my DX2200D, it really hasn’t been necessary to use it for the projects I have made. Comment below if you have one and get a lot of use out of it.
TIP: For best results make sure your blade is clean of debris and any leftover vinyl glue and is reasonably sharp. You can clean your blade by scrunching up some alfoil into a ball and poking the blade in and out around 30 times. This will remove unwanted and possibly unseen particles stuck to the blade.
Cutting the foam board with your Scan N Cut
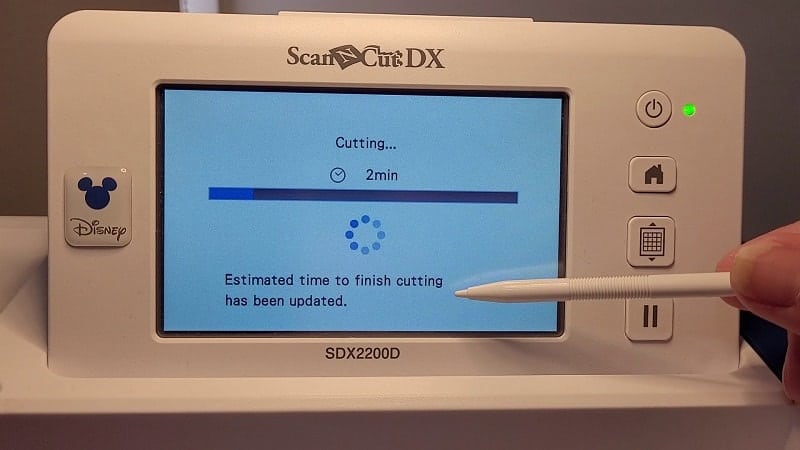
The DX automatically updates the time
If you have a DX model you will notice the estimated time to finish cutting updates after the DX checks for the depth of material. When the Scan N Cut adjusts the time, it often means that it is going to do more than one cut path for the design. This is common for thicker materials and the foam board is relatively thick.
CM settings for cutting foam craft board
If you have a CM model make certain you do a test cut. I wouldn’t recommend cutting all the way through in one pass. Remember to do a test cut as this can be a savior. Cut partway through the foam, then adjust the blade depth so that it will cut all the way through on the second pass.
DO NOT remove your mat between cuts. It will never load exactly the same for the cutting path to align correctly.
You may need to do it in more than 2 passes. Don’t be concerned if that is the case. My DX2200D actually ended up doing FOUR passes.
Finished project
The picture below has cut lines that look a bit rough and when I first lifted the design from the mat and took a look at it … I was concerned that it hadn’t cut very very well at all. You can see some awkward-looking cuts in the design.
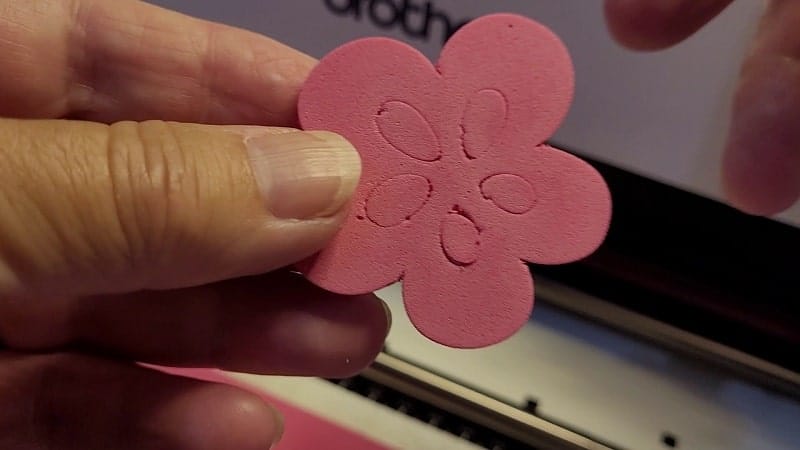
The good news was it actually turned out better than the above picture! And, I believe it would have had even better results had I followed my own TIPS in this tutorial. There is always the next time 🙂
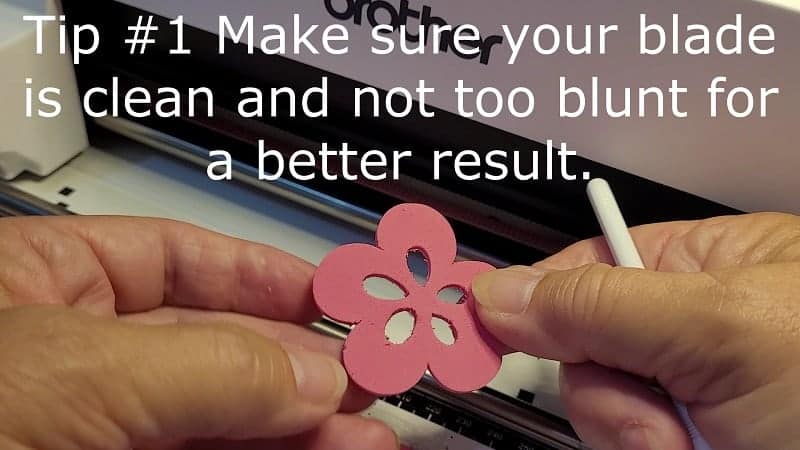
You will see that there are still some “bits” on the edges of the cut design. Many of these bits were loose and pulled off as I picked at them. There were still a few places that I would have liked a neater cut.
Video tutorial on cutting foam with your Scan N Cut
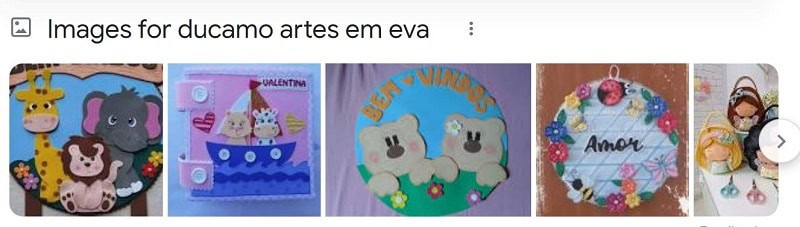
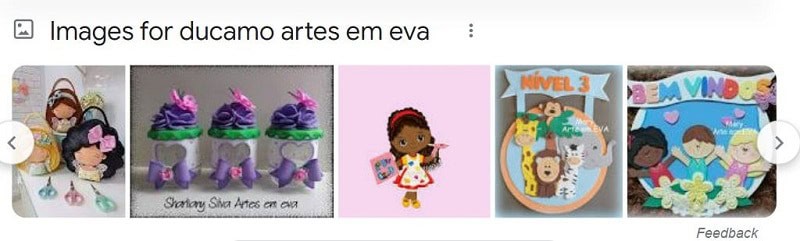
In my Facebook group, one of the members has made some absolutely stunning projects using EVA. Her name is Ana Ferreira Do Carmo. Search the FB group, for her name or search the term EVA. A range of projects are featured which can be made with EVA. They are incredible and Ana is very talented.
I hope that you found this tutorial useful. I quite liked playing with the craft foam board (EVA) with my Scan N Cut and plan to create some more projects that incorporate it. The pack I purchased had LOTS of colors to choose from so I am in my glory with choices.
Happy creating,

Join me
Join me in the Scan N Cut – Let’s Create With Sue Facebook group. The group is full of awesome new friends to share your projects and problems with. Sharing ideas will inspire you to create.
We would love to see you there.
Check out my other tutorials
While you are here, don’t forget to check out my other posts. There are heaps of helpful information in them.

Brother Scan N Cut SDX1000 – I bought another one!

Using the Built-in Scan N Cut designs


Hi,
I just discovered you recently and have a question about score lines. I purchased an svg card design with score lines. My scan m cut read them as cut lines. I don’t know how to change them.
Thanks for the help.
Gail Brandt
[email protected]
Hi Gail, you can change the score lines to either a dashed line, which is what I mainly use OR a draw line. If you change to a draw line you can use either a manual scoring tool or scoring board or pop a tool in the universal pen holder to create a score line with your SNC. These changes will usually be made in Canvas Workspace.