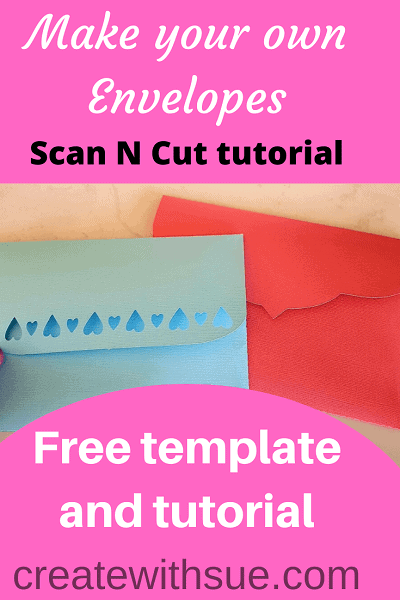
Have you ever made a card and then had trouble finding an envelope to fit? We all have, I’m sure. This tutorial is on how to make a large envelope using your Scan N Cut.
There are a few ways to tackle this. Let’s work through them.
If you don’t want to make your own envelope, I have included a free template for you to download from my Resource Library.
Using the machine template
First up, did you know that a lot of the Scan N Cut machines have a built-in template? Cool hey! Now, this is a GREAT solution if you have it on your machine in many cases. The built-in envelope on my machine has a few different styles which are quite nice and make a really good starting point. There are still some limitations – we will cover them and go over the workaround.
NOTE: if you do NOT have an envelope template on your Scan N Cut machine then skip to Section 2 further down the post.
Step 1 sizing your envelope to fit
Before we get too far into the project, work out what size your card is – measure its length (height) and width. This is an important step as we are making the envelope to fit the card.
Step 2 accessing patterns in your Scan N Cut
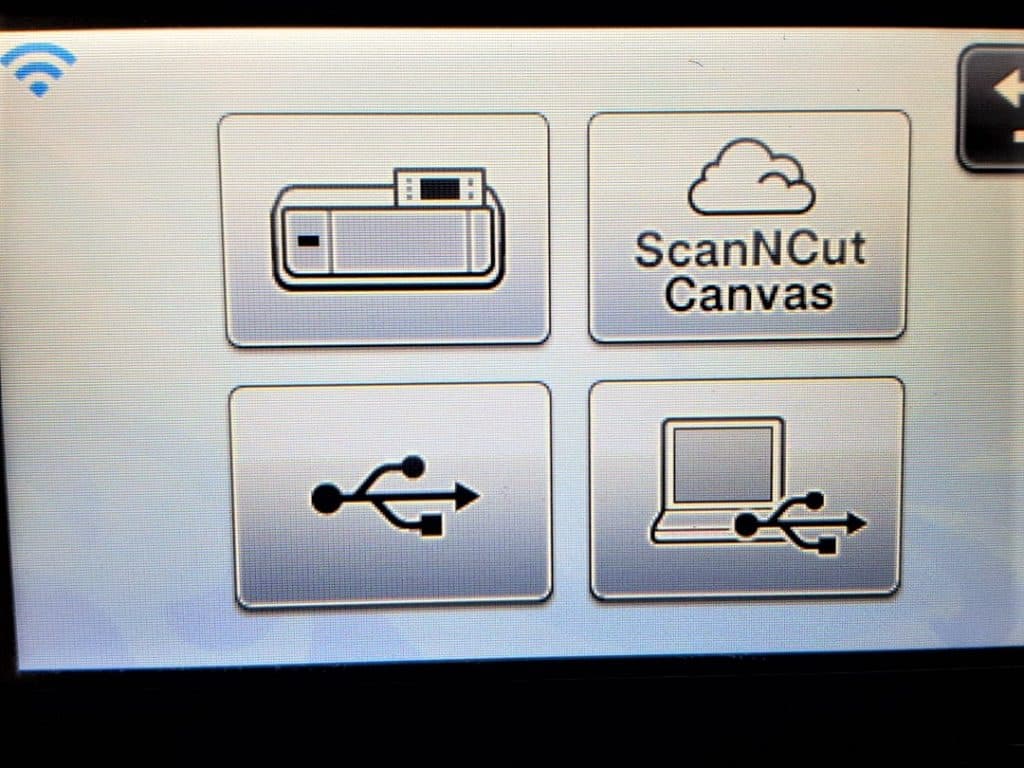
All patterns, including the envelopes, are stored in the ‘Pattern’ section of your Scan N Cut. Work your way through the screens as shown below.

Work your way through the screens as follows
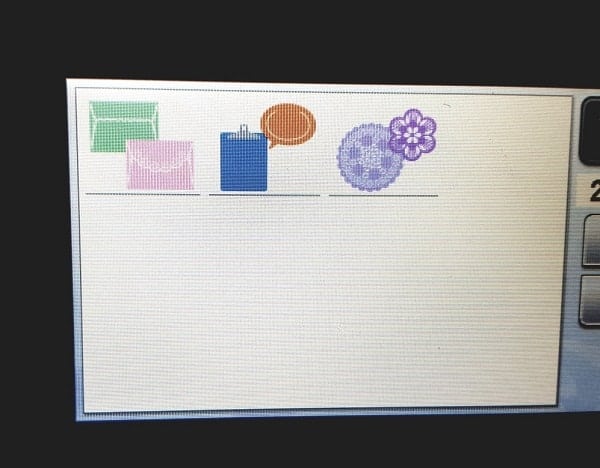
On my machine, they look like this picture above. Choose the icons that look like envelopes.
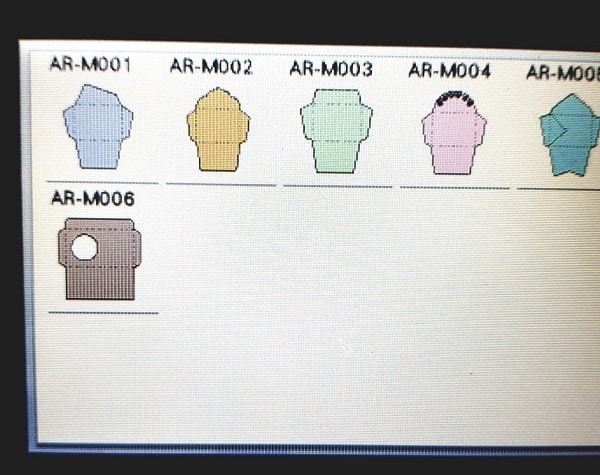
I have a few to choose from. In this instance, I selected the AR-M002 which is the second one in from the left. You choose whichever you prefer.
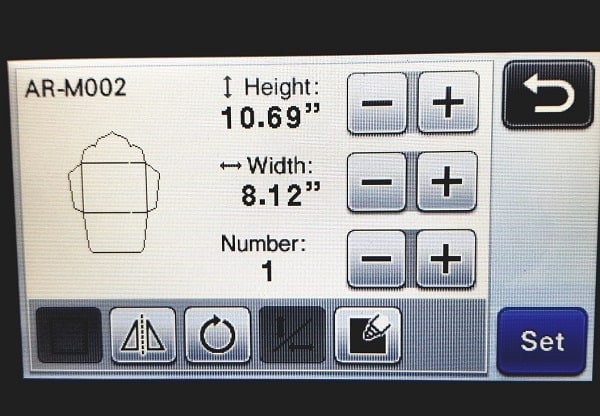
When you are presented with a screen that is similar to the one above you have the ability to increase the size. Click on the plus (or minus if smaller) symbol to increase the size of the envelope.
The limitation of this file is that on my machine you are unable to increase the height at a different ratio to the length. This makes it a little limiting when you need a LARGE envelop.
Step 3 getting your envelope to fit your card
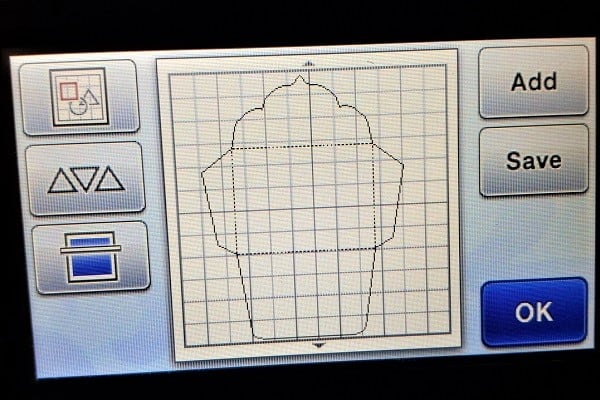
Does it look like your card will fit inside the biggest of these envelopes? To double-check, send your large envelope choice to the main screen of your Scan N Cut. Click ‘Set’ to do this.
Once you have the envelope on the main screen, count the number of squares and this will let you work out the measurements of the rectangle section of the envelope. (The mat works in one-inch squares)
TIP: Your machine may want to limit the size you can create your envelope. Move the file around the main screen so that there is an even gap around the shape, then go back into the file and increase the size further. (To edit the file again select the file and use the top-right icon to access the edit function.)
Step 4 what size paper to use
Think it will be big enough? Let us face the next issue….paper. If you are lucky your envelope will fit onto a A4 or Letter-sized paper. Even if there is a small piece of the pattern skipped… it may not make much difference.
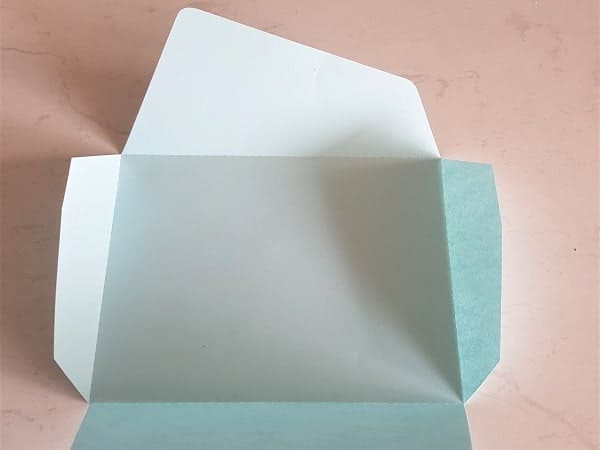
In the pic above, the envelope was slightly larger than the A4 paper however this small piece won’t be missed.
If the envelope is way too big for A4 then you will need to use 12″x12″ card stock.
Need a larger envelope?
Ok, so you have fiddled and faddled and still cannot get the envelope quite big enough?
There are more ways around this thankfully.
To use the machine inbuilt pattern you can save the template to your PC. Select ‘Save’ on your machine and you will be presented with this screen.
You should see the option to download the envelope straight to Canvas Workspace, USB or computer.
What next? Limitations
- Your first limitation as I covered earlier, is your Scan N Cut template will only increase in size proportionally on your machine. To counteract this limitation save the file to USB and transfer to Canvas Workspace where you will then be able to resize to suit.
- Your next limitation is paper or cardstock size. Mostly your selection is limited to A4, Letter or 12″x12″. If you have access to the 24″ cutting mat AND larger cardstock you are laughing! You can continue to increase the size without too many issues in Canvas Workspace.
For my envelope, I was restricted to the 12″x12″ cardstock.
Once you have uploaded into Canvas Workspace (either version) you will be able to increase the size of the envelope’s width and length to meet your requirements.
Section 2: an even larger envelope
If you need your envelope larger again you still have a couple of options. Start from scratch in Canvas or modify the basic envelope again.
We can modify the existing envelope even further
Let’s make this large envelope
Step 1 sorting out the issues
Your larger envelope will have some gaps that need strategic coverage. The gap will be dependent on how much larger you have made your envelope. This is not necessarily a bad thing. Look at it as an opportunity to dress up your envelope. Who said the front needs to be the only glitzy side.
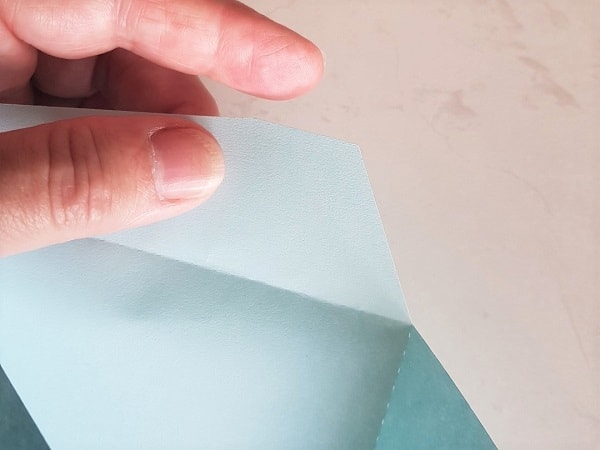
The picture above is the large envelope cut out with two strips of double-sided adhesive to hold the bottom flap upwards.
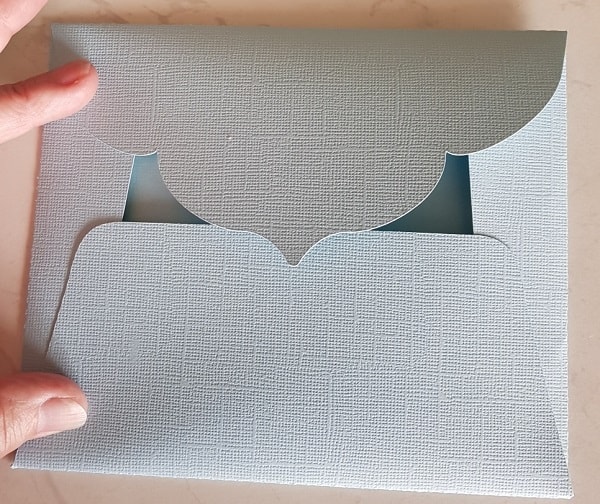
As you can see there is a gap due to the fact that it is such a large envelope and we used limited sized card-stock. It looks a bit ugly at the moment, doesn’t it!
Step 2 how to embellish
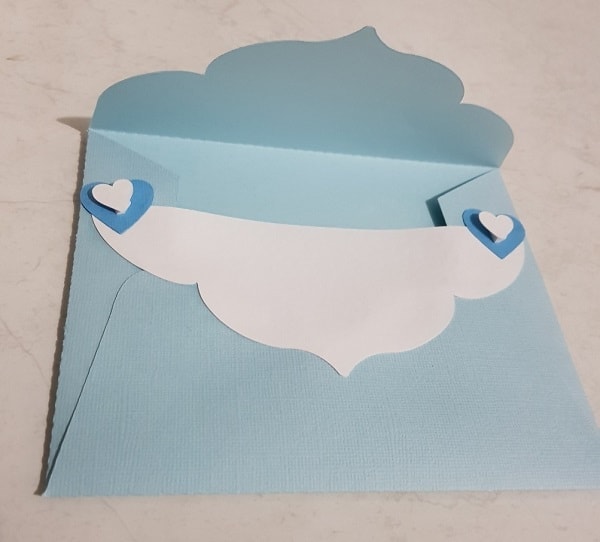
The next step in how to make a large envelope is to add the additional piece of cardstock. In the video, there was a duplicated piece of the top flap which was cut out. While you could cut this piece any shape that you desired, I have cut it to match the top flap of the envelope to give it a double effect.
Step 3 how to hold the envelope shut
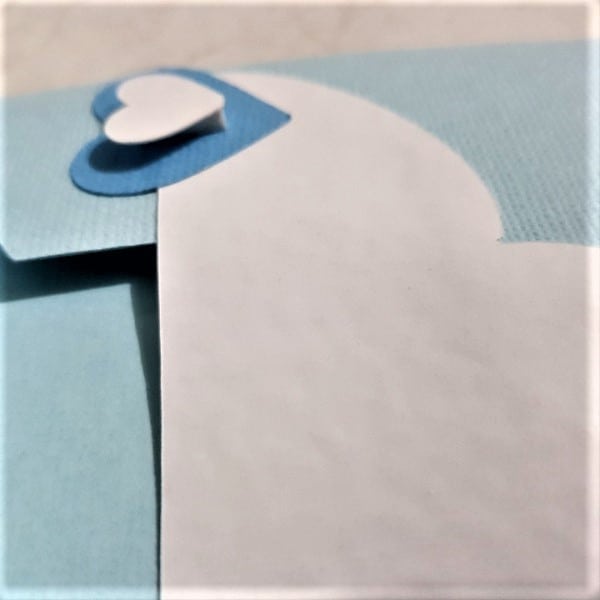
Now once the back piece is on, add the double heart embellishments. You can see I have created two sets of hearts with one set smaller than the other. I placed the smaller hearts on the larger heart with double-sided foam tape to give it a bit of depth AND to provide a place to hook the top flap into to hold the envelope shut. (we want easy access because this envelope isn’t one that gets ripped open and thrown away now is it.)
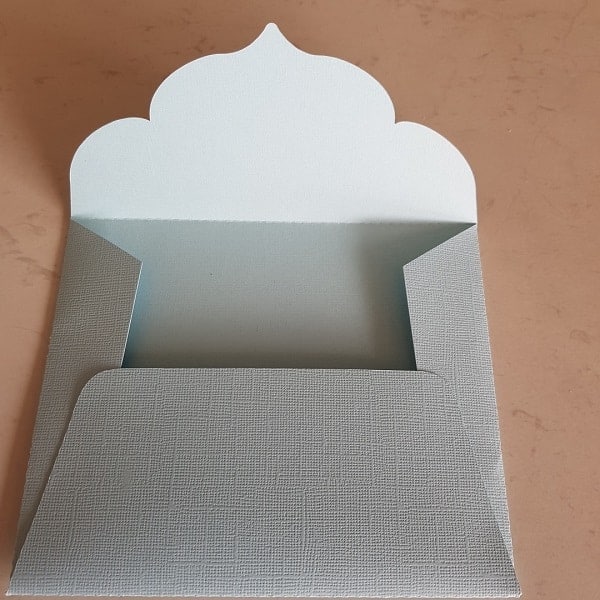
And finished!
Here is the finished envelope.
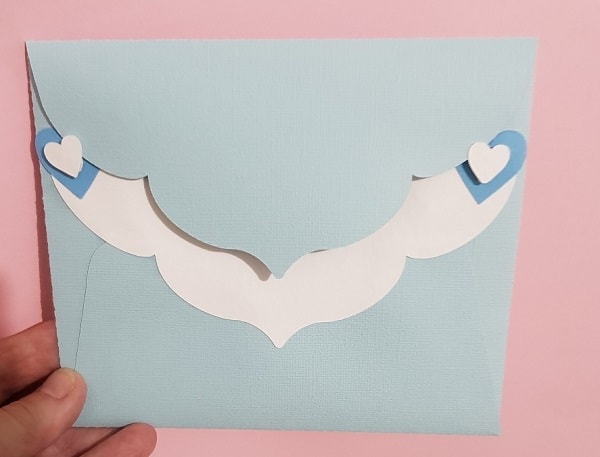
There are lots of options to embellish this large envelope. This is just one. I would love to see what you come up with.
How to create an envelope from shapes
Would you like to learn how to make your very own large envelope from shapes in Canvas Workspace? It is really quite easy. I am going to guide you through how to do it in the video below using the online version of Canvas Workspace. It is a very similar process in the downloaded version so even if you use the downloaded version this will help.
Watch the video here
I hope that you have enjoyed this tutorial. Please join me again for future tutorials.
Happy creating,

Join me on facebook
Welcome to Create With Sue facebook where you can make friends, share your creations and ask questions for additional assistance.
Join me in the Scan N Cut – Let’s Create With Sue facebook group.
I would love to see you there.
Post #how to make a large envelope


Hi Sue! I found you when I wanted to know how to make envelopes for A4 cards that I design.
I was actually looking for the measurements to be able to do it myself. So, if you can share how I can do this on my scanncut, I would be most grateful.
Thank you for sharing your knowledge with us.
Take care.
Emily
Hi Emily, I emailed you some information. Hopefully you received it ok. 🙂
Thanks for this; so helpful.
Pleased that you found it helpful. Thanks for letting me know. 🙂