How to Use the Brother Universal Pen Holder with Your ScanNCut
The Brother Universal Pen Holder is an incredibly versatile accessory for your ScanNCut cutting machine, enabling you to use regular pens to create stunning, personalized designs. This step-by-step guide will walk you through everything you need to know about setting up and using the pen holder effectively.
Disclaimer: As an Amazon Associate, I earn from qualifying purchases. Links included in this tutorial may be affiliate links, Amazon or others, meaning I may earn a small commission at no additional cost. These commissions will help me continue creating content for you. Thank you for your support! Read my very boring full disclosure policy here.
What Is the Brother Universal Pen Holder?
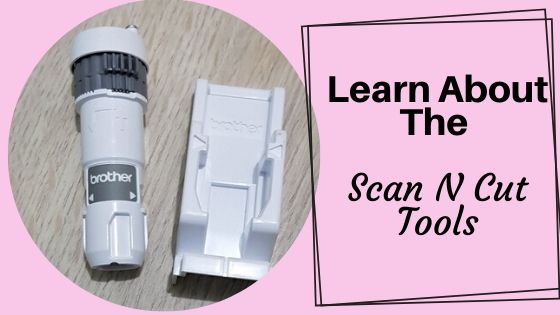
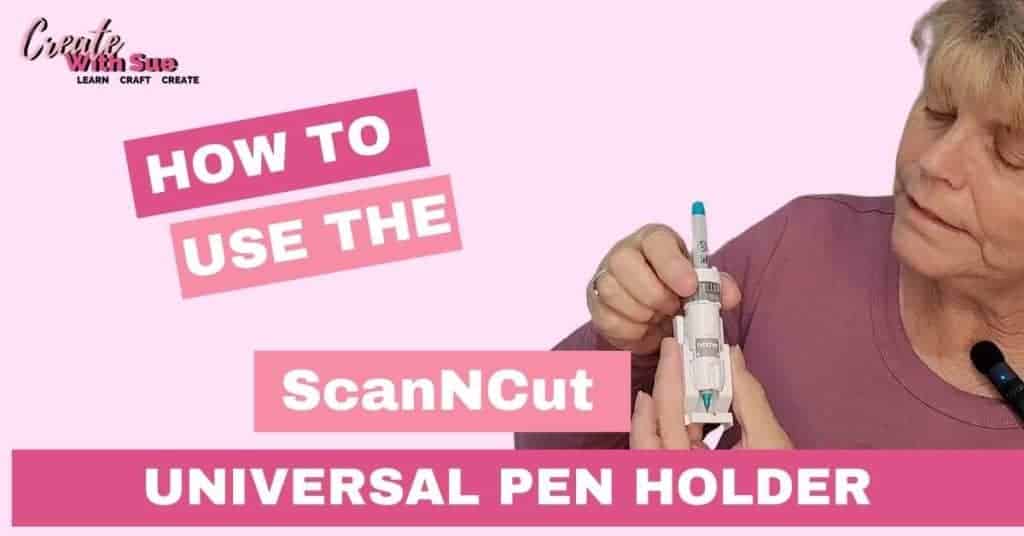
The Brother Universal Pen Holder is a tool designed to hold standard pens and markers so you can draw/write directly onto your materials with your ScanNCut. It is perfect for creating intricate designs, calligraphy, or adding personal touches to your projects.
Will the Universal Pen Holder suit my ScanNCut?
Yes, the Universal Pen Holder will suit all models of both the CM range of ScanNCut AND the SDX range of ScanNCut machines. Awesome hey!
What Comes in the Kit?
When you purchase the Brother Universal Pen Holder, the kit includes:
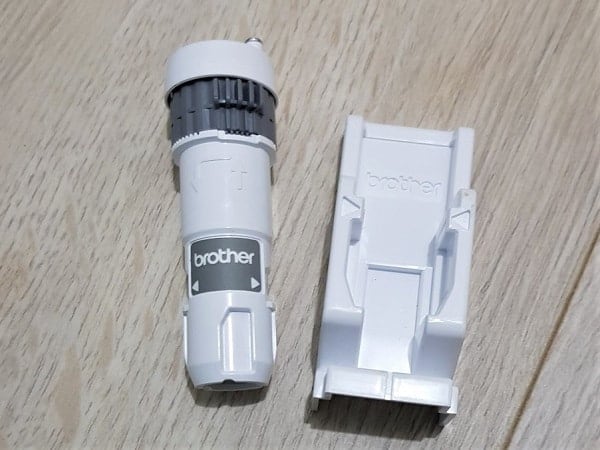
- The Pen Holder: This is the main component that fits into your ScanNCut machine.
- The Alignment Guide: A handy tool for positioning your pen correctly within the holder.
How to Set Up the Brother Universal Pen Holder
Gather Your Supplies
Before getting started, you will need:
- The Brother Universal Pen Holder
- A regular pen. For example an ultra-fine Sharpie is a good choice for best results, however, many other pens will fit in the Universal Pen Holder. Even the Quickie Glue Pen will fit the holder with a little masking tape around the barrel.
- Materials to write on. This can be cardstock, acetate, vinyl, and potentially acrylic if it is thin enough…. there are a lot of options. I would love to see what project you have written on – Check in at my Facebook group.
- Your ScanNCut machine
Insert the Pen into the Holder
- Take the alignment guide from the kit and place the pen holder into it.
- Insert your pen into the holder, ensuring it sits snugly without being too tight.
- Tighten the holder’s grip to secure the pen in place.
Test the Pen Fits
Not all pens are compatible, so make sure your chosen pen fits properly. Ultra-fine markers, such as Sharpies, typically work best as their slim bodies and nibs are well-suited for the holder. My preference is a finer nib however this does depend on the project.
If the barrel of your pen is a little thin and the holder does not clamp it firmly, wind some masking tape around the barrel to thicken the barrel up. This will provide a firmer grip so the pen does not slip while it is drawing.
There is a list further in the tutorial of pens that will suit the Universal pen holder. You are welcome to comment at the bottom of the post with more pens that fit the holder.
Installing the Universal Pen Holder on Your ScanNCut
- Open the clamp on your ScanNCut machine.
- Insert the pen holder into the clamp, ensuring it clicks into place securely.
- Close the clamp to hold the pen holder firmly.
Using the Pen Holder to Draw
Select Your Design
Choose a design from your ScanNCut library or upload your custom file to the machine. The pen holder works best with designs that include intricate lines or patterns. I personally prefer using single-lined fonts when I write sentiments and names. To use single-lined fonts you need to install them onto your computer and open Canvas Workspace.
Here is a full tutorial for finding and using single-lined fonts.
Pictured below are three that I like. I also really like one called Bonbon. You will find it here.

Adjust the Settings
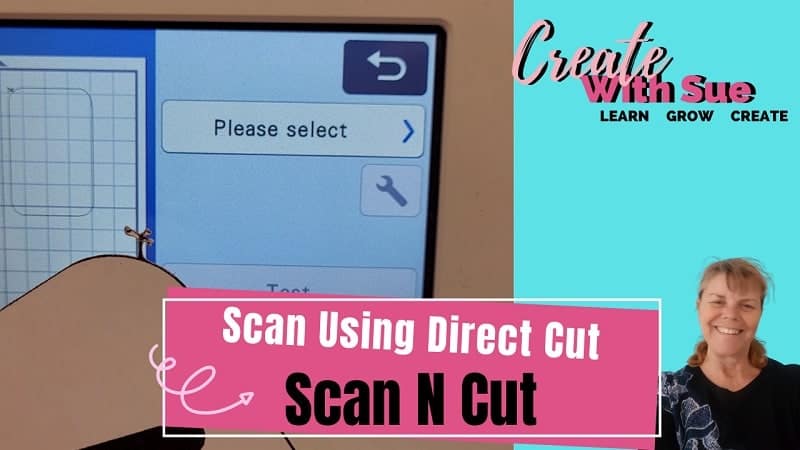
Choose Draw when you are ready. Ensure your machine’s settings are optimized for drawing. Adjust the Draw pressure and speed if necessary to achieve clean, consistent lines. In most instances, I find you do not need to adjust any settings and simply use the default settings for the machine. It pays to check though.
TIP 1: If you select Draw and there is no design on your screen eg it is blank, you may find that your design is set to Cut and not Draw. Simply go back and set the design to Draw. If you created the design in Canvas Workspace, go back into those settings and alter the Cut icon to the icon that looks like a tiny pen.
TIP 2: For best results, I recommend that you complete your Draw section of the design before you cut the design out. This reduced the risk of the materials moving during the drawing process.
Begin Drawing
Start the machine and watch as it brings your design to life with your chosen pen. Make sure to supervise the process to avoid any errors.
Tips for Success with the Universal Pen Holder
- Use Ultra-Fine Pens: Pens with smaller nibs provide more precise results.
- Test Before Drawing: Always do a quick test on scrap material to ensure the pen and settings are correct.
- Clean the Holder: Keep the holder clean to prevent ink smudges or buildup.
- Draw First: Complete the Draw section of your design before the Cut section.
Compatible Pens for the Brother Universal Pen Holder
Here is a list of pens that are commonly compatible with the Brother Universal Pen Holder. These pens are slim enough to fit securely and offer excellent results when used with your ScanNCut machine:
- Ultra-Fine Sharpie Markers – Ideal for detailed designs due to their precise tips and don’t bleed. My favorite for many projects.
- Uni-ball Signo 207 – Gel pens that offer smooth writing and drawing.
- Pentel EnerGel Liquid Gel Pens – Reliable for thin, even lines.
- Staedtler Triplus Fineliner – Water-based pens with superfine tips.
- Faber-Castell Pitt Artist Pens – Perfect for creating bold, artistic details. Some require masking tape.
- Scribbalicious Glitter Gel pens – Add a little sparkle
- Quickie Glue Pen – For writing the wording in glue and then sprinkling glitter on the wet glue areas. The Quicky Glue Pen will also work for cold foil however I found you cannot glue too large an area before adding the foil. Requires some masking tape.
Tips for Choosing Pens:
- Test the Fit: Always use the alignment guide included with the Universal Pen Holder to ensure the pen sits at the correct depth for the Pen Holder and a good result.
- Nib Size: Opt for fine or ultra-fine tips for more precise designs.
- Material Compatibility: Test the pen ink on your material beforehand to ensure it adheres and dries properly. Some materials do not accept ink well. Vellum, in particular needs testing beforehand.
Why Use the Brother Universal Pen Holder?
The Universal Pen Holder opens up endless creative possibilities for your crafting projects. Whether you’re making personalized cards, intricate designs, or adding handwritten elements to your work, this accessory is a must-have for ScanNCut users.
By following this guide, you’ll be able to make the most of your Brother Universal Pen Holder and enhance your crafting projects. Let your creativity shine with this versatile tool!
Join me on Facebook
Join me in the Scan N Cut – Let’s Create With Sue Facebook group. It is a group of awesome craft friends sharing and caring.
I would love to see you there.
I hope that you found this tutorial useful. Please feel free to ask any questions that you need.
Happy creating


Would you like to learn all about creating your very own designs in Canvas Workspace? This course is ideal for beginners and intermediate users of Canvas Workspace (downloaded version)

You can find more information here!