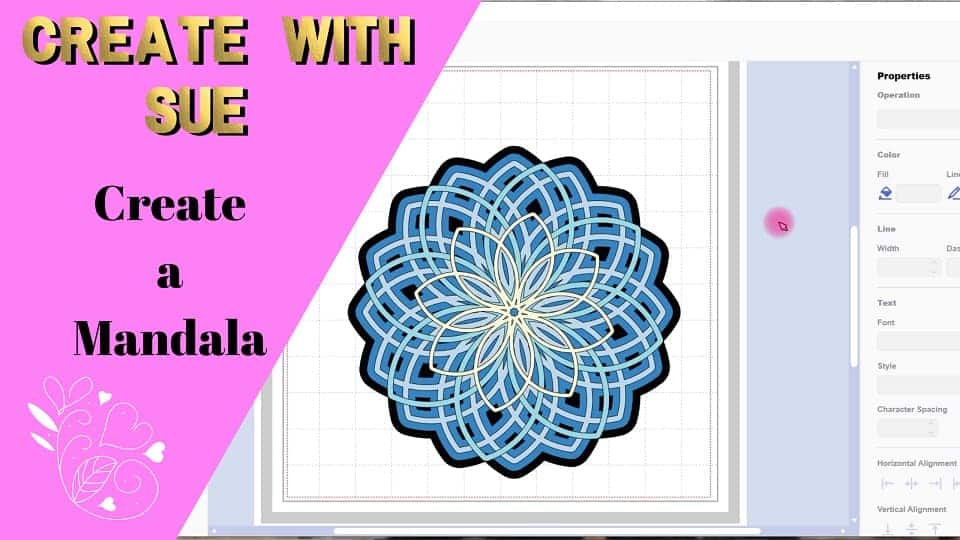
I am very excited to do this Canvas Workspace 3D Mandala Tutorial as I absolutely love Mandalas and the 3D variations are extra special. They are actually much easier to learn to do than you would expect.
The best news is that I have also included the free 3D Mandala in my Resource Library in both FCM format and SVG for our Cricut friends.
Disclaimer: As an Amazon Associate, I earn from qualifying purchases. Links included in this tutorial may be affiliate links, Amazon or others, meaning I may earn a small commission at no additional cost. These commissions will help me continue creating content for you. Thank you for your support! Read my very boring full disclosure policy here.
- What do you need
- Transfer your file to your Scan N Cut
- Getting all the pieces off the mat
- All the layers of the 3D Mandala ready to assemble
- Glue the Mandala base layer and layer 3 together
- Add layer 2 and layer 1 of the Mandala
- Now for the top layer of the Mandala
- Would you like to learn how to make your own designs?
- Join me on Facebook
- Would you like to learn the Scan N Cut Basics?
- Like it…..Pin it
What do you need
- Contrasting 12×12 cardstock – I used a pack that has lots of colors that coordinate
- Free 3D Mandala from my Resource Library
- Thin as you can find double-sided foam tape
- Glue
- Something to cut the file with – I used my Scan N Cut
Transfer your file to your Scan N Cut
Head over the Resource Library and download the file. It will be in a zipped format. If you need assistance unzipping the file have a quick look through this tutorial on unzipping files.
This is a layered file which means that you will need to send each layer to your Scan N Cut separately. While it doesn’t matter which order you send the file over in, it will make it easier to keep track if you start from either the top or the bottom of the 3D Mandala and work through the layers.
Load each layer into Canvas Workspace and send them to your machine to cut out.
Getting all the pieces off the mat
As some of the layers are reasonably fine, the easiest way to get them off the mat is to turn the mat over and giving it a slight bend. Do not crease the mat simply give it a slight bend. This will allow you to lift then peel the cardstock Mandala layers off.
You may need your scraper to get all the waste pieces that are left over on the mat off.
All the layers of the 3D Mandala ready to assemble
Here are all the layers of the 3D Mandala ready to be assembled. I picked colors that co-ordinated and contrasted to add interest to the design.
Place them in the order that they need to be assembled to make it easier for you. I can’t wait to see what combinations you make, there are so many options.

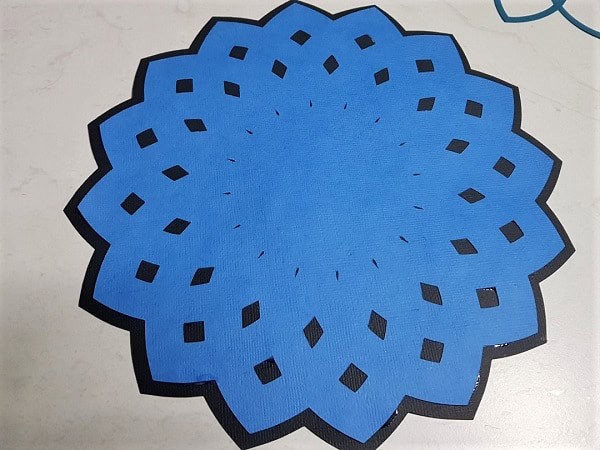
Glue the Mandala base layer and layer 3 together
I started with the base layer and then added the 3rd layer of the 3D Mandala as this seemed the easiest way to put it together.
I glued the two layers together with tacky glue.
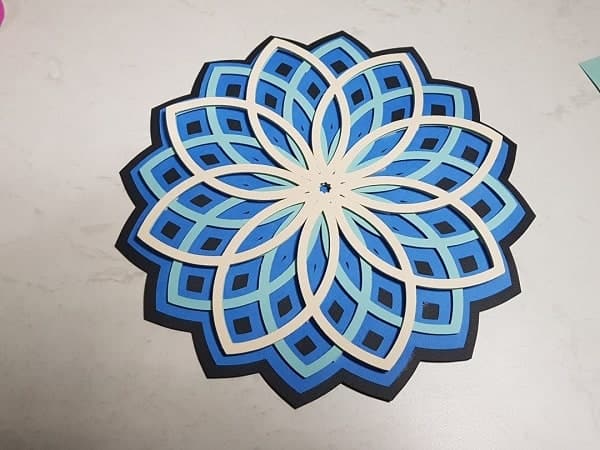
Add layer 2 and layer 1 of the Mandala
Both of these layers were added to the design using double-side foam tape. The tape needs to be very thin so that it is not visible in the finished project. Place it strategically around the Mandala layers.
I ended up cutting my foam tape significantly to reduce its size further. I used scissors to do this however, on reflection, I think the Exacto knife may have been a better option as the glue transferred to the scissors and made them stick to the foam tape.
Make sure that you check from the front of the layer that none of the foam tape is visible BEFORE you place it down onto your project. I had to remove some of my tape that was showing slightly and replaced it in a better location.
Place layer 2 onto the 3rd layer and then add layer 1 on top of that lining them up carefully as you go.
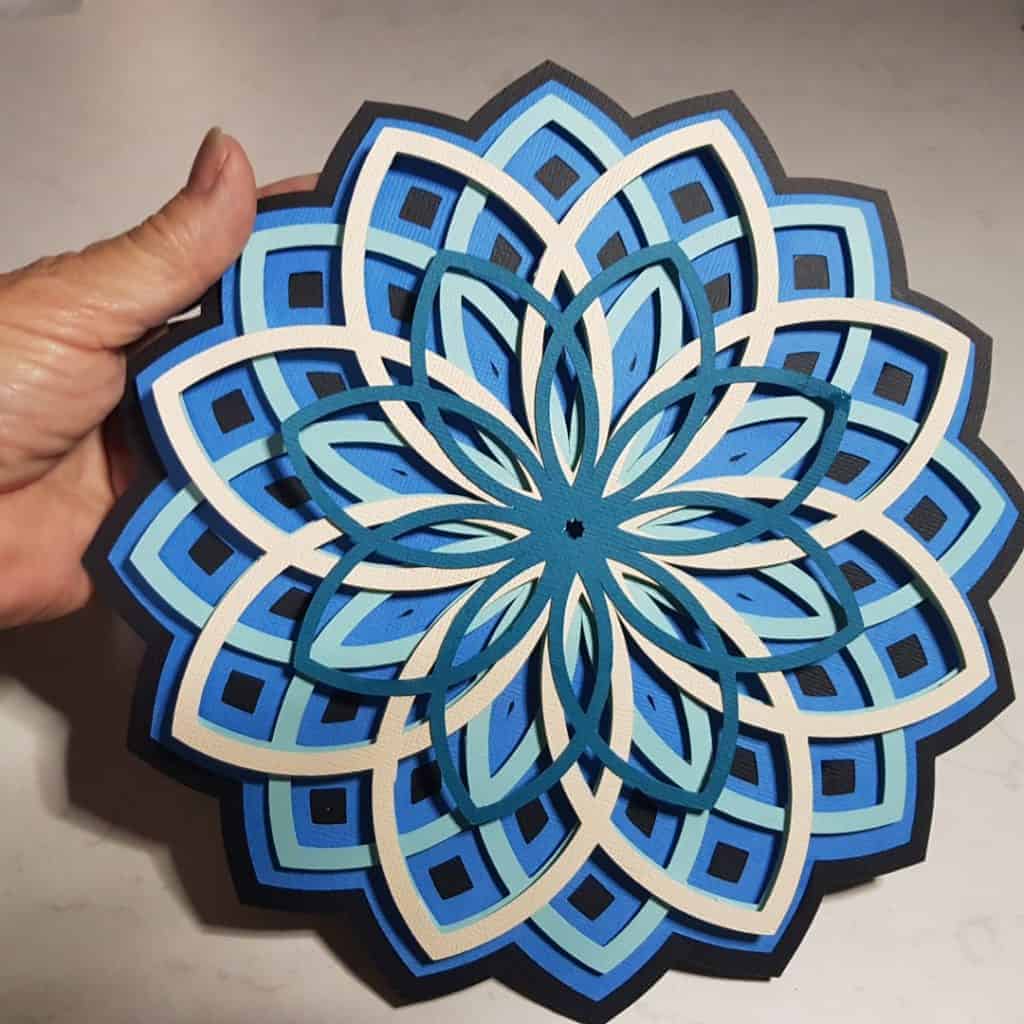
Now for the top layer of the Mandala
Now to finish off with the top layer. This layer is quite a bit smaller than the previous layers so place it carefully. I sat it on the project before I glued it just to get a good perspective of where it would finally rest. I didn’t use foam tape for this layer either, just tacky glue.
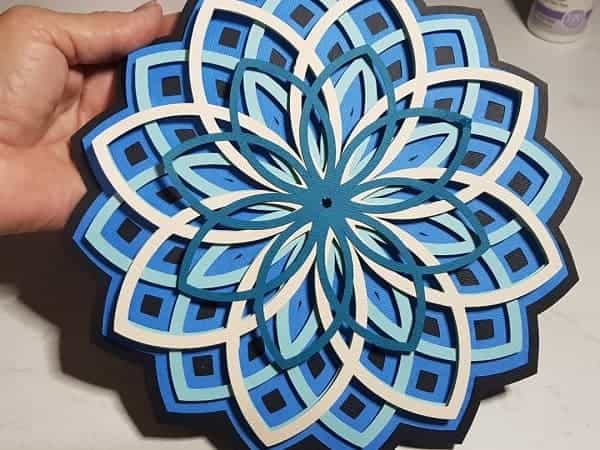
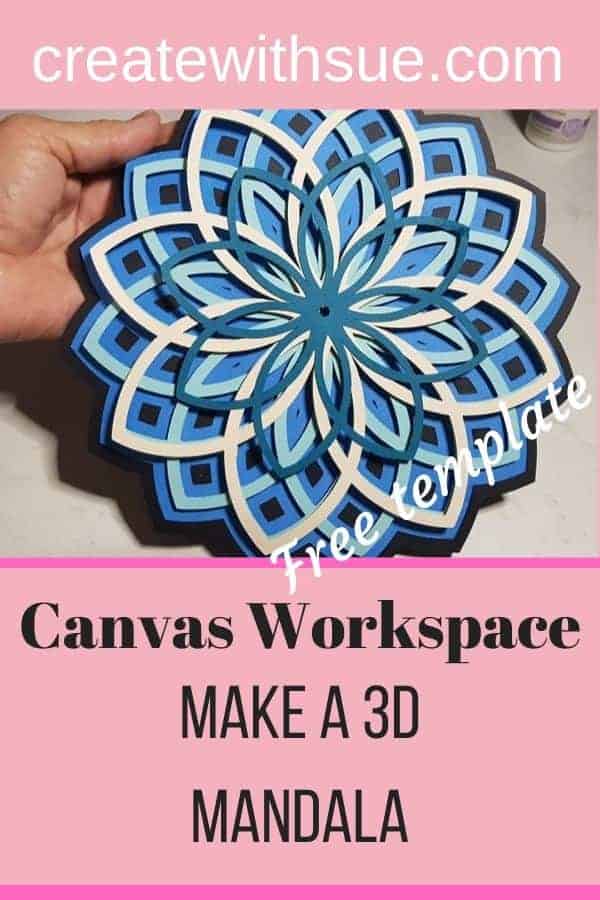
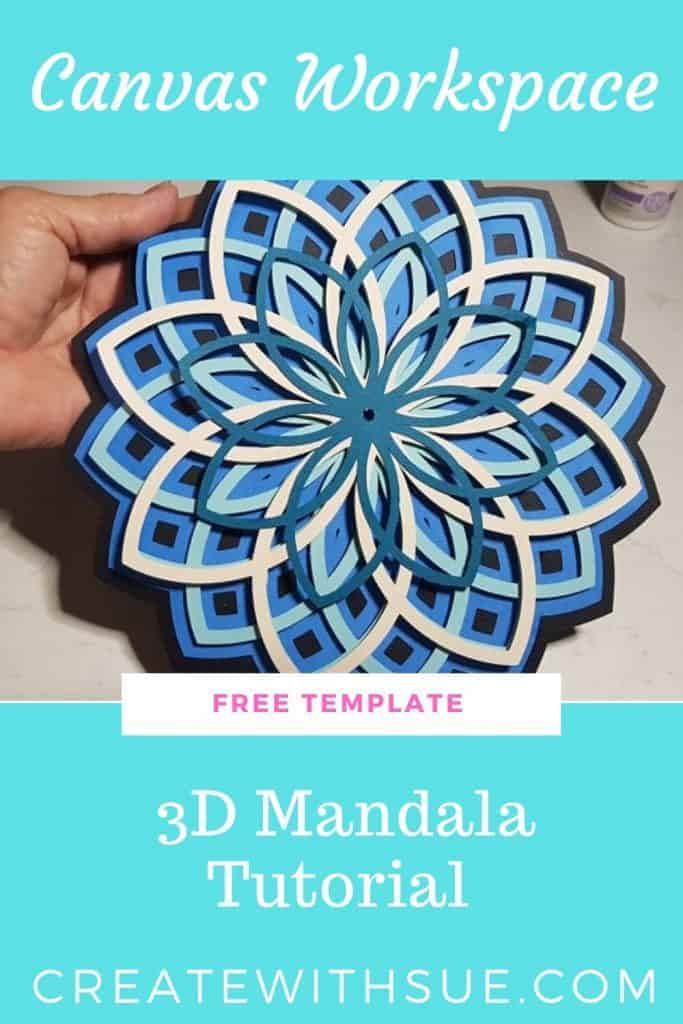
Well, that is the finished project. I do hope that you enjoyed it as much as I did putting the design together and sharing it with you.
Happy creating,

Would you like to learn how to make your own designs?
You too can make these 3D Mandalas and in Canvas Workspace – it is easy.
Enrol in my short course to learn how.

Join me on Facebook
Join me in the Scan N Cut – Let’s Create With Sue Facebook group. It is a group of awesome craft friends sharing and caring.
I would love to see you there.
OR say hello at [email protected] or [email protected]. I would love to hear from you!
Would you like to learn the Scan N Cut Basics?
I have a free course on offer to assist you to learn some of the basic features of your Scan N Cut.
Like it…..Pin it


Sue i am learning and your blog is so helpful. One thing i am having trouble with is a design like the mandala with several layers. I can unzip and get it to Canvas or Sure Cuts A Lot but how do i get the design into separate layers so i can cut each layer a different color I am trying to cut 10 x 10 design. Thanks Robbie
Hi Robbie, you send each layer to your SNC separately. If you are in the downloaded version of Canvas Workspace then use the icon that looks like an eye to hide the layers you don’t want to send over. Hide and unhide as you need. In the online version it is a little more cumbersome. You can delete and replace the layers as you wish to cut them OR if you are using a USB you can upload to your SNC and delete anything you don’t want to cut and when you are ready upload the file again and choose another layer and do the same thing. I hope that makes sense. I will work on a video tutorial as soon as I can which will make much more sense. 🙂
Where can I get the layers
Hi Angie, Thank you for your interest in my mandala pattern. The mandala file can be found in the Resource Library. Look up the top right-hand side of the menu and there is a link. You will need to register and a password will be sent to your automatically.
Thank you for your help and generosity.
Thank you so much Michelle, I am really pleased that you are enjoying my tutorials x