
This tutorial will guide you through working with Canvas Workspace and using the Layers panel to make an easy 3D Mandala with your Brother Scan N Cut.
PLUS there is a free 3D Mandala template included.
Scan N Cut creators
The files are available from the Resource Library and included in the zipped folder are SVG, FCM and CWPRJ files for Scan N Cut creators. If you need assistance with unzipping I have a tutorial here for you.
Cricut creators
If you have a Cricut then you can still use the file, simply choose the SVG version. Please let me know if you need a tutorial to work with Design Space and I will happily put one together for you. Skip past the Canvas Workspace tutorial to the 3D Mandala instructions. 🙂
JenniferMaker.com also has some wonderful tutorials for you on how to use Design Space.
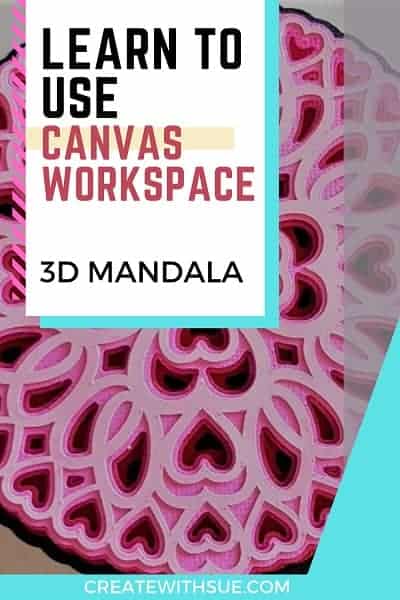
Don’t you just love 3D Mandalas?
I know I do!
The 3D Mandala can be cut out the size it is or you can increase the size and hang it on the wall or use it for some other decorative purpose.
Disclaimer: As an Amazon Associate, I earn from qualifying purchases. Links included in this tutorial may be affiliate links, Amazon or others, meaning I may earn a small commission at no additional cost. These commissions will help me continue creating content for you. Thank you for your support! Read my very boring full disclosure policy here.
What you need to make your Mandala
- 4 or 5 pieces of different colored Cardstock
- Foam double-sided tape
- Possibly an Exacto knife
- Tacky Glue or Art Glitter Glue
- Cutting Machine – I used my Scan N Cut but a Cricut is fine
- I used a diamonte in the center of the Mandala to snaz it up
- Pattern/Template from the Resource Library or one of your own.
Getting the template for your Mandala
The first thing you need to do is to download a cut file to make your Mandala. Now, this can be the one from my Resource Library OR another one of your choice that you may have.
How to access the Resource Library
To access the Library you follow the link. You will be presented with the page “Resource Library Entry Point” as shown in the picture below.
As you scroll down you will see the below section where if you click on the blue “ENTER HERE” you can enter the password. Access to the Library is free.
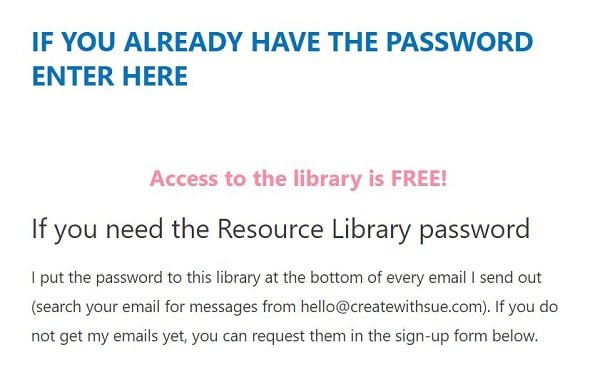
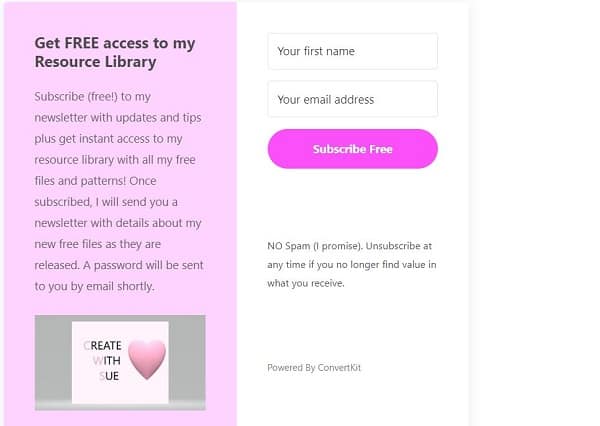
If you need a password complete the form as shown below. I will email you the password straight away and it is included in EVERY email that I send out so if you forget it…you can always look it up.
Sometimes you are unable to see the email in your inbox. If you cannot find the email it may have gone into your SPAM folder. Check in the Spam folder first if you are having trouble finding it and if this is where the email is located then consider ‘whitelisting’ my emails.
Adding your file to Canvas Workspace
I have some tutorials on adding SVG and FCM files to Canvas Workspace and if you need help you can access a tutorial here. In the zipped file, I have included the CWPRJ file which I don’t normally do. The CWPRJ file or Canvas Workspace Project file is the original creation file and I have included it so that you can use it for the tutorial.
To use the CWPRJ file you go to Open in the File menu of Canvas Workspace.
When using the SVG or FCM version of the file, then choose IMPORT from your computer. I recommend that whenever you have a choice of FCM or SVG then choose the FCM file. The FCM version will be tweaked specifically for your Scan N Cut.
Working with the Layers panel
Choosing the CWPRJ file will open in Canvas Workspace similar to the image below. Remember, this is the downloaded version of Canvas Workspace. If you have elected to use the FCM it will look slightly different however working with the layers will be exactly the same.
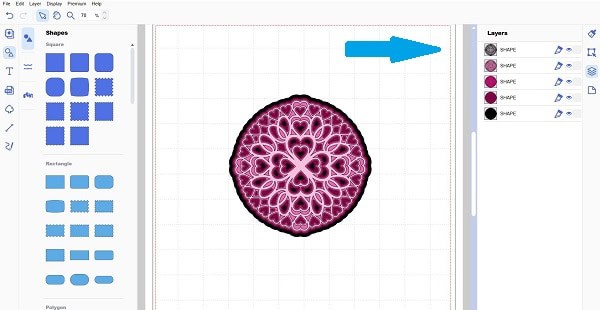
Go into the “Layers” panel which is the third icon down on the right-hand side and looks like layered paper. The picture above has an arrow pointing to the layers where you will see the FIVE layers of the design.
Look at the design on the mat and you will notice that it is not obvious what the 3D Mandala layers each look like as they are stacked. It is easy enough to move each of the layers around so that you can see each layer better if you would like to. The location on the mat will make no difference to what or how your design will be sent to the mat and is purely aesthetic.
The red dashed border
Ensure that you do not place them outside of the red dashed lines around the outside of the mat area as this will cause an error and the layer won’t be sent to your machine. This is not a serious error and is very common. Even if the tiniest part of the design is outside the red dashed line, Canvas will not send your project to your Scan N Cut.
Simply move the object back so that it is within the mat area.
Using the Layers panel to your advantage
One of the best features of the downloaded version of Canvas Workspace is the Layers panel and how it manages multi-layer designs. The Layers panel is where it all happens.
Hide and Unhide icon
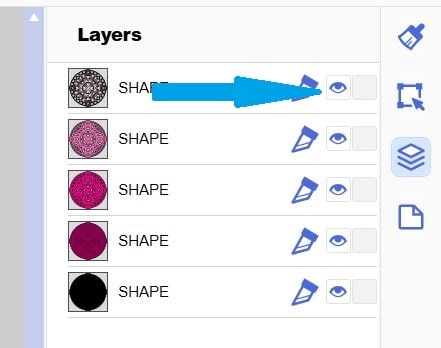
This picture above is a close up of the Canvas Workspace Layers panel and the 5 layers of the Mandala. The arrow is pointing to the “eye” which is actually a hide and unhide icon. To send the layers or layers that you want to cut out on your Scan N Cut you simply hide all the other layers.
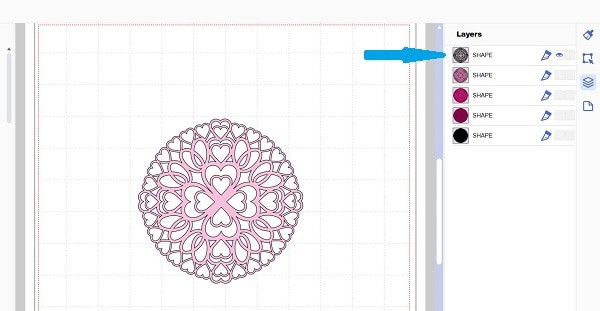
The picture below demonstrates the visibility and use of the “eye” icon with the various layers in Canvas Workspace. You can see the “eye” icons are not visible in the right-hand menu AND neither are the associated layers.
Warning message
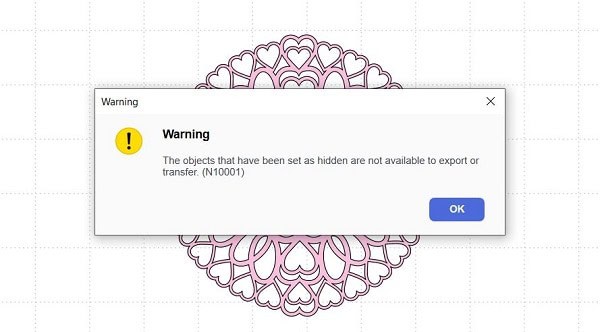
When you send this file to your Scan N Cut there will be what seems like an error message, however, it is simply a warning message to let you know that you have hidden some layers and that the hidden will not be transferred or exported in FMC format to your machine to be cut out. (Error N10001)
This is a good thing… and what we are intending to do. Yey !
This is an easy way of cutting each layer out.
An alternative is to go into your machine and delete the layers that you are not wanting to cut and then re-adding them. Add the design again and then delete the next layer etc until they have all been uploaded and cut out. This is the option you could use if you upload your Mandala file directly into your Scan N Cut.
Once you have cut the first layer out then you can hide that layer and unhide layer two. Send the second layer to your Scan N Cut and work through the five layers until they have all been cut out.
Voila, easy as that !
Assembling your 3D Mandala
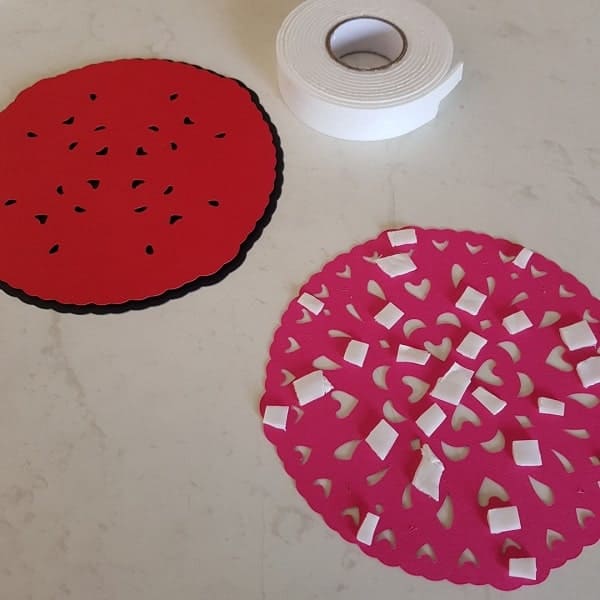
Using double-sided foam tape
Now that you have cut out all five layers of your 3D Mandala you will want to make your project. I used double-sided foam tape to add depth to the finished Mandala giving it a very pronounced 3D effect. The foam tape that you use needs to be very narrow so that it does not show when your project is finished.
Alternatively you can use Tacky Glue or Art Glitter Glue to complete your project which will give you a flatter appearance but still really nice.
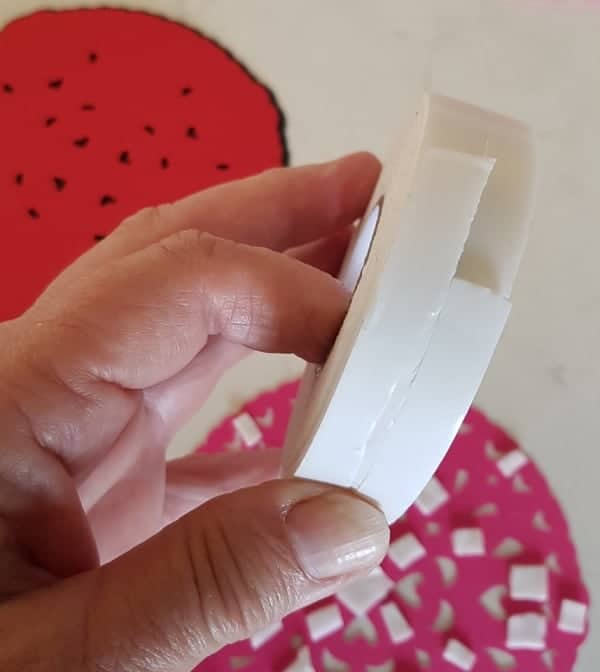
The double-sided foam tape that I had available was way too wide so I ended up using an Exacto knife and cut it down the middle. For some areas, I needed to cut it into thirds. (not that easy and you need to be careful NOT to cut your finger, those Exacto knives can be deadly)
If you are able to purchase very narrow foam tape or small pop dots you will find it a lot easier.
Building the layers
Normally I start from the bottom layer and work upwards. Things that you need to be mindful of is keeping the cut pattern pieces the right side up. Depending on your cardstock it can be very easy to mix up which side is the “right” side of your card and your project may suffer. Or your sanity.
Mandala’s, in particluar often only fit one way. If you inadvertantly flip the layer you will have trouble aligning your design.
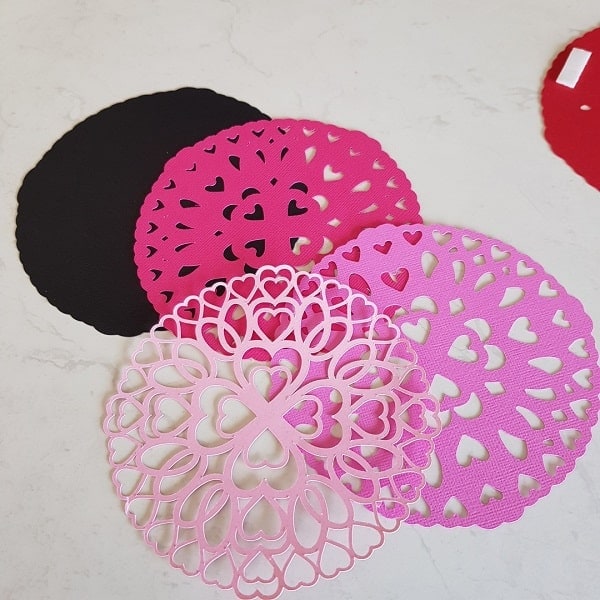
Place all the layers on your work area and build by sticking the fourth layer to the bottom layer, then add the third layer, then the second layer and finally the top layer. The top layer was the layer that I needed to make sure the foam tape was cut fine enough.
As you can see, I haven’t been overly neat cutting the foam tape and it does not really matter (my Exacto knife technique may need improvement LOL). The main thing is to make sure that you cannot see the tape once you have completed the project.
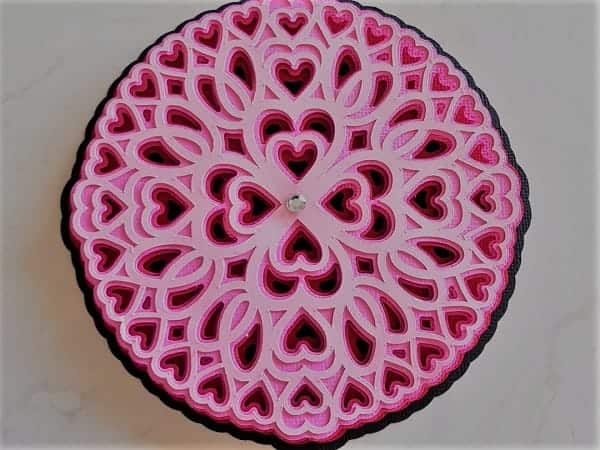
Your finished 3D Mandala
When you have completed the steps above you are finished…well possibly finished. You may want to do something special with your completed 3D Mandala. I added a diamonte in the middle to snaz it up a bit however I have seen some amazing projects using 3D Mandala’s.
Ideas for your 3D Mandala
If you have made the Mandala the size that I provided, it is small enough to place on the front of a card. A 3D Mandala makes a beautiful and very unique card for someone.
Frame it – another option is framing your Mandala. These look fabulous on the wall or shelf with a number of complementing Mandala projects.
There are many more options on how to use your completed 3D Mandala, you could even use the top layer of the Mandala on it’s own for something special.
Sharing your completed project
I would LOVE to see your completed project. You are welcome to join our Facebook group and post pics and ask questions. I love helping so don’t be nervous or shy.
I hope that you have found the Canvas Workspace Layers tutorial and the steps to make your 3D Mandala helpful.
Happy creating


Would you like to learn more about how to use Canvas Workspace? You can find more information here!
P.S. Don’t forget to pop into our Facebook group and say hi. I love hearing from you! The group is full of awesome crafty friends like you and is where you can share your creations and any issues you might have.
LIKE IT ….. PIN IT


Is there a tutorial for using your files in Design Space for Cricut? I can’t seem to get the files to upload.
Hi Desiree, I have created a video in the “Make a Step Card” tutorial for Cricut Design Space. It is the greeny/aqua video. You will not be able to upload any file that is in FCM format as these are purely for the Scan N Cut machines however I have a lot of files that are in SVG format which have been tested with Design Space. Here is the link to the Step Card tutorial https://www.createwithsue.com/make-a-step-card/
Wow—nice post, Susan. Lots of info!! Thank you!
Thank you Cher! Pleased that you like it.
Love your advice about Xacto knives. My best friend stabbed her thigh once while using one, I guess she was used to pushing lead out from a mechanical pencil by pressing it against her thigh, and was not aware that her knife wasn’t a pencil. Ouch!
My stepson sliced the upholstery on the couch with one, the pad underneath his project wasn’t thick enough. Fortunately, that was back in the day when we could flip the cushions over.
Here in the southwest, we refer to your center decoration as a diamond. I’m not sure that I would recognize a “diamonte”. Or, to be a proper craft hunter, I’d look for “Self-Adhesive Acrylic Clear Rhinestones” but it would take me 10 minutes to say that, and I’d forget what I was looking for.
Hi! Yes, those darn Xacto knives can be dangerous. Thank you for the tips regarding the diamonte. Each country and even various states with in a country have different wording and spelling for things. The spelling, in particular, causes me to think outside the square a lot LOL. Thanks again, Sue
Has anyone tried to cut use this file as a stencil? With the cost of mailing I am looking for ways to make my cards light and easy to mail. Thanks B
Hi Barbara, you can certainly use the mandala shape as a stencil. Depending on the design how many layers you can manage. You can also cut mandala designs in regular vinyl or HTV. I often use regular vinyl on cardstock. To do this, you need a transfer sheet that isnt too sticky (so it doesnt latch onto the cardstock and lift the top layer off). Both are well worth trying. 🙂 Sue