
Have you thought to create a kid’s sewing kit with your cutting machine? How do you do that are you saying?
If you’re a crafter, then you know how versatile cutting machines can be. With just a few simple cuts, you can create all sorts of amazing projects. So why not use your cutting machine to create a fun sewing kit for kids? It’s a great way to teach them the basics of sewing, and it’s a lot of fun too! In this blog post, you will see how easy it is to create a kid’s sewing kit using your cutting machine. This project could be used to create a Rhinestone project as well.
As an added bonus, I have included a free Easter SVG design or you can make your own. The SVG files are designed to be cut out with your Brother Scan N Cut cutting machine or your Cricut.
Let’s get started!
Disclaimer: As an Amazon Associate, I earn from qualifying purchases. Links included in this tutorial may be affiliate links, Amazon or others, meaning I may earn a small commission at no additional cost. These commissions will help me continue creating content for you. Thank you for your support! Read my very boring full disclosure policy here.
What do you need
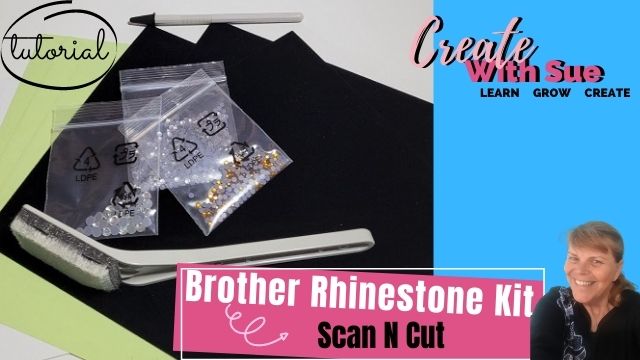
- Eva craft foam
- Kids sewing needle
- A bit of wool – leftover will be fine
- Designs from my Resource Library OR create your own.
- Scan N Cut or Cricut cutting machine.
Benefits of teaching kid’s to sew
Ever since I was a little girl, I’ve loved sewing. My grandma taught me how to sew when I was around six or seven, and I’ve been hooked ever since. Embroidery is another one of my passions. My mum has always been a keen sewer too and still sews, knits, and makes awesome Artist bears. This is such a great skill to pass down to the younger generations, both boys and girls.
Sewing is a great activity for kids. It helps them to develop fine motor skills, and it’s a fun way to be creative. Sewing teaches kids about patience and perseverance, as they learn to follow instructions and persevere when things don’t go as planned. It is a great way for kids to express their creativity, and it’s also a valuable life skill. This is a great project for them to enjoy the many benefits of sewing!
The ideal kid’s sewing needles
Using these plastic kid’s sewing needles is ideal for younger children. They have a large eye for easy threading and are very blunt so they won’t prick their fingers. The littlies that I am making these sewing kits for are aged between 4 years old and 8 years old which is a great age to start learning how to sew.
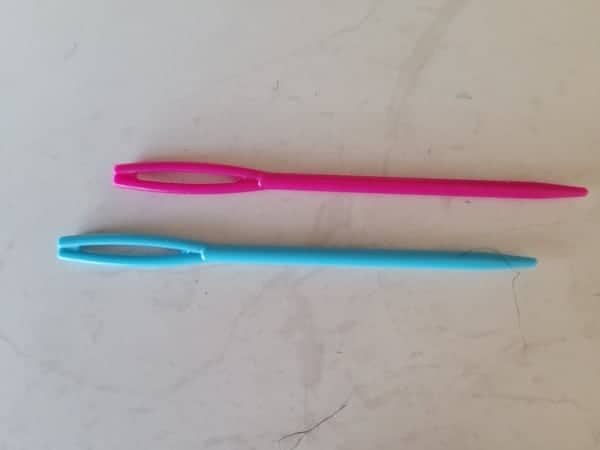
Eva craft foam is a great material for sewing projects because it is easy to hold and has added flexibility. The large eye of these sewing needles is a huge advantage, as it makes it easier for little hands to manage the project. I decided to create a sewing kit from Eva craft foam using these needles because it combines the benefits of the two.
Creating the kit from Eva craft foam makes it durable and easy to use. This kid’s sewing kit will start them on their learning to sew journey and encourage them to get creative with their sewing projects. It is also a great opportunity to reduce TV time.
An SVG design for Easter
Now, I have created this one for my grandchildren for Easter so of course, it is a bunny and an Easter egg. What else would it be!
The fact that the plastic sewing needles have such a large eye means that they need quite a large hole to enable them to be pushed through. I have created these patterns using the Rhinestone SS12 size. The Eva foam gives enough to allow the needle to go through relatively easily.
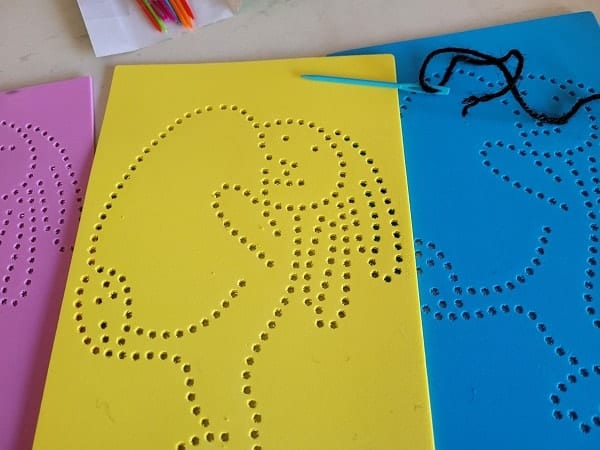
How to sew the design
There are a number of ways that these designs can be sewn however I used a backstitch so that the stitching was continuous.
Backstitch is a sewing technique that creates a strong, durable seam. It’s often used to sew heavy fabrics, like Denim. To do a backstitch, start by threading your needle and either tie a knot at the end of the thread OR leave a short length of thread and sew over it.
Then, insert the needle into the first hole in the craft foam and out the hole behind it. When you bring the needle back out again it will be two holes along in the forward position. This creates a long stitch at the back of your project and fills every hole along the top side of the project.
Hopefully, you get the idea from the picture below.

You could also teach them running stitch with this design.
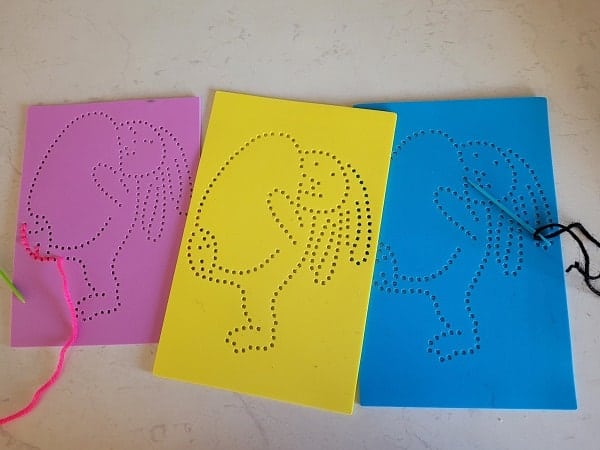
Choose bright colors for your kid’s sewing kit
The Eva craft foam comes in gorgeous colors. I created this design in Yellow for Charlie (because that is his favorite color), Blue for Jacob, and Pink for Matilda (Matilda and I BOTH like Pink 🙂)
Using these bright colors definitely adds to the fun.
You only need a bit of scrap wool and I chose bright Pink and Black for these projects. The boys will like the Black.
Bonus Designs
I had so much fun creating the Easter Bunny and Egg design that I made a few more. The designs can be used for creating various Rhinestone projects as well. They are created in SS13 and SS14 stone sizes and the designs are quite large.
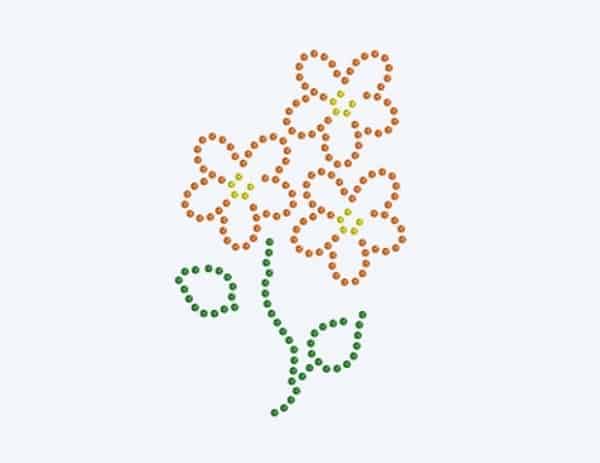
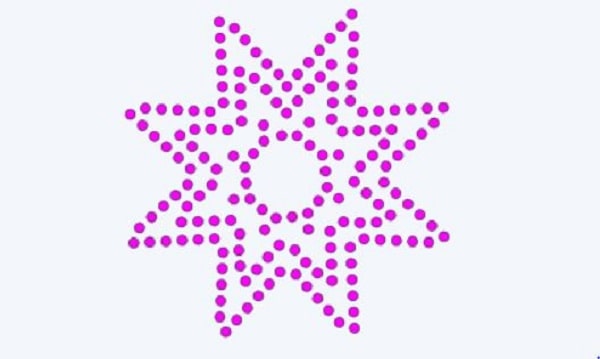
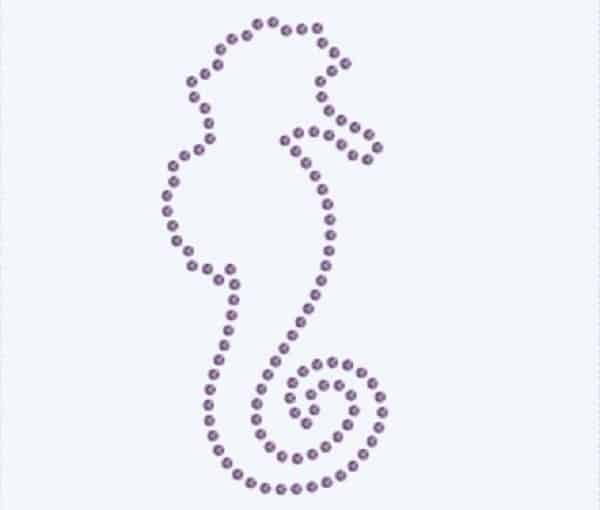
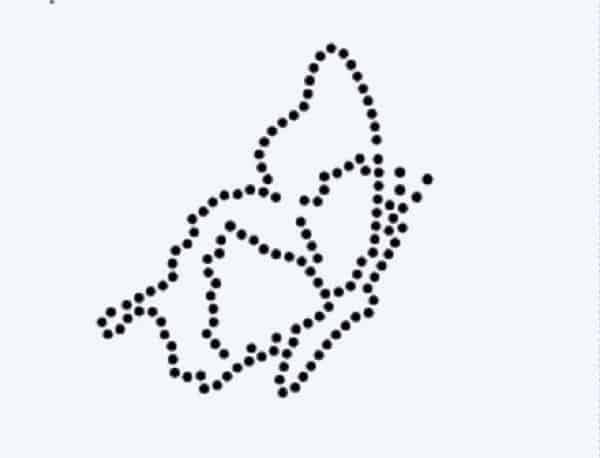
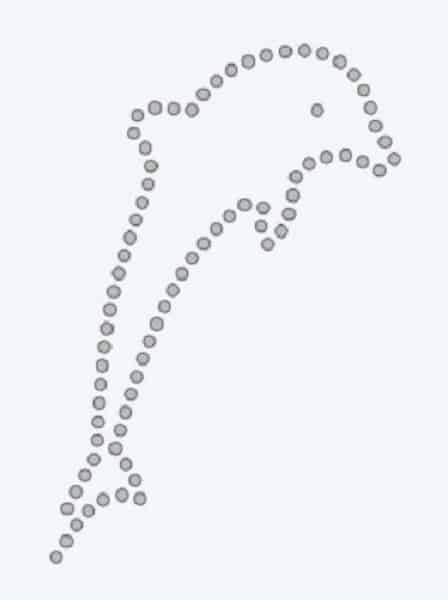
Make your own pattern with Rhinestone
To create these sewing kits, I used a Rhinestone feature. The stone size used was SS13 and you could easily use SS14 for the sewing needles to fit through. If you used a larger hole size you could create these kits in cardstock. I practiced using empty cereal boxes which are quite sturdy and of course free.
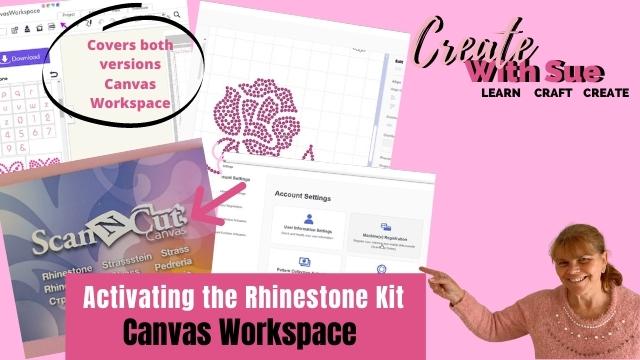
Rhinestone Kit for the Scan N Cut
If you have a Rhinestone kit for your Scan N Cut you are able to create any design you would like using either a Traced image, a shape from Canvas Workspace, or one of the gorgeous designs that came with the Rhinestone kit.
Make sure you choose a Rhinestone size that creates large enough holes for the sewing needle you are planning on including with the sewing kit.
If you need help using your Rhinestone kit you can find out more here.
Using the Trace feature of Canvas Workspace is GREAT fun. Here is a tutorial for that if you haven’t used Trace before.
Creating with SCAL5
Another software package that has Rhinestone creation as an included feature is Sure Cuts a Lot5 or SCAL5. Once again, you can use the inbuilt shapes or Trace an image to create some awesome projects… both for a sewing project OR a Rhinestone project. The Rhinestone feature is included in the base version of the software. You don’t necessarily need to purchase the PRO version.
Other designs in the Resource Library
Now, don’t forget to come back and look around the rest of my site too. I have lots of tutorials for you to wander your way through.
Happy creating,

Join me on Facebook
Join me in the Scan N Cut – Let’s Create With Sue Facebook group. The group is full of awesome new friends to share your projects and problems with. Sharing ideas will inspire you to create.
We would love to see you there.
Check out some of my other tutorials
Activating The Rhinestone Kit – Scan N Cut


L have got the kit with disney ect
Disney designs are fun. 🙂