One of the key features of the Scan N Cut is its built-in designs, which can be a great starting point for your creative projects. In this tutorial, we’ll guide you through the process of accessing and using the built-in Scan N Cut designs.
This post may contain some affiliate links for your convenience (which means if you make a purchase after clicking a link I may earn a small commission but it won’t cost you a penny more)! Read my very boring full disclosure policy here.
What designs are there on the Scan N Cut
Each Scan N Cut model will have different built-in designs and a different number of designs. You can download the manual for your particular model AND a list of the in-built designs on your machine.

Here are some quick links to some of the various Brother websites. Once on the site, you can change the model on the left to suit your Scan N Cut model and download what you need. The Pattern list is very handy to assist in planning your projects and finding the selected built-in design on your machine.
USA – Here is the link for models available in the USA
UK – The UK models can be found here
Australia – If you are in Australia you will find the Australian model’s pattern lists here
If your country is not listed, head here to the main Brother page and use the drop down to find the country you live in.
Remember to explore the designs available to you on your cutting machine. You will have fun!
Access the built-in designs
Once your machine is turned on you will be able to navigate to the designs section and select a built-in design.
On the main screen, you will see the Pattern icon, Scan icon, Retrieve Data button, and the Test feature. Check here for the tutorial on using the Retrieve Data button to import designs into your Scan N Cut.

In this tutorial, we are using the “Pattern” icon, which typically has a picture with three shapes on it.
Browse and choose a built-in design
The next screen will look similar to the picture below.
Within the Pattern menu, you will find a variety of design categories. From the left you can select from a large number of shapes, the picture icons will take you to the built-in designs and you will also browse through the available options to find a design that suits your project.
Some models with a larger number of built-in designs may have more than one picture to choose from. (this is one reason the Pattern list is very handy). Select the picture to access the built-in designs.
This is a Disney model so yours may not have Mickey on your screen.
You can use the touchscreen arrows to scroll through the designs. When you scroll down to the next screen you may have more options to select from.
Scrolling arrows on the right-hand side will take you to the next screen. This is true of any of the Scan N Cut screens. The double arrows will take you to the very first screen or the very last screen depending.

Take your time exploring the different categories in your model.
Preview the design
Once you’ve found a design you like, select OK to preview the image on the screen. Use the back arrow to go back to the previous screen to view more designs.
Built into the machine you will also find borders, pre-made wording, and singular lettering to create your wording plus shapes. Some models will also have built-in Quilting designs and Applique patterns.
Working out the design’s naming code
While you are previewing the designs you will notice that they are all named and there appears to be a code. Well, I am no expert in this area however here is my best guess at deciphering these codes. If you have more information that I have missed please let me know 🙂
How to manage a layered design
Some designs are single layer and others have multiple layers. You can elect to add each layer individually and cut it out. Your Scan N Cut will assist you in stepping through to add the additional layers OR you can import the entire cut file in one go.
All the pieces of the design
Brother has allocated a letter to each layer of multi-layered designs. This Scan N Cut built-in design also has A and A’, The A’ means it is the same object as A but reversed.

When choosing an in-built layered design make sure you follow the lettering in alphabetical order. For example, the design objects marked “A” will be the bottom layer or the first layer that you add to your design. “B” would be the next layer, “C” the next. and so on. Keep in mind this is still your design so there are NO rules for colors, which pieces you use, or how you add the designs together. Following the Brother bouncing ball does make it super easy for you though.

Cutting multiple pieces of the design
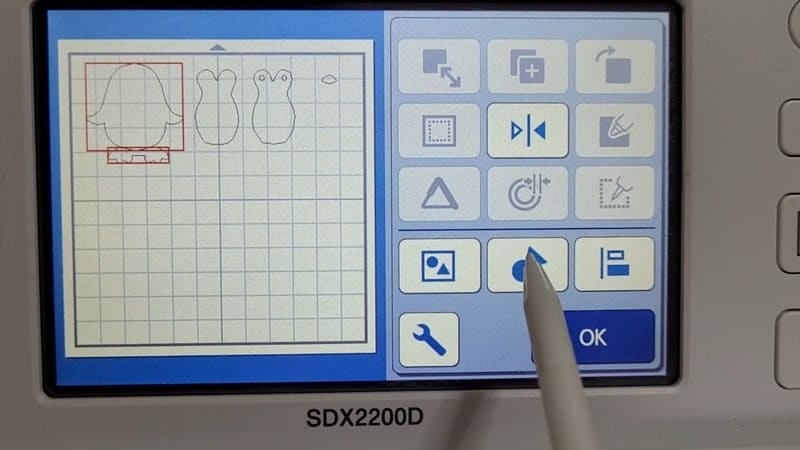
The diamond-like icon with multiple layers designates the ability to import all the pieces at once. This is highlighted in the picture above at the bottom right of the screen. In most instances, when importing the design all at once, you will need to ungroup it so you can move the layers around ensuring that they are cut out separately.
The option to ungroup the built-in Scan N Cut design in the main selection screen is highlighted in this picture on the left. You also have the option to ungroup in the Edit section of the Scan N Cut panel shown in the picture on the right.


Check here for a tutorial on cutting multiple layers of different colors on one mat. (This is one of my favorite features of the Scan N Cut)
Customize the design (Optional)
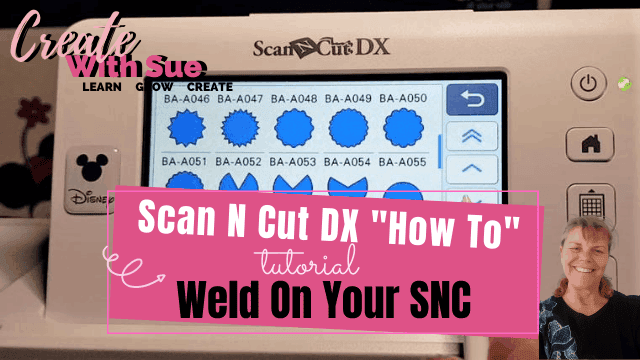
You also have the option to make modifications to the built-in designs, customizing them to suit your project. For example, in the picture below, if you wanted to attach the penguin’s feet to the main body you could weld them together to form one piece instead of two.
If you want to customize the design, you can use the built-in editing tools. Look for the Edit button. These tools allow you to resize, mirror, rotate, or add other effects to the selected design.
NOTE: some designs are very limited and may not be able to be altered at all.
Make sure to save your changes if you’ve made any modifications.
Have you seen the Cheat Sheets for the SDX Scan N Cut?
Knowing and remembering which icons do what can be a nuisance. This is why I created these Cheat Sheets.
Unlock the secrets of the icons – Find out more about the Scan N Cut Cheat Sheets for the DX models.
Finishing your project
After finalizing your design, work your way through to cut the project out. I always recommend using the Test Cut feature for both the CM models AND the SDX models. Even though the SDX has an auto blade, it is still a good idea to check the cutting depth. This is especially true when using materials that you have not used before or if you are having issues.)
Place your chosen material onto the cutting mat and load it into the ScanNCut machine.
Adjust the settings based on the material you are using. If you are planning to use vinyl then the Half Cut feature on the SDX machines is awesome. Here is a tutorial on using that setting.
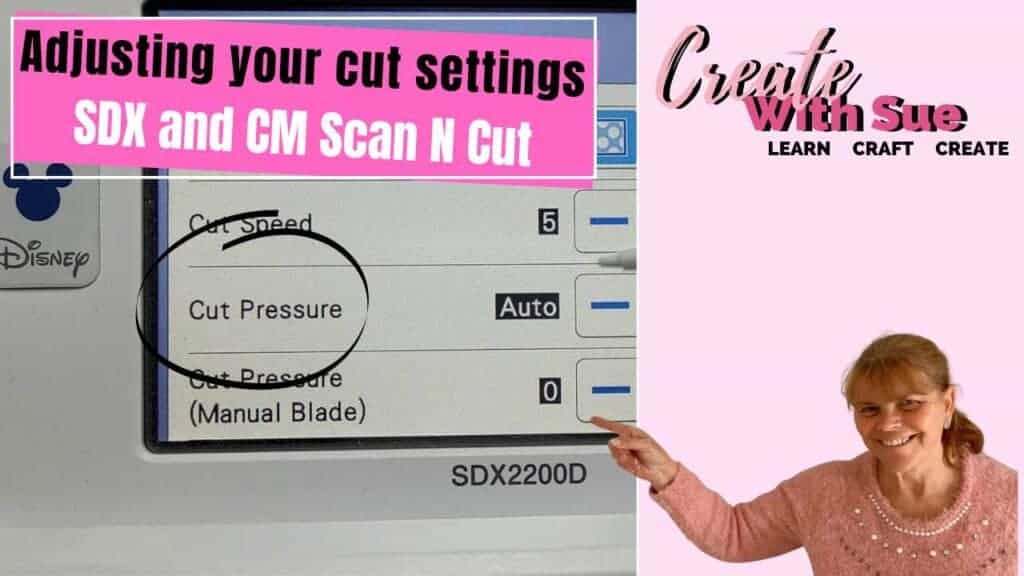
You also can adjust the Pressure and Speed on the SDX models. For more information check here.
Something to remember – if the project has Draw lines in it OR is a full Draw file those lines will not show up if you select the Cut option. The same with cut lines, they do not show when choosing Draw.
Once you are happy with the test cut continue to cut (or draw) your design.
Carefully remove your cut design from the mat, and you’re ready to incorporate it into your project.
I have a solution if you have any problems with lifting the cardstock from the mat. Flipping the mat over so the cardstock is face down on the table and then bending the mat upward will often make it easier to separate the cardstock from the mat.
TIP: Check that your design has been cut through correctly BEFORE removing the mat from the machine. This way if it has not cut through properly, you can run through the cut sequence again.
Wrap up
Using the built-in ScanNCut designs is a convenient way to kickstart your creative projects with the Brother ScanNCut machine. Experiment with different designs, customize them as needed, and enjoy the endless possibilities for crafting and DIY projects.
Happy creating


Join me on Facebook
Join me in the Scan N Cut – Let’s Create With Sue Facebook group. It is a group of awesome craft friends sharing and caring.
I would love to see you there.
You are always welcome to say Hi at [email protected] or [email protected]. It would be great to hear from you!