
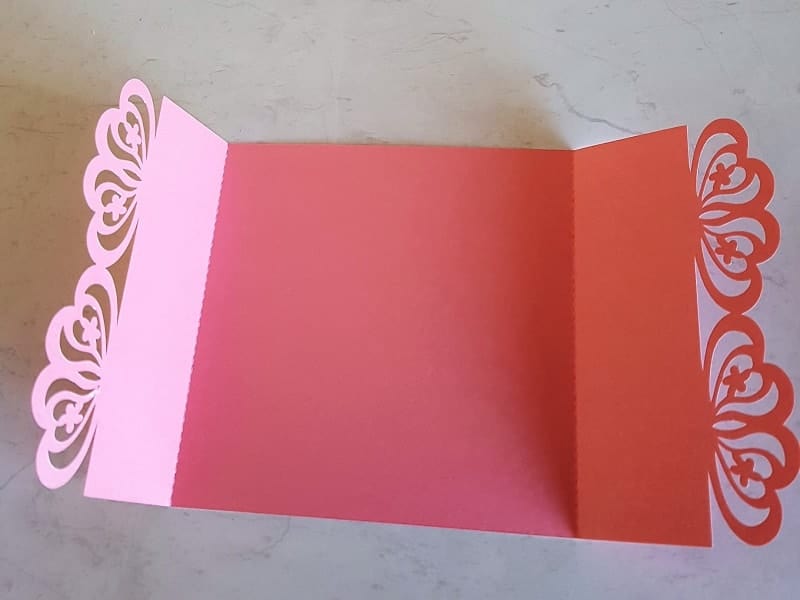
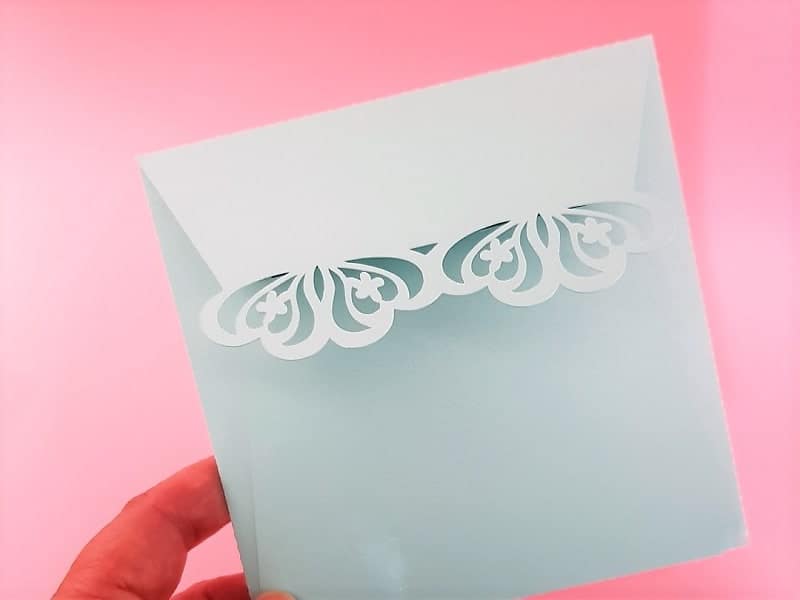
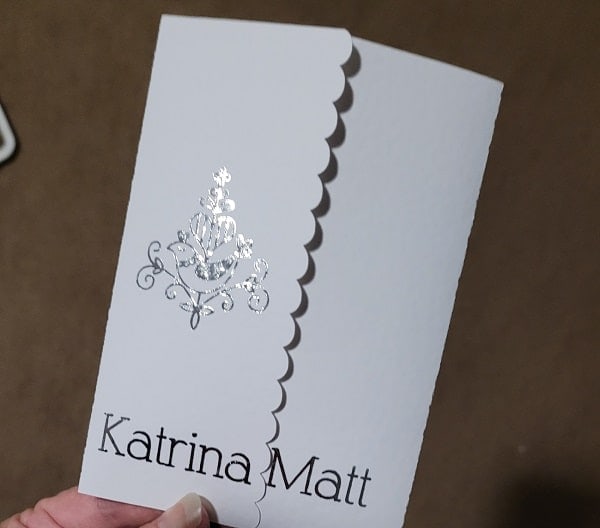
These easy to make ‘Laser Cut’ Wedding Invitations come with a fancy edged card, an insert, AND an envelope to match!
How cool!
Best bit is they are in the Resource Library FREE for you to use.
Use them as wedding invitations or any occasion card that you choose. The options are endless.
What do you need?
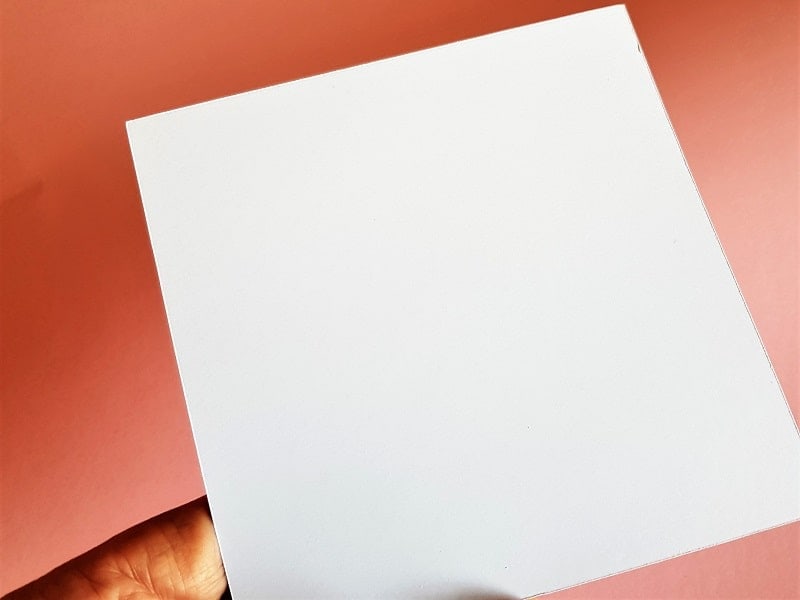
- 2x Card stock – Can be cut out in A4 (I used pearlescent)
- Piece of card stock in a different color for the insert
- Free pattern from Resource Library
- Something to cut it out with – I used a Scan N Cut
- Glue or double-sided tape
- Any other embellishments you may choose
I have put together a video on how to upload these files into both versions of Canvas Workspace.
Step 1 – Download Zip File
Head to the Resource Library and download the Laser Cut Wedding Invitations and unzip them.
If you are unsure how to unzip files check out my instructions here
Step 2 – Upload
Watch the video above on how to upload the .fcm files into Canvas Workspace. There is an .SVG file available for Cricut machines and a .pdf that can be used as a template if you would like to cut it out manually.
OR
Upload it directly to your Scan N Cut if you do not wish to use Canvas Workspace.
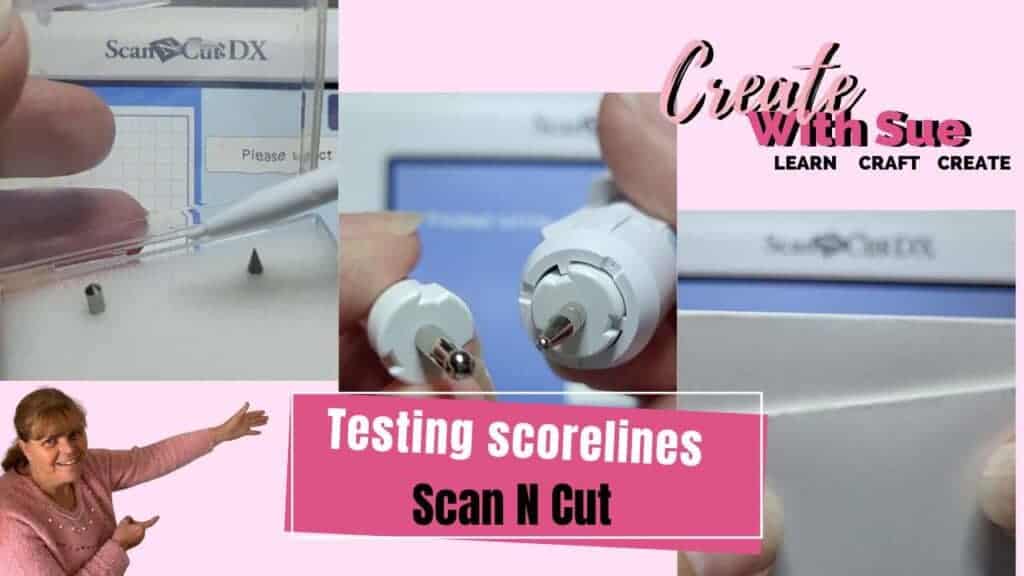
Make sure that the fold lines are in a dashed format still, or if you prefer you can set the dash lines to ‘draw’ and use a scoring tool in your pen holder or scoring board. If you are cutting them with a Cricut you can set them to Score in Design Space.
Step 3 – Cut and Fold
OK, lets cut!
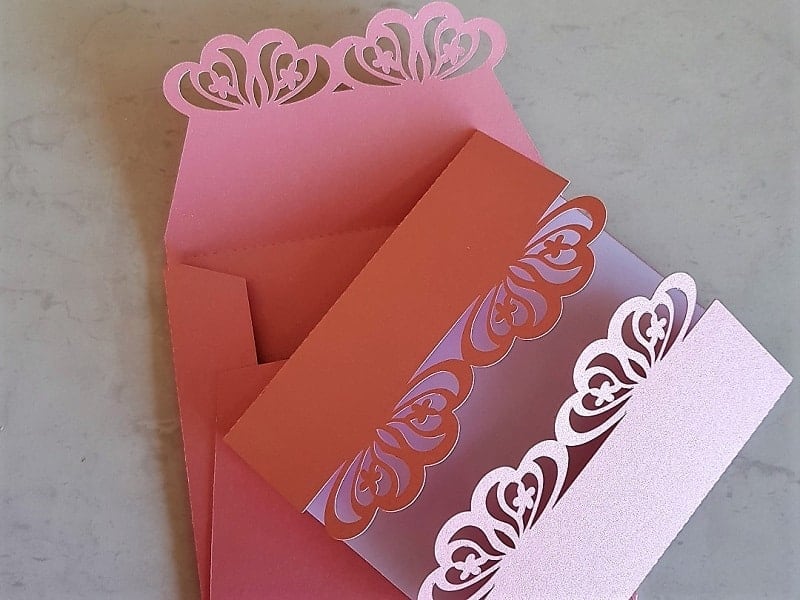
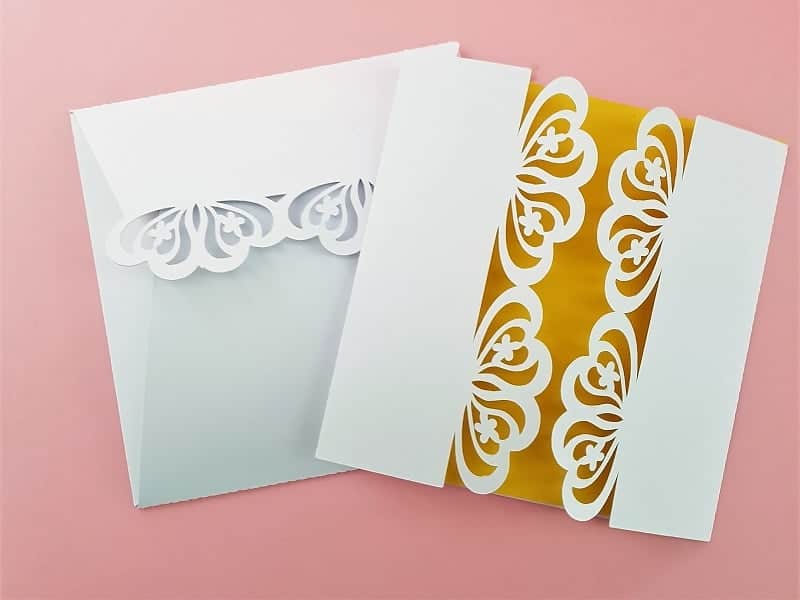
Once you have cut the ‘laser cut’ wedding invitations out simply fold the card and envelope at the dash/score line inwards and press firmly.
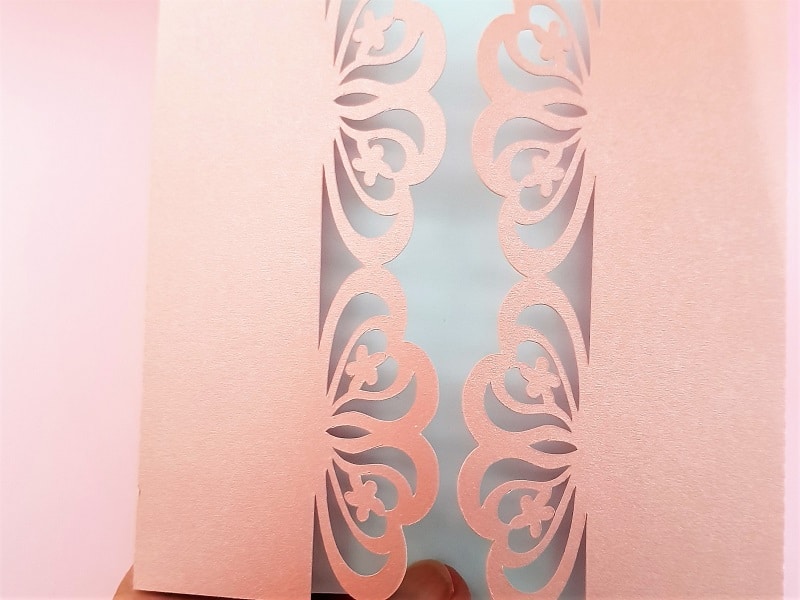
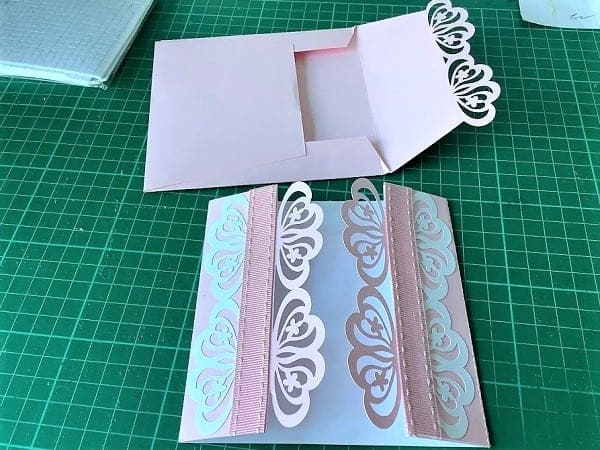
The insert could have a sentiment written on it either with your pen using the pen holder OR print the sentiment with your printer. Then cut the insert out.
Step 4 – Let’s Finish
Glue the card insert into the center of the card and embellish further as you like. Then place a small amount of glue or double-sided tape on the edge of the envelope fold and bring the bottom flap up to form an envelope shape.
Voila – we have Laser cut wedding invitations ready to go! OR any occasion card that you may like to use it for.
Tip: If you place something on top of the cards for a while they will sit flat nicely for you.
I hope that you have enjoyed this tutorial and have fun making the ‘Laser Cut’ Wedding Invitations ( or whatever kind of card you make with them :-))


Laser Cut card by one of our crafty friends
The fantastic card below has been made by Sue Hardcastle who is one of the awesome crafty friends in our Facebook group.
Hasn’t she created a great version of the card, adding her own creative touch…..absolutely gorgeous!

Check out some of my other posts
- Exploring the New Affinity Designer V3 — My First Impressions
- Cutting Cardstock: Tips for Better Results
- Rejuvenate Old Jeans with HTV and Your ScanNCut
- Embroidering Cardstock: A Creative Twist for Your Craft Projects
- How to Delete Saved Files on Your ScanNCut
Join Me!
Facebook // Instagram // Pinterest // YouTube
We have a fantastic Facebook group that would welcome you.
Why don’t you join us in the Scan N Cut – Let’s Create With Sue Facebook group? The group is full of awesome new friends to share your projects and problems with. Sharing ideas will inspire you to create.


Dear Sue , may I have the password to your library.Thanks
Hi Espy, the password is at the bottom of all my emails I send out. I have just emailed it to you. If you cannot see it in your main inbox, check the spam folder as emails occasionally get lost in there.
Hi Espy. If you forget it, the password is always included at the bottom of any emails that I send out. I have just emailed it again to you. Let me know if you don’t receive it for some reason. Enjoy making the projects. Sue
Pingback: bahis siteleri