Christmas gift box to make with step by step instructions. Isn’t it cute?
The good news is these Christmas gift boxes are super simple to make and there is a free template from Brother which you can find in Canvas Workspace.
Seriously, the hardest part of this project was tying the bow so that it sat straight.
Disclaimer: As an Amazon Associate, I earn from qualifying purchases. Links included in this tutorial may be affiliate links, Amazon or others, meaning I may earn a small commission at no additional cost. These commissions will help me continue creating content for you. Thank you for your support! Read my very boring full disclosure policy here.
What do you need?
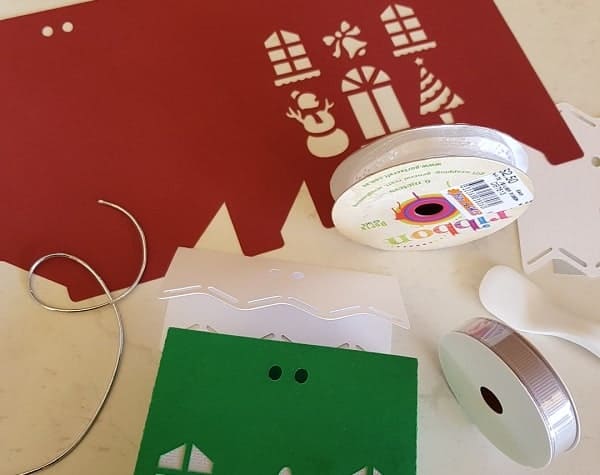
- Cardstock – design will fit on A4 or 12″x12″. AC Cardstock was used for this project
- Two smaller pieces of cardstock for the roof and windows. You could use Vellum for the windows.
- Christmas gift box pattern from Canvas Workspace free designs
- Glue – I have used Tombow for this project
- Ribbon, wool, string, or similar to make a bow
- Treats to place into the box – see recipe below
Grab your gift box pattern from Canvas Workspace
This pattern is super easy to cut and great for a quick and easy gift or, if you are just learning, it is a fantastic project to learn with.
Open up Canvas Workspace. This can be either the online version or the downloaded version of Brother’s Canvas Workspace. If you are unsure of the difference then here is more information to help you determine which version is which.
Tip to find the free Christmas gift box
As Canvas Workspace opens you will be presented with the free projects page similar to what is pictured below. To find all the Christmas projects, type in the search bar (circled area) the word Christmas. The search bar is a really handy feature as there are so many free, easy projects provided by Brother.
I am certain that many crafters don’t spend enough time browsing the free templates that Brother provided. There are heaps! And, you don’t need to be restricted to making these projects exactly like pictured, mix and match pieces from other templates to make different projects.

If you close the project box and want it again later, the icon at the top of the left hand menu in the downloaded version of Canvas Workspace will open the projects box back up for you.
Uploading the pattern to Canvas Workspace
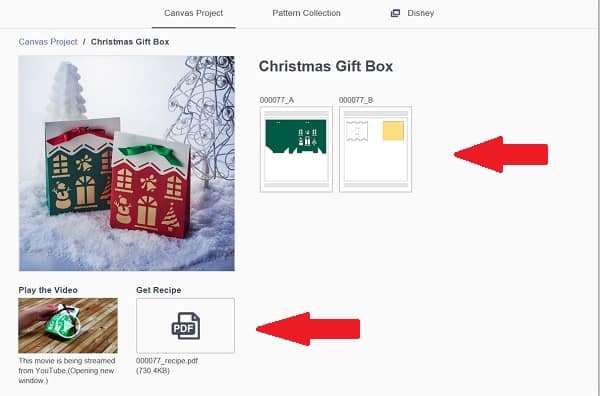
Brother has made the free design area very user friendly. Click on the design that you would like to do, in this case, it is the Christmas gift box in the design of a house which is SO DARN CUTE!
You will be presented with a picture of the design on the top left of the screen, then on the right you will see mat A and mat B. These are the pattern templates. Below that, each project has it’s own short video and also a PDF with instructions. Cool hey!
Adding mat A and B to Canvas Workspace
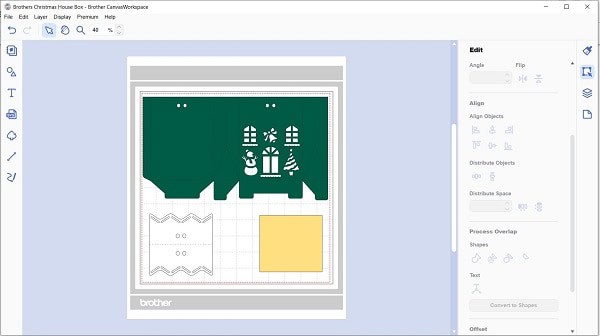
Select mat A and it will automatically upload into Canvas Workspace.
Note: this process is the same for both the online version and the downloaded version. We are using the downloaded version here.
Before I left this screen, I also clicked on mat B and uploaded that onto the same mat. You can do them separately if it is easier for you.
The pattern uploads into Canvas Workspace a perfect size. I didn’t make any changes to it whatsoever. If you send both the A and B files to Canvas at once, then you need to move the roof and window insert to a free section of the mat which can be done in either Canvas Workspace or directly on your Scan N Cut.
Alternatively, go into the Layers panel in Canvas Workspace (downloaded version) and use the eye icon to hide sections of the design that you don’t want to cut on the same mat.
Note: If you choose to make it a little smaller remember to place all the pieces of the design onto the mat and select all of them to resize at once. This will ensure that all the pieces will still fit together once they have been cut out.
Cutting your design out
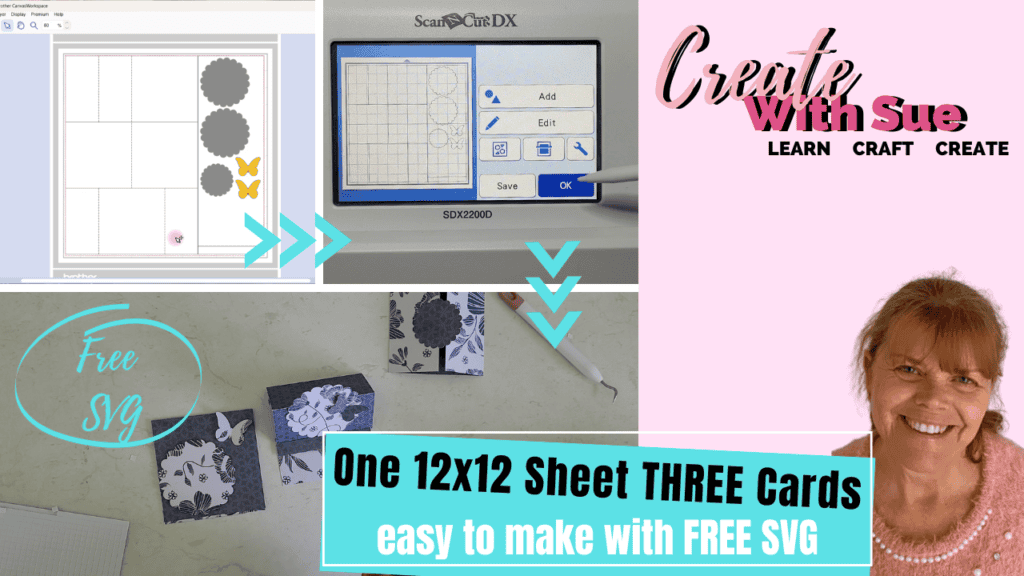
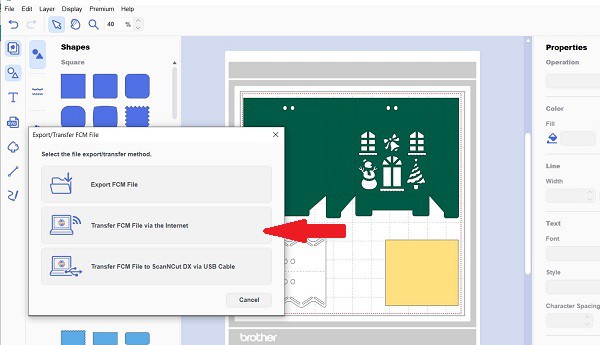
Send your Gift Box to your Scan N Cut. Go to File then scroll down to Export/Transfer FCM File and a menu will pop up with a number of selections. I chose to send it to my machine via the internet. If you want to take it to your Scan N Cut using a USB then select Export FCM and save it to your USB thumb drive.
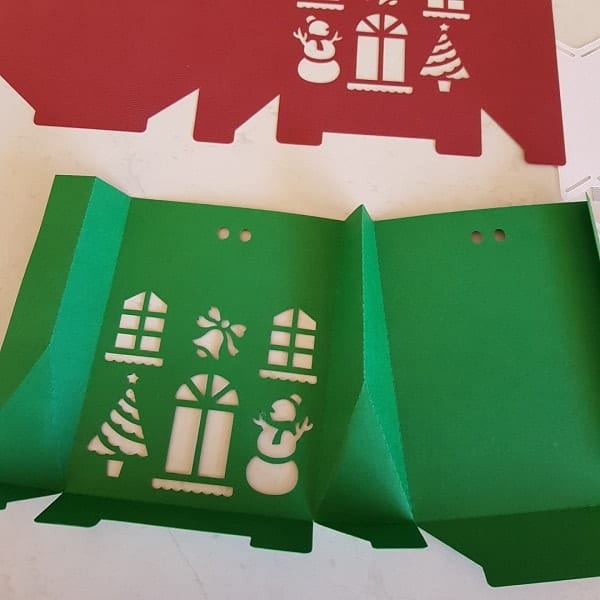
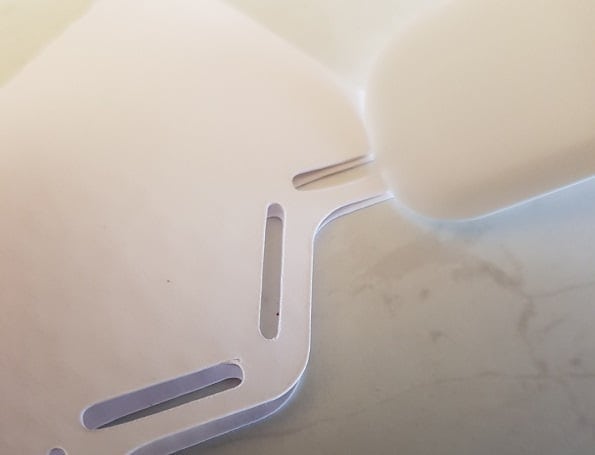
Then cut it out. The pattern cut out for me beautifully using AC cardstock

Looks really cute before you even start putting it together doesn’t it!
Putting the Christmas Gift Box together
Fold all the score lines before adding glue. This will make the placement of the window insert easier to glue on in the correct spot as the score lines are a little harder to see when they are lying flat.
Tip: I found placing the right side of the gift box on a flat surface and folding the score lines upwards the easiest way to create the folds.
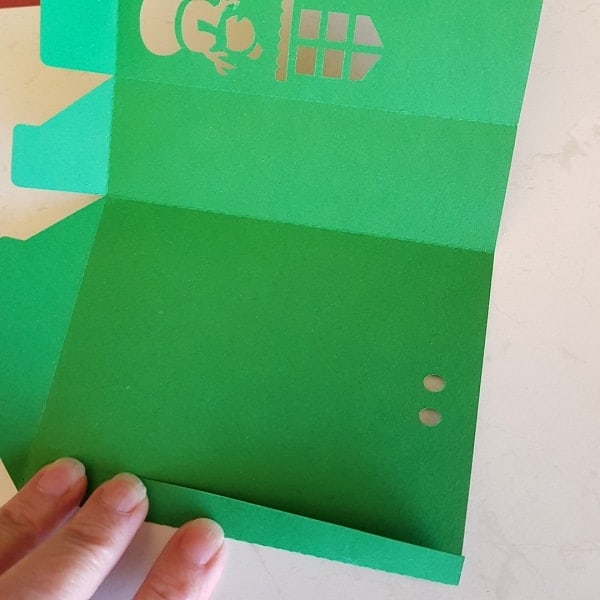
Below is a picture of the Christmas gift box with all the fold lines creased. I used my fingernail to help guide the crease of the triangular folds.
Glue the window insert into place.
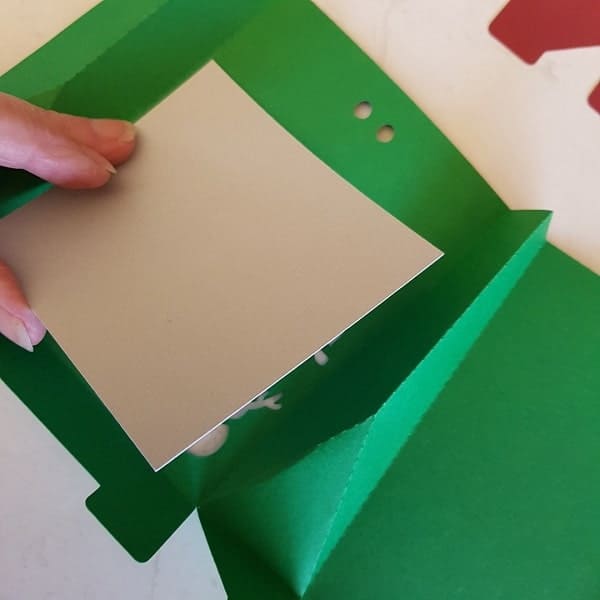
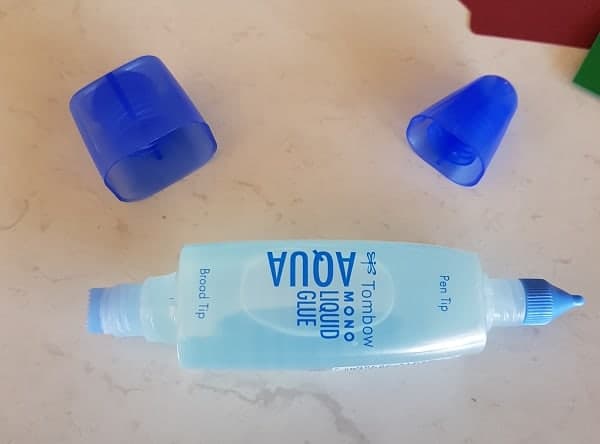
Glueing the project
For this project, I used Tombow Aqua glue with the fine pen tip at one end of the bottle and the broad tip at the other. The fine-tipped end was great to place glue around the intricate areas of the snowman, Christmas tree, windows, and bell.
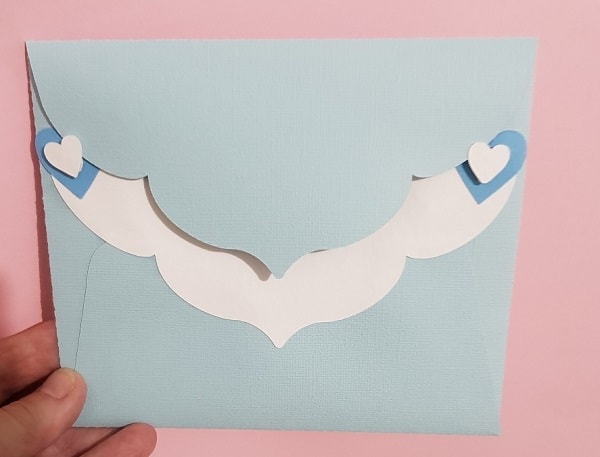
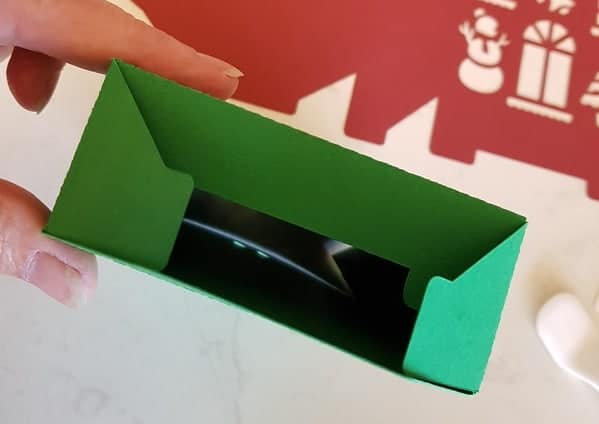
Fold the base of the Christmas gift box
Fold the indented tab of the box in first, then the two side tabs followed by the final tab which slips under the first tab to form the bottom of the box. I pushed my hand down inside the box to push it to sit flat.
Add the roof
The roof for this project is really cute how it has the waves. If your cardstock has any raised edges from the cutting process, you can flatten them with the spatula that came with your Scan N Cut or a bone folder.
Bone folders can be a very handy addition when making projects from cardstock and can be used to create score lines and precision creases.
Finishing the Christmas gift box
Now there are only a couple of things to do to finish off this project.
The first is to find some ribbon or similar to thread through the holes at the top to hold the roof on the box.
Did you think I was joking about the hardest part of the project being tying the bow???? NOPE, I wasn’t LOL.
Ideas to use on your Christmas gift box include bows/ties made from string, wool lengths, ribbon,
Extra tips for making these cute little Christmas gift boxes
1. Using a slightly heavier card for the white roof makes a huge difference to the end result.
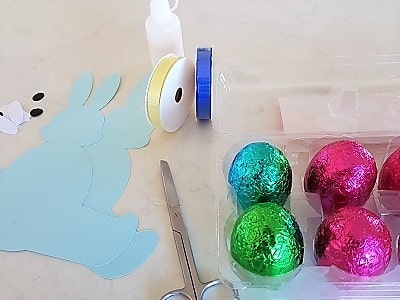
2. Don’t try overfilling with goodies (it’s tempting). I used cellophane bags with chocolates in for these. (I was time poor so I took one of the short cuts listed below LOL)
3. Put the roof on, tying the bow, etc and fill from the BOTTOM. So much easier to open and close the bottom flaps than putting the roof on and off.
4. Using vellum or parchment paper for the windows would create a different effect and could be used with a battery tealight as a decoration.
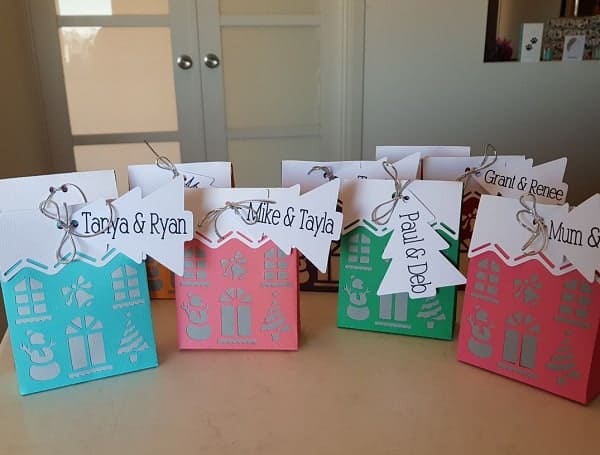
Pictured are only a few of what I finished for Christmas.
Treats to fill your gift box
Ok, let us look at treats to fill the gift box with. I really wanted to make fudge for this project however I haven’t located a recipe for fudge as yet.
White Christmas Fingers
Ok, confession time. I am the WORST cook. This is why I write tutorials on crafting projects and NOT a cooking blog. This means I had to find a recipe that was easy to make and …….not burn…
My friend Kerry, from Tasty Baking Academy has provided me with this White Christmas Fingers “NO BAKE” recipe which I will share with you.
Ingredients
300 grams Puffed Rice
540 grams desiccated Coconut
660 grams Milk Powder
930 grams Mixed Fruit
930 grams Icing Sugar
10 grams Mixed Spices
5 grams Ground Ginger
20 grams Vanilla Essence
Blend all the above ingredients together.
We also need about 1050 grams of Copha or EOI Kreamolene 35 (OK, so I don’t actually know what that last one is. It is Kerry’s suggestion, I have only used Copha. My guess is other Bakers will know)
Melt the Copha and when it is lukewarm stir it gently through the dry ingredients above.
Tip: check how wet the mixture is as you are pouring so that you don’t add too much Copha.
Spread the White Christmas mix into a shallow square or rectangular tin lined with baking paper and refrigerate for a couple of hours.
When set, cut into small fingers and place in a cellophane bag before popping into your Christmas gift box.
Short cuts for adding treats
There are lots of short cuts to add treats to your gift box that don’t require any baking or much effort of any kind. I like that!
These include, store bought Lollies, Nuts, Freddo Frogs, Kinder Surprises, the list is really long.
I hope that you enjoy making the gift boxes making a great Christmas gift.
You can post pictures of any projects that you make in my Facebook group Scan N Cut – Let’s Create With Sue. If you are not a member already you are more than welcome to join.
Happy creating.


Exploring the New Affinity Designer V3 — My First Impressions
Today we are exploring the new Affinity Designer V2 software which was released on October 30th…
Cutting Cardstock: Tips for Better Results
Cutting cardstock with your ScanNCut can produce beautiful results, but sometimes you may notice issues like…