
Make a gift box for Mum or Mom with your cutting machine- how cool is this! The gift box is so easy to make too AND comes with a FREE SVG file. While Mother is spelled exactly the same in most English-speaking countries, once abbreviated it varies. To fix that issue I have created both a Mum and a Mom version of the gift box. You can choose!
You can make it with your Scan N Cut or Cricut cutting machine. Files included are in CWPRJ, FCM and SVG format.
This post may contain some affiliate links for your convenience (which means if you make a purchase after clicking a link I may earn a small commission but it won’t cost you a penny more)! Read my very boring full disclosure policy here.
What do you need
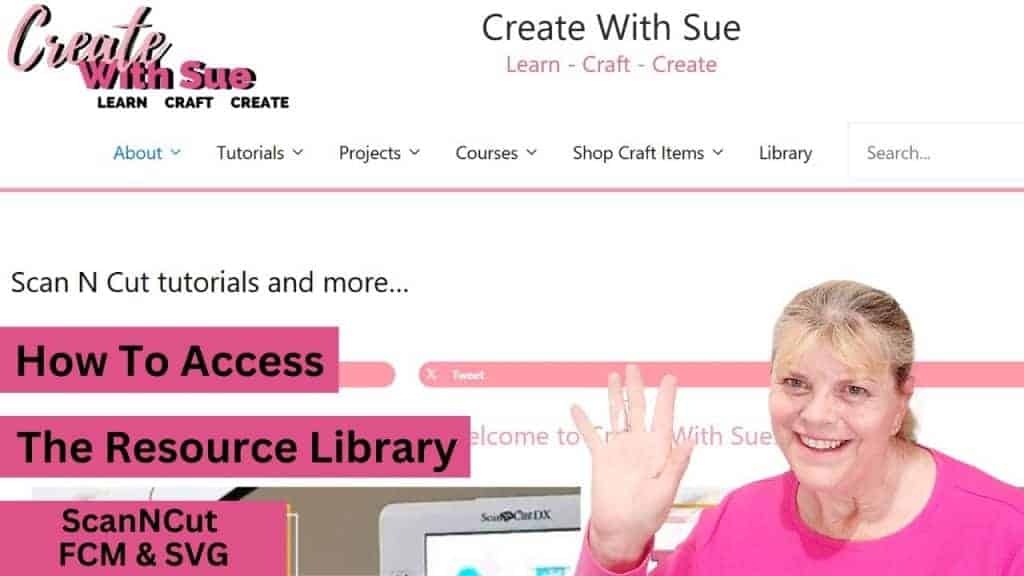
- Free gift box for Mum/Mom file from the Resource Library
- Cardstock – any color that you choose
- Paper or cardstock – contrasting color
- Glue – I used Tombow glue
- Double-sided tape
- Ribbon or string – approx 20cm
- Cutting machine – either a Scan N Cut or Cricut
- Goodies to put in as a gift (leave that to you)
Disclaimer: As an Amazon Associate, I earn from qualifying purchases. Links included in this tutorial may be affiliate links, Amazon or others, meaning I may earn a small commission at no additional cost. These commissions will help me continue creating content for you. Thank you for your support! Read my very boring full disclosure policy here.
Head over to the Resource Library to download the file. It will download as a zipped file so you will need to unzip the file to view the individual files.
This is what they will look like during the unzip process.
You can find out more information on unzipping files on a PC here.

You can see the different file types and of course the Mum/Mom version in the picture above.
Scan N Cut Users
Upload into Canvas Workspace
Once your have unzipped the file you can import it into Canvas Workspace. I have included the CWPRJ file for you to use if you would like to make any changes to the file.
Choose “Open” in Canvas Workspace if you are bringing the CWPRJ file into Canvas Workspace.
******The CWPRJ file is ONLY to be used in the downloaded version of Canvas Workspace and cannot be added directly to your Scan N Cut or in the online version.
Find out more about using the CWPRJ files here

To use the FCM file or SVG file go to “Import” file from computer to upload. My gift box cut file is 10.5cm high on the Canvas Workspace mat so check that the file imports the size you would like. The SVG version of the file will import slightly smaller.
To resize the gift box
When resizing any design ensure that you select ALL the objects of the file and resize all at once. This will ensure that all the objects maintain the same ration aspect and still fit together once you cut them out.
Video instructions for Canvas Workspace
If you are a video person and prefer watching instruction then here is a video showing bringing the gift box for mum or mom file into Canvas Workspace and sending it to your cutting machine to be cut out.
Steps for making the gift box
Once the Mom or Mum gift box has been cut out glue the contrasting insert piece onto the back of the box so that it covers the wording and the rose. If you are cutting multiple gift boxes you can use the spare area from one 12″x12″ to cut the backing insert on the other box. (does that make sense?) Obviously, they would need to be contrasting colors that suit each other but it is certainly an effective way of using all the cardstock.
I used a silver mirror card as the backing for the Mum gift box card pictured and loved how it turned out. This one is for MY Mum. Shhh don’t tell her yet.


Glue the gift box
Above is the cutout file with the insert glued onto it using Tombow glue. I love how the Tombow glue applicator has both a very fine tip on one end of the glue and on the other end a thicker tip.
The second picture is with the double sided tape ready to glue the box together.
Make sure you get the glue right into the tips of the M’s and if you are doing the MOM version glue the O into place as pictured below.
The glue is still a bit damp in this pic. My advice is to wait for the insert to dry before you continue. Unfortunately, I hardly ever take my own advice and way too impatient to wait LOL.

Make one side of the box starting from the bottom. Ensure that the base aligns correctly at the corner fold


Once you have the sides glued together give them a quick pinch and squeeze the fold lines inwards. You can use your nail to press the crease precisely into the dashed lines.
Last step of your Mum or Mom gift box
Now that you have your box glued together all that remains is filling it with something special and tying a bow on the front.
As you can see I used a few options to tie the top of the gift box together. You can use anything that you have handy that matches the color scheme of the gift box. My favorite ended up being the Jute string.
Yep… the string gave me some great color choices and easy to tie and re-tie.

Finished Mom and Mum gift boxes
And we are done! What colors are you going to choose to do your gift box in? My favorite is the pink box with the silver mirror card insert. Look at it shimmer!

Video instructions for Cricut Design Space
Here are the video instructions for using the Mum/Mom files in Design Space and cutting the file with your Cricut.
Join me on Facebook
Join me in the Scan N Cut – Let’s Create With Sue Facebook group. It is a group of awesome craft friends sharing and caring.
I would love to see you there.
Please feel free to ask any questions that you need.
Happy creating


Unboxing The Loklik iCraft Cutting Machine – First Impressions

How to Create a Money Pocket for a Card with the ScanNCut
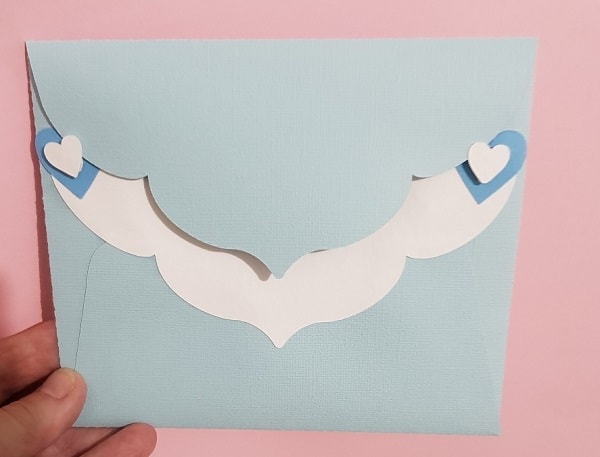
How To Make A Large Envelope
Have you ever made a card and then had trouble finding an envelope to fit? We all have, I’m sure. This…


Your password creative I’d not working to give me entry to library!!! Pls
Hi Sue, there was a technical issue which is meant to be fixed. Let me know if you still have issues.