
Why don’t you try this easy gift basket to make with your Scan N Cut? It lends itself to any occasion, Christmas, Easter, Birthday, or perhaps Mother’s day. The free template is available in the Resource Library
The template has two different designs to decorate it, one with hearts and the other with diamonds. Included in this tutorial is how to add further personalization.
NOTE: This tutorial is written to assist Scan N Cut crafters. The Easy Gift Basket template can also be cut with your Cricut.
Disclaimer: As an Amazon Associate, I earn from qualifying purchases. Links included in this tutorial may be affiliate links, Amazon or others, meaning I may earn a small commission at no additional cost. These commissions will help me continue creating content for you. Thank you for your support! Read my very boring full disclosure policy here.
What do you need
- 2 pieces of Cardstock 12×12 I like this one
- Glue or double-sided tape
- Cutting machine – Scan N Cut or Cricut
- Free Template from the Resource Library
- Items to place in the gift basket
Free gift basket template
Head over to the Resource Library and download the gift basket template. The password is available in the bottom section of my emails.
Don’t have a password? You are able to request the password to be emailed to you on the Resource Library login page. The password will be sent straight away. Remember to check your spam in case the email inadvertently lands there.
The file you’re about to download is in a zipped format and includes two versions. One version for a Cricut, and another designed specifically for Scan N Cut owners. If you are uncertain how to unzip the file then check out the easy tutorial here.
Import the file to your cutting machine
Import the gift basket file directly into your Scan N Cut or import it into Canvas Workspace. I prefer to use the downloaded version of Canvas Workspace as it provides so many added features. I have an easy Step-by-Step course available for anyone wanting to increase their design skills in Canvas Workspace.
Those using a Cricut, open Design Space and upload the gift basket template.
Need assistance with importing to Canvas Workspace? There are tutorials for both the online version and the downloaded version on my site. You will find the online version here. The downloaded version tutorial can be found here.
Cut your basket out
Below is how the gift basket design will look after you have imported it into the downloaded version of Canvas Workspace. It shows the layers of the design in the Layers panel on the right-hand side.
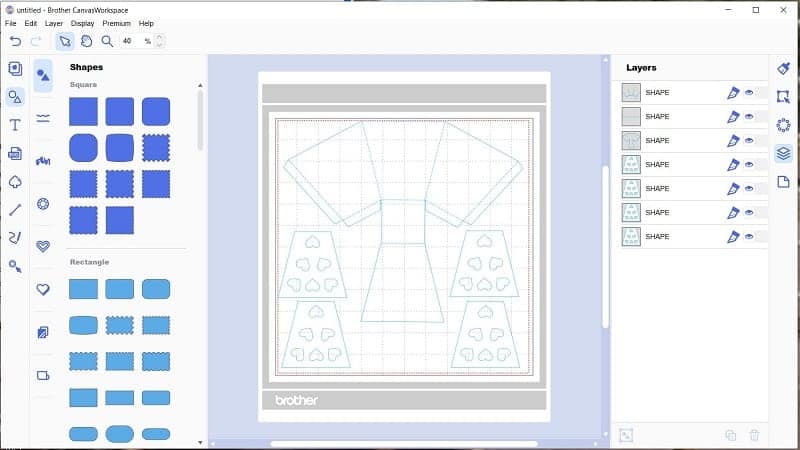
Make any alterations or additions that you require to the basket. From Canvas Workspace, go to File, then scroll down to Export your file to your cutting machine.
Pieces of your project
Pictured are the pieces of your basket project.
Tip: For this project, I cut 2 gift baskets out of 12×12 complementary colors and then swapped the parts over to get the color change for the baskets.
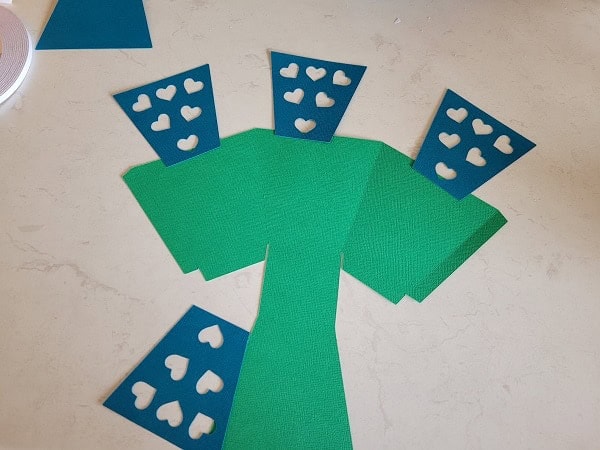
On the basket, you will see the dashed lines ready to fold. You can either fold them before gluing or afterward. Often, if the dashed or score lines are a little hard to see and you need to line up the embellishments, it is easier to fold them first. For most projects, this is how I do it.
Glue your basket together
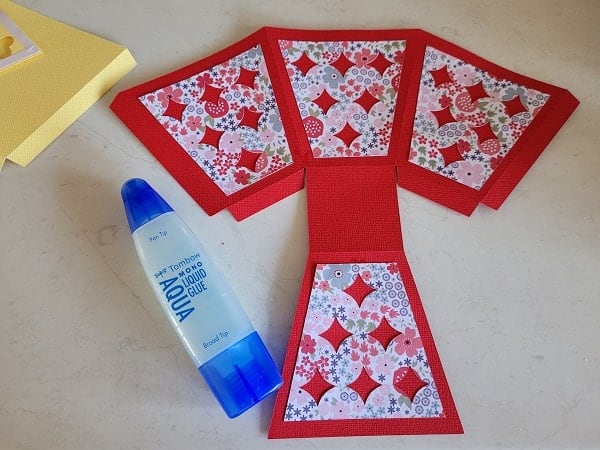
I made a number of these baskets and I used two different techniques to glue them.
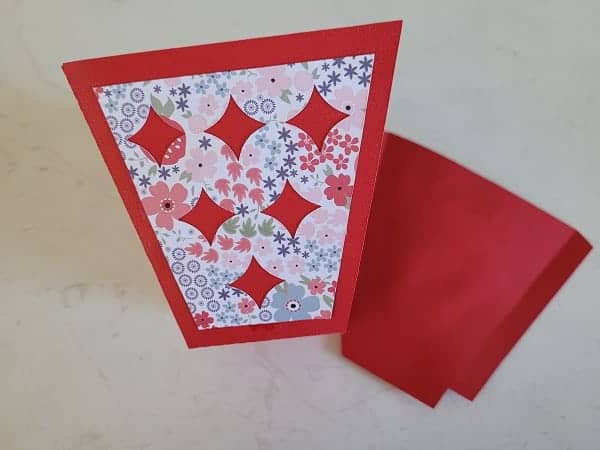
1. This basket is going to be for my Mum for Mother’s day. Gluing basket-type projects is a very sturdy solution and if you want your project to hold together well, it is an ideal choice.
There is a downside in that it takes a little longer for the glue to dry and, if applied too thickly, can warp your project. A tip to keep your design flat is to allow it to dry with a flat heavy item on top.
2. For the other baskets I used double-sided tape. I love using double-sided tape as it is so quick and easy to complete projects. It is relatively sturdy however can be affected by temperatures and extreme force. This causes the edges to pop open on boxes which isn’t a problem for cards etc. but definitely can be an issue for boxes that you plan to place a gift in. The patterned embellishments will hold well perfectly well with double-sided tape.
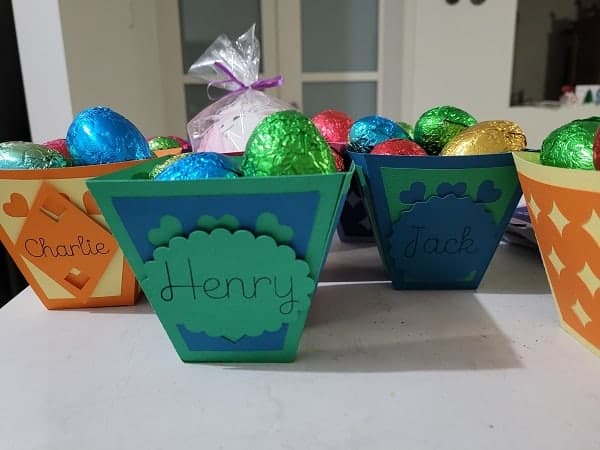
These next boxes are for my grandchildren. Hopefully no “extreme force” will be used on them… no guarantee as they are kids LOL.
I had a lot of baskets to create which is not my favorite thing. I love one-off projects best. The double-sided tape made it much easier to complete the baskets quickly and easily.
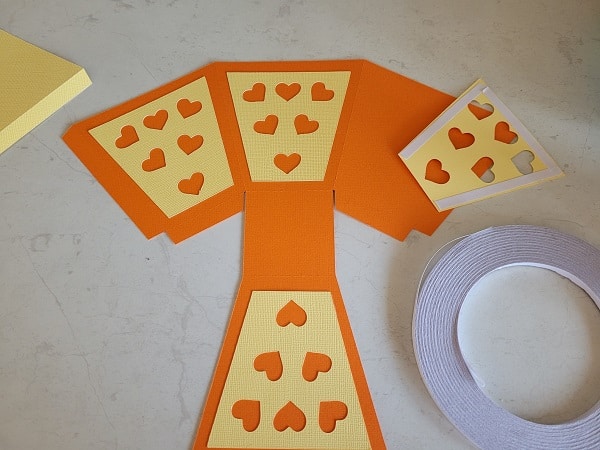
As you can see, I have attached the heart embellishment on these baskets prior to gluing the sides.
I found it easier to complete one half of the box first and then attempt the second half. This was especially true when gluing as it gives the glue time to dry and hold the basket together.
Add a name tag
Personalize your basket by adding a name tag. There are a few ways to create tags. By far the easiest is using a shape that you like from Canvas Workspace and then using the pen tool, drawing the name onto the shape.
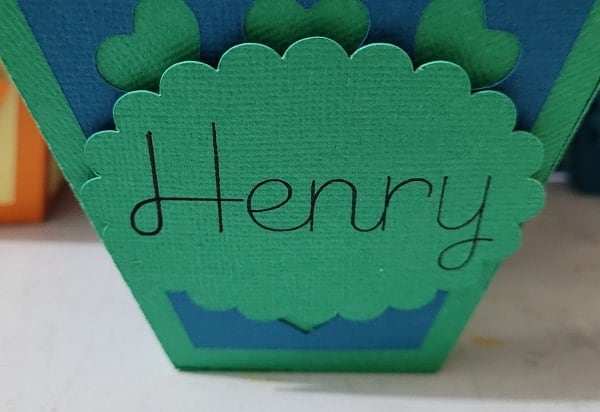
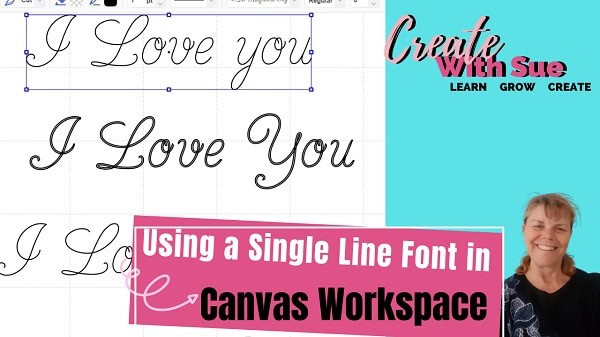
I used a single-lined font to write the personalized names on my tags. Here is a tutorial on using single-lined fonts and where to find them.
Would you believe the pen I rather like using is a Cricut pen. It just fits in the Brother Universal Pen Holder. While the Brother Universal Pen Holder is a wonderful addition to your Scan N Cut machine, it does not fit all pen sizes. Be cautious about what pens you purchase for it.
For example… it will NOT fit regular Sharpies however it will fit the Ultra Fine Sharpies.
Tip: Barrel of your favorite pen too thin? This can be resolved by wrapping some masking tape around where the Pen Holder grips. This will prevent slipping and is removable if needed.
For more information on accessories check this tutorial out.
More tag options
More options to create tag embellishments include cutting the name out of the cardstock shape or creating a cut out of the letters of the name and then gluing them onto the shape or directly onto the project.
To finish your easy gift basket
To finish your gift basket fill it with goodies that your special person would love. Mine were filled with Easter eggs and Ferrero Rocher chocolates. Yummm. What will you fill yours with?
Join me on Facebook
Join me in the Scan N Cut – Let’s Create With Sue Facebook group. It is a group of awesome craft friends sharing and caring.
I would love to see you there.
Please feel free to ask any questions that you need in the group.
Happy creating


More tutorials
How to Make Stickers with the Loklik iCraft – Print then Cut

3D Gazebo SVG designs
Transform your crafting projects with our stunning 3D Gazebo SVG design. Perfect for weddings, celebrations,…
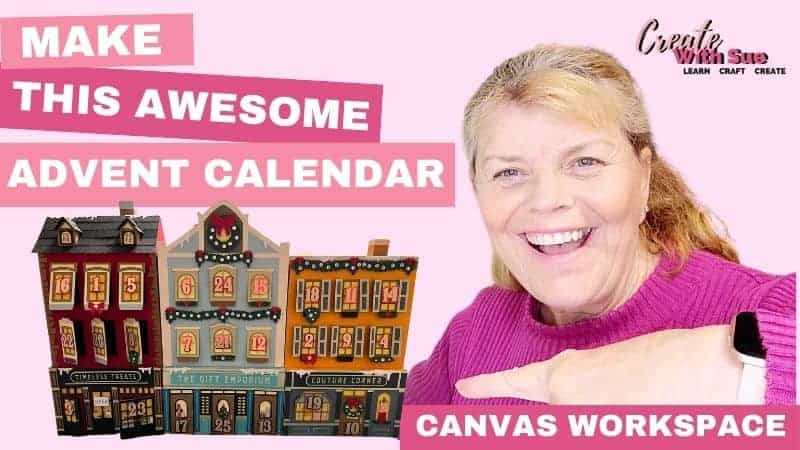
Advent Calendar SVG Bundle with Scan N Cut
Today we will look at creating the Main Street Magic Advent Calendar SVG Bundle from…


thank you for the article
You are very welcome. I am pleased that you enjoyed it 🙂 Sue