Dive into the latest trend with our super cool FREE SVG file and step-by-step instructions on creating your very own DIY chic vinyl planner! This is both a creative journey and a practical planning solution.
How did this start out?
Well, my daughter contacted me one day and said “Mum, I want a Planner like X, and the ones I have priced are $100!”
What! A hundred bucks!!
So we set out to design our own and NOW you can have it too! You can download the freebie below.
What Do You Need?
- 450mm x 450mm Perspex or clear hard plastic between 3mm and 6mm thick. (we used 6mm)
- 4 x Stainless Stand Off Bolts to mount the Perspex.
- Black (or a color of your choice) adhesive vinyl.
- Transfer tape or clear contact.
- A way to cut it out. I used my Scan N Cut but any electronic cutter will work.
- Template (download mine or use your own).
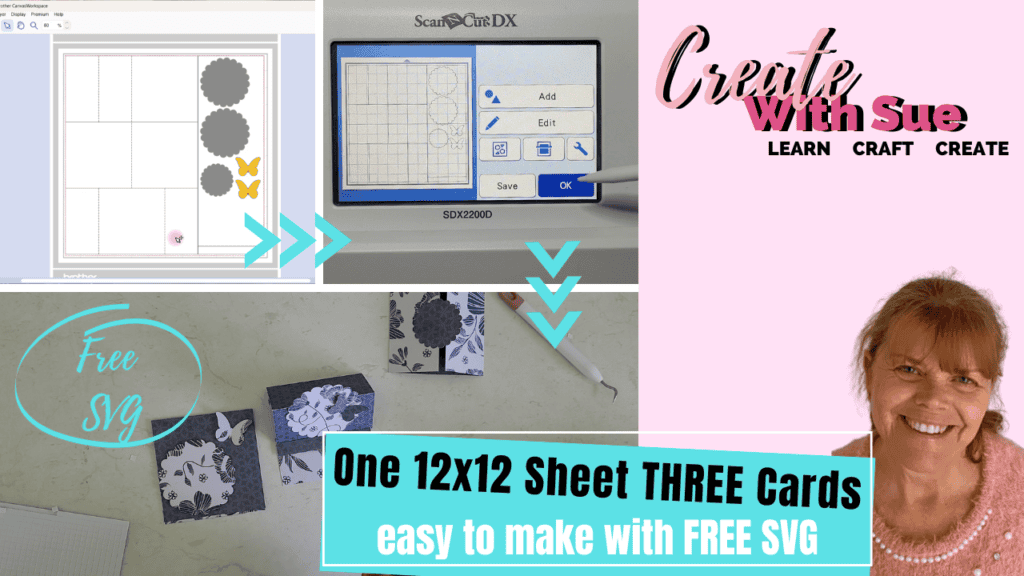
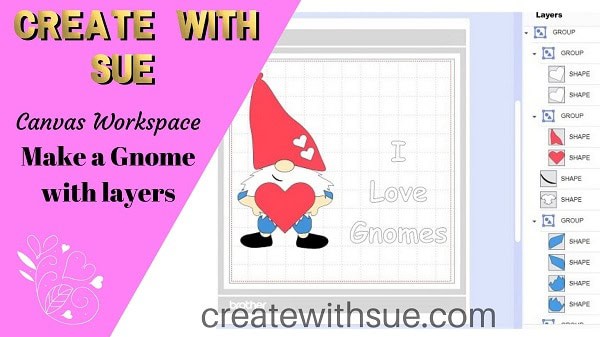
Upload the template to Canvas Workspace.
Once you have your template, upload it into Canvas Workspace and check sizing to make sure that it suits your project. My template was designed for the 12″x 24″ mat and placed sideways so it could be cut in one pass.
If you need help with adding the file to Canvas check my tutorials
Check here for the online Canvas Workspace tutorial or for the downloaded (offline) version of Canvas Workspace go here.
If you don’t have a 12″x 24″ mat you may need to separate the components and cut them in two pieces. The grid will fit on a 12″x 12″ mat.
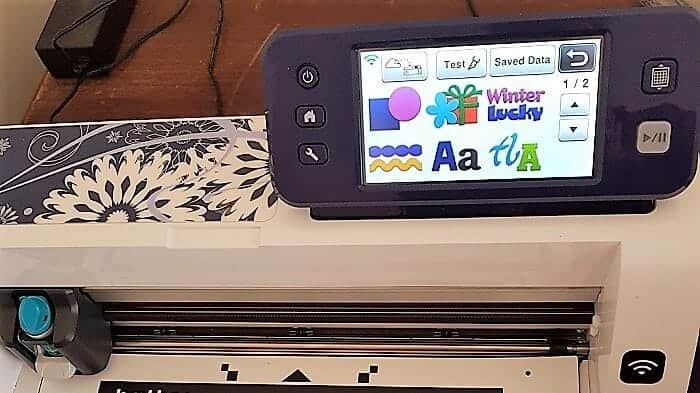
Send your design to the Scan N Cut
Once you are happy with it in Canvas Workspace, send it to your Scan N Cut to cut out. If you are using the 12″x 24″ mat remember to change your mat setting on your machine to suit. Pictures are shown using the CM900 model of the Scan N Cut.

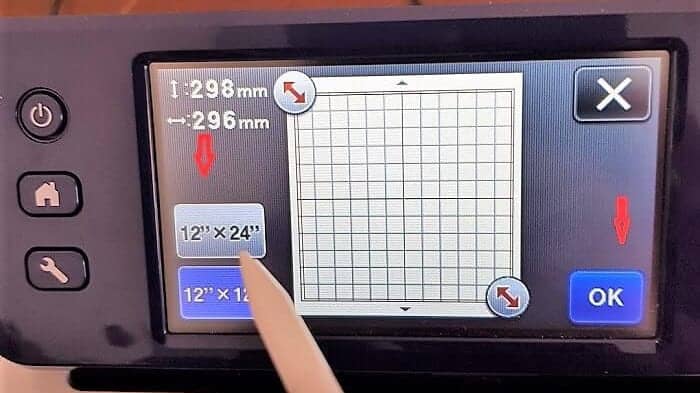
To change mat size click on the tools spanner, select Cut Area and choose 12″x 24″.
Set your cutting depth
Once you have your design positioned correctly, set your blade so that it ‘Kiss Cuts’ the vinyl and press go! Don’t forget to do a TEST cut! On the CM models, you will need to set the blade manually. If you own an SDX model then use the Half Cut feature. Here is more info on the Half Cut!
This is the fun bit right? I love watching it cut out. (mind you I sometimes hold my breath and hope that everything goes to plan)
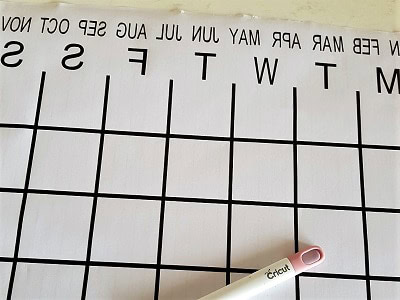
Weeding the vinyl planner
Now to weed the design. If you need a bit of an explanation on Weeding have a read of https://www.createwithsue.com/what-is-weeding/
If you have used the template provided be careful when weeding the months of the year. While the project in general would be classed as beginner-friendly, weeding the months was slightly trickier due to their size.
Here are some tips…..
(If you are great at weeding skip this bit!)
When pulling the vinyl back I lay it fairly flat against itself and if the lettering or design lifts up .. push and hold it down again with the end of the pointy hook tool.
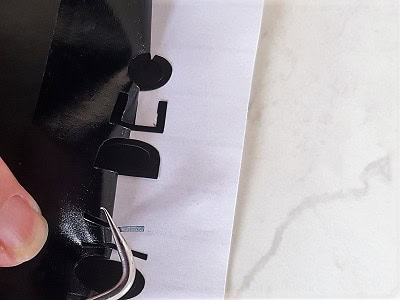
The tool can be used to help ease out the smaller pieces from the main piece of vinyl and you can also use it to hold them onto the backing paper as you lift the unwanted vinyl away.
Tips for weeding vinyl
Tip #1. When you have too much excess vinyl you risk getting into a huge mess with it sticking to areas you don’t want which is really, really, really annoying. Cut the excess off as you go! Don’t battle with it. There are no prizes for those who weed all in one piece. (well at least I don’t think there are?)
Tip #2 If any of your pieces do lift right up off the backing paper usually there is an outline of where the piece should live. You can carefully place it back down again in the exact location. Can’t see the outline? – don’t worry. Place a ruler under the bottom of the other letters to guide you so that it sits level.
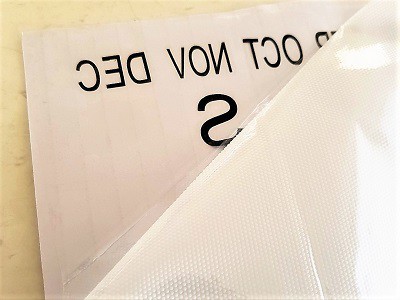
Transferring the design
All weeded? Great!
Now place the transfer tape/film/contact onto the project. I have purchased a fairly cheap transfer film which I am finding is great. No brand name…. I have also been successful with clear cheap contact. There is no need to spend a fortune to transfer projects.
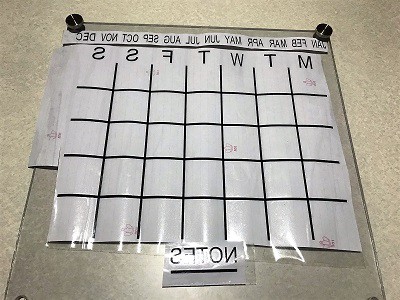
Your project at this point should look similar to this.
Lay the transfer film on one corner of the project and slowly peel the backing of it off while pressing it down.
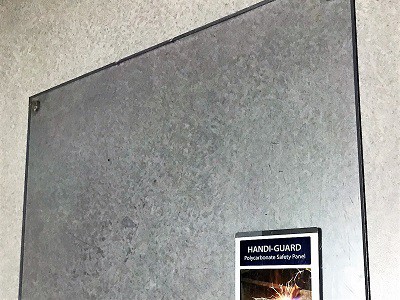
Preparing the Acrylic
This is the Acrylic or Perspex before much has been done to it. Four holes have been drilled…. one in each corner ready to screw it to the cupboard with the Stainless Stand Off Bolts.
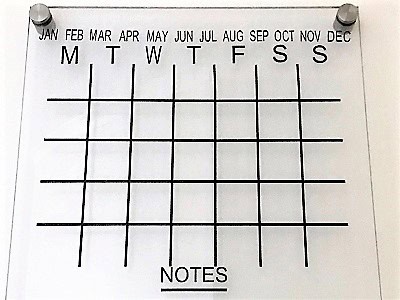
Place the project onto your board and align the location to make sure that you are happy with it.
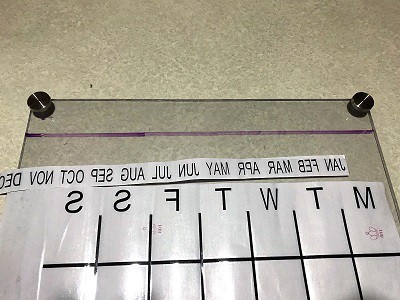
You can see the line has been drawn on the Perspex to make sure that the top row gets lined up straight.
Above, you will see the “Notes” section positioned in the middle now where it was intended. It is at the side of the template to maximize the use of the vinyl.
Final steps for the vinyl planner
Ok, now that you have the placement under control we are ready to transfer the design. Start at the corner and work your way carefully across the project, smoothing it with your hands as you go. Press down firmly. It won’t matter if you have bubbles in the transfer film as long as the vinyl is stuck nicely. Give it a good press with your hands to make certain the vinyl has stuck properly.
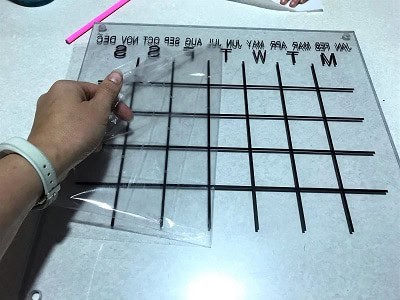
Once you are happy start peeling up the transfer film. If any of the vinyl lifts with the transfer film, place that section back down and press it onto the Perspex again. Once you believe it is stuck you can continue.
Finished planner
And it is FINISHED! Tanya attached a cup next to it to store the marker pens (out of reach of the kids)
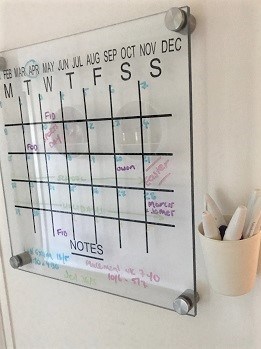
I hope you have enjoyed this project. Tanya’s turned out great and she was really pleased. She has been busy making all sorts of notes and reminders on it.
A very busy Planner indeed!
Don’t forget to check out my other pages with all sorts of tips and creations. More are on the drawing board too which is exciting to say the least.
In the meantime,
Happy creating.
Sue
Join me
If you haven’t already, pop in and say hi in our Facebook group
Scan N Cut ~ Let’s Create With Sue
Before you go…..DON’T forget to subscribe! I would love you to follow my journey helping you create along the way.

And my page Create With Sue
https://www.facebook.com/createwithsue1/
or simply just say hello at [email protected]. I would love to hear from you!
Get Started with Canvas Workspace full course
What if you had a step-by-step, specially formulated, video course that will lead you through learning to use Canvas Workspace from the very beginning and right through to being able to create your very own amazing designs from scratch?
Yep, you read that right!!.. From scratch!!
The Get Started with Canvas Workspace course uses the downloaded version of Canvas Workspace and will take you from beginner to pro in very easy steps.