
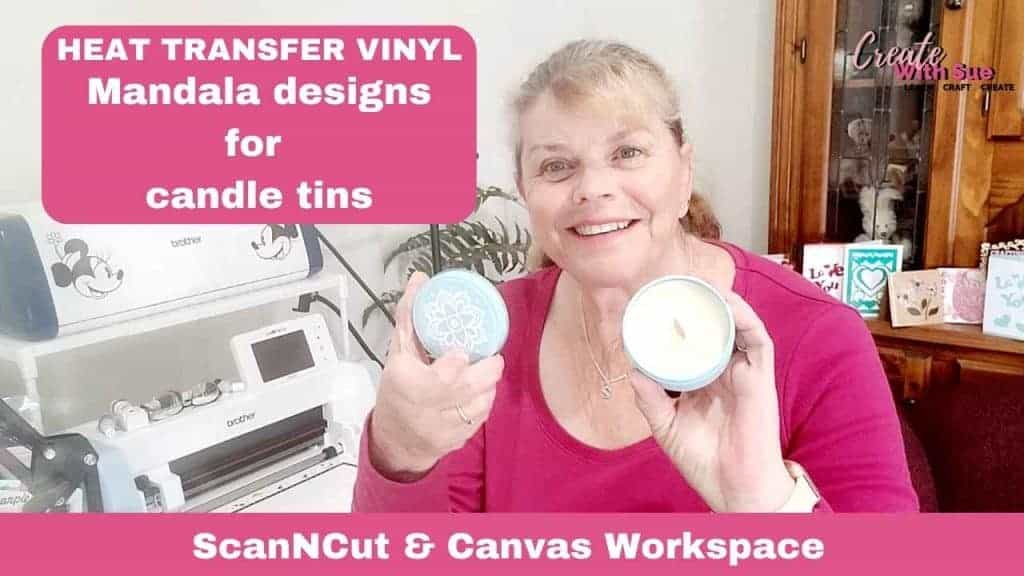
This tutorial has lots of top tips for using HTV and will help you solve some of the issues that you may come across.
What is HTV? HTV is short for Heat Transfer Vinyl which is vinyl that is heated or melted onto your project. Creating amazing projects with HTV is fun and very rewarding.
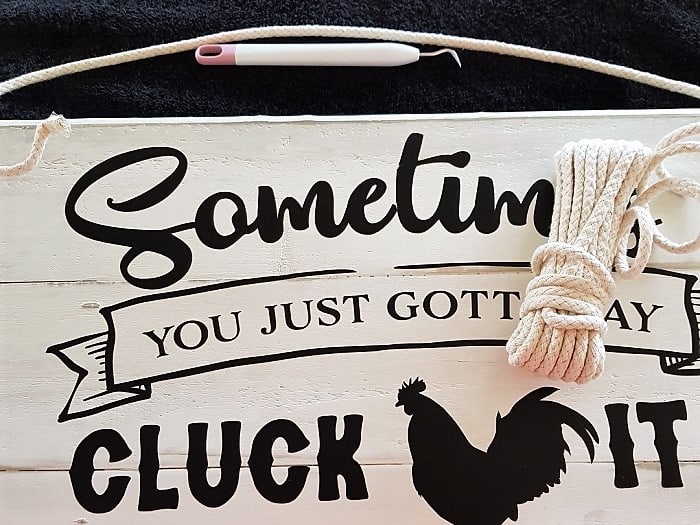
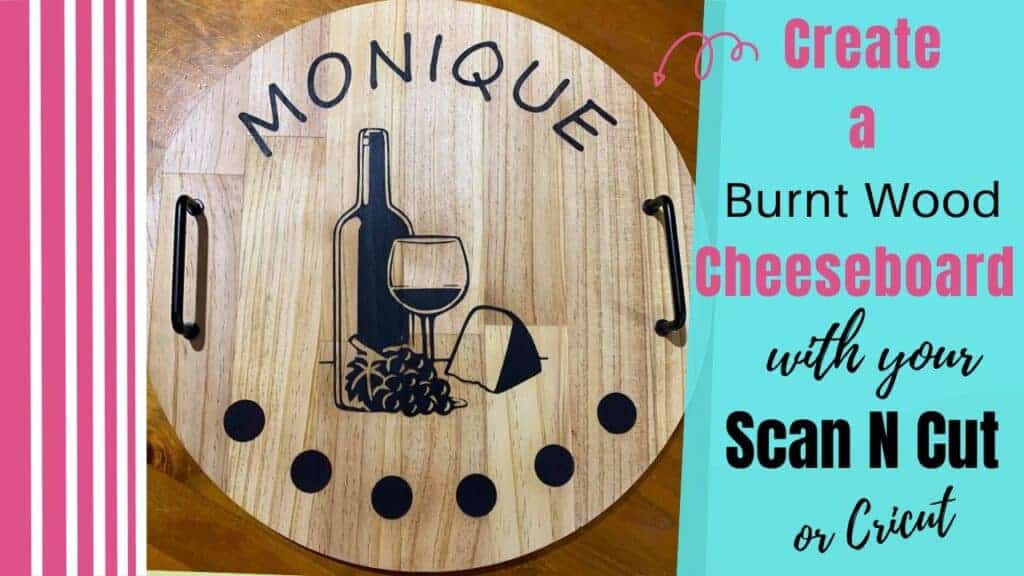
PLUS I have included a free SVG/FCM/PNG file of the word LOVE with a paw print inset as pictured in the main picture.
These tips will help.
- Video with Vinyl Tips
- Quick steps to create your HTV project
- Project created using HTV on the Scan N Cut
- HTV needs to be Mirrored
- Tips for buying HTV
- When using HTV which side goes down?
- Kiss-cut or half cut
- The test cut
- Tips on what to do if the test cut is not right
- Weeding your HTV
- What will HTV adhere to
- What heat settings to use for HTV
- Temperature and pressure recommendations from Siser
- A quick video on pressing with an iron
- More top tips for using HTV on the Siser site
- Video: HTV Tutorial – replacing a name with Heat Transfer Vinyl
- Find more tutorials on how to use your Scan N Cut
- Happy creating!!!
- Join me on facebook
Video with Vinyl Tips
I know many of you prefer watching a video. There is another video on layering vinyl lower in this tutorial.
This video has some tips in it, mainly on managing vinyl with some great tips on managing time and temperature for different brands and types of vinyl. The information does not replace most of the information in this tutorial.
Quick steps to create your HTV project
This is the short version you can use as a quick guide and if you read further along there are a lot of tips to help you. The links will take you to more information.
- Create or download a design for your project. OR use the free one in the Resource Library.
- Make sure that you mirror your design.
- Transfer it to your Scan N Cut if you created it in Canvas Workspace.
- Select the HTV for your project.
- Place the HTV on your Scan N Cut mat with the shiny side against the mat.
- Set your blade depth to do a “kiss cut” or half cut so that it only cuts through the top layer of the vinyl and not the carrier or backing sheet.
- I recommend that you do a test cut.
- If your test cut needs adjustment you can increase pressure to get a deeper cut or decrease pressure to reduce the depth. Blade depth can be adjusted on the CM model Scan N Cut machines.
- When you are happy with the test cut, commence cutting out your design.
- After cutting the design weed (remove) all the unwanted pieces from the HTV.
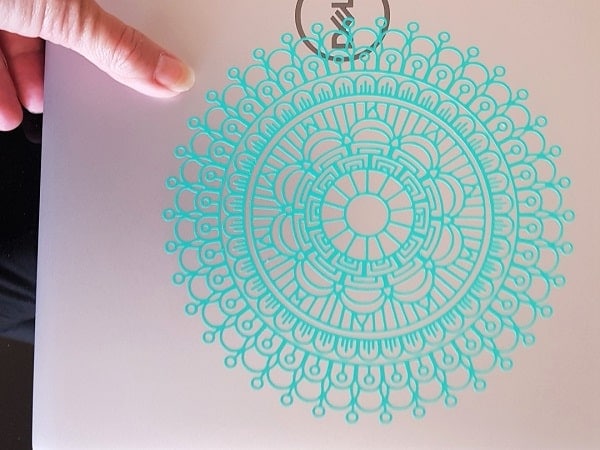
- If the design is complex like a Mandala, print a picture of the finished project and use it as a guide so you weed the correct pieces out.
- Use heat and pressure to adhere the HTV to your project. Follow the instructions suited to the HTV that you have purchased for the temperature and time required to heat the HTV. If you did not receive any information then a rough guide is 150Cdeg for about 15 seconds.
- Improved results can be achieved by heating your garment just prior to adding your HTV.
- Press down firmly – do not use an ironing motion.
- Test that the carrier sheet or backing sheet peels off the vinyl and that your design has bonded with the material you have chosen.
- If the vinyl has not adhered properly then increase the pressing time by a few seconds. Do not over-heat.
- When layering, make sure that none of the HTV touches the iron or heat press. You can use a Teflon sheet, baking paper or even a smooth tea towel to protect your project.
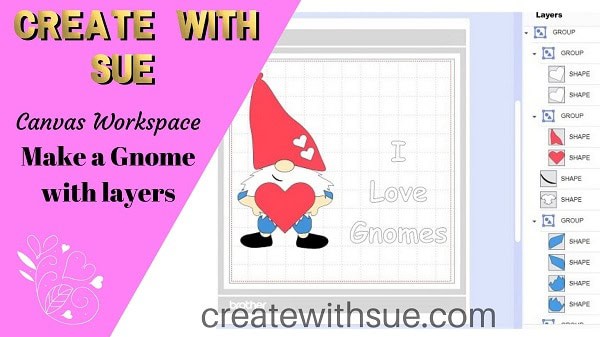
Project created using HTV on the Scan N Cut
This is a tutorial that goes over all the steps and also covers using the ‘Layers’ feature of Canvas Workspace. It includes two videos to help you further.
While the project is on making a cute Gnome t-shirt the steps are for ANY design. You don’t need to make this exact design if you would prefer something different. The Gnome is a free design from the Maggie Rose Design Co website.
HTV needs to be Mirrored
This is extremely important. One of the biggest differences when creating a design for HTV is that your design needs to be mirrored or flipped. Text is particularly an issue if you forget as it will end up backward on your design if you forget.
This has been the bain of many crafters, including very experienced crafters. That odd slip of the memory and whamo… the design is the wrong way around. There are lots of cute wording and designs to stick on your machine to help you remember.
Note: seasoned veterans still forget? so don’t beat yourself up!
TIP: Make sure you select ALL the items to be mirrored and then flip the design as one. Do not flip them separately as your design will not end up in the correct order.
You could group them if you wanted to prior to flipping or mirroring the design. I normally group most of my designs after I have finished modifying them as it is much easier to move them around if required.
Below is a mirrored or flipped design ready to cut out on the Scan N Cut. I recommended doing a test cut. The test cut is covered further along in the tutorial.
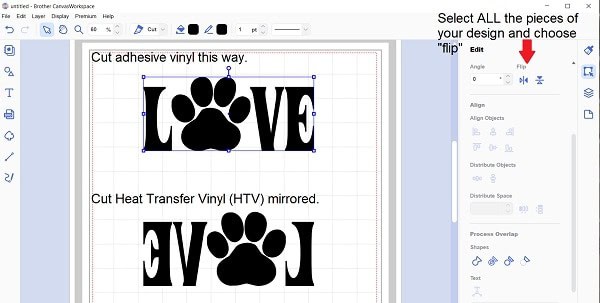
In the downloaded version of Canvas Workspace you will find the Flip in the Properties Panel on the right-hand side, second icon down – Edit.
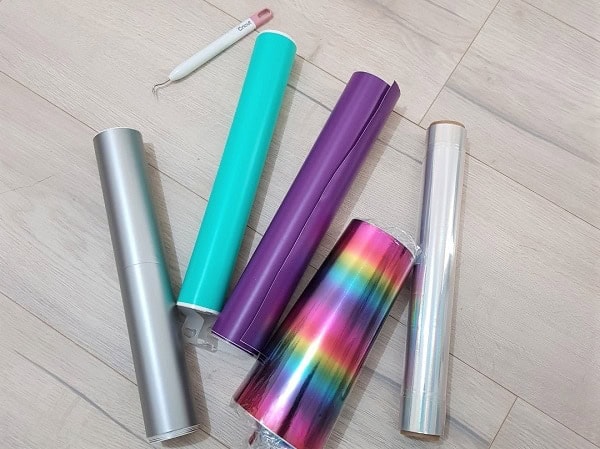
Tips for buying HTV
Not all HTV is the same – or easy to work with. Siser is a great brand and very popular amongst crafters. It comes in different types of HTV too, including Easyweed. While the Siser brand is highly recommend, don’t feel limited by this. There are many really nice HTV’s out there. Experiment a little.
Another tutorial which includes a information about vinyls and where to purchase is the Beginners Guide To Working With Vinyl.
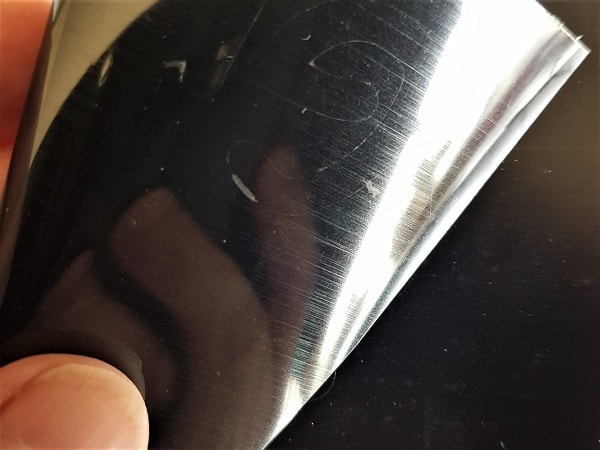
When using HTV which side goes down?
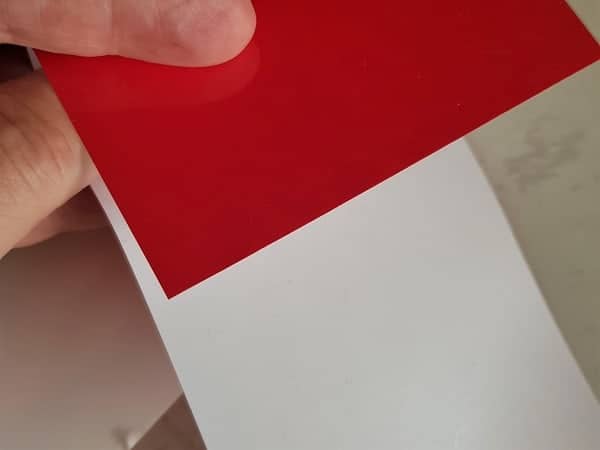
Vinyl has a backing attached to it. Adhesive vinyl has a papery backing and HTV has a plastic-type backing sheet often referred to as a carrier sheet.
The carrier sheet is the shiniest side of the HTV and is the side that is placed against the mat. It is usually a clear plastic that is relatively hard. Make sure that you don’t cut through the carrier sheet as it is designed to hold your design in place until you have heated the vinyl onto your project.
The HTV below has a white side and a red side. This piece of vinyl…the red is the shiny side and is placed against the mat and the white is the vinyl side that will be cut by your cutting machine.
The concept of which way HTV goes seems a little topsy turvy at first but this piece of vinyl is a great example to try to explain it. The plastic carrier sheet is covering the “nice side” of the vinyl…the side that once you have transferred it to your T-shirt or project and finished, is showing.
The white that you can see will be the side that is heated onto your project and also the side that you cut.
Tips to check if both sides of the HTV seems shiny
This happens sometimes and can make it quite difficult to work out which side is the HTV and which side is the carrier.
Here are some tips:
- Depending on color and brand of HTV the vinyl side is often the side that is duller or may look like it has scratch lines on it
- HTV is quite soft so the side that peels the easiest is the HTV. You can check it in a corner of the vinyl with your weeding tool by giving it a bit of a scratch or scrape.
- Another way is to try peeling it up at the corner, separating the carrier from the vinyl just a tad. I mostly use my weeding tool (the first suggestion) as it often takes me forever to manage to separate the two layers. You may have more success though and it is certainly a viable way.
- Once you locate the carrier side you can mark the carrier sheet with a texta or sticker so that you know which side is which without having any trouble next time you use it.
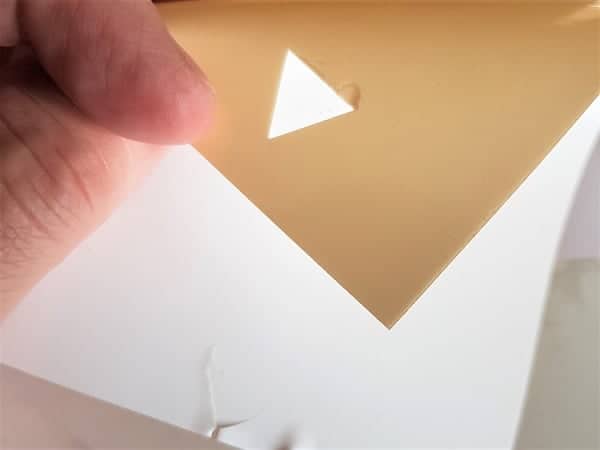
Kiss-cut or half cut
Vinyl, both HTV, and the normal adhesive vinyl need to only have the actual vinyl layer cut and not the backing paper or carrier sheet. This is what is called a Kiss Cut or on the new DX models, it is the Half Cut setting.
Ensure that you reduce the depth of the blade so that it only cuts through the vinyl layer and doesn’t go through the backing paper or carrier sheet.
The below picture is showing the shiny side of the carrier sheet. Looking closely you can see the cut lines peeking through of the design that has been cut in the vinyl side.
A full tutorial on using the Half Cut on the DX model is available if you need.
The test cut
This is a great feature built into the Scan N Cut.

I recommend doing a test cut prior to cutting the full design, this will reduce frustration and wasted vinyl. It is very easy to add the test shape on your Scan N Cut. You can move the test shape around the screen with your stylus and place it in a convenient location that doesn’t impact your project, is easy to access, and doesn’t waste too much vinyl.
I normally leave my mat in my machine when I check to see whether I am happy with the test cut. If it is too fiddly to remove the test shape while the mat is still in the machine then it wont cause an issue to unload the mat and reload when you are ready.
Tips on what to do if the test cut is not right
If you are happy with your test cut – excellent, you can continue to cut your design out.
There are a few things you can do if your test cut is not OK
Blade depth too deep
- If you have a CM model then reduce the number on your blade holder. Reduce in small increments and do another test cut once adjusted.
- Either DX or CM you can reduce your pressure. As the blade is an auto sensor blade in the DX range this is the way to go for you. Once again, reduce in small increments and test until you are happy with it.
Test cut hasn’t cut through vinyl properly
- CM models you can increase the depth of the blade, test until you are happy with it.
- Either DX or CM, increase the pressure until the test shape has cut through properly.
Vinyl tears or bunches
- Reducing the cut speed – this can help with the issue but there are a few other things to check too.
- Blade holder – make sure there is nothing stuck inside the holder or on the blade. This can be done by unscrewing the end cap and checking inside.
- Sticky blade – the blade collects stickiness from cutting vinyl, mainly the adhesive type, which causes it not to turn and cut as well as it normally would. This can be removed by poking the blade into a scrunched ball of alfoil about 30 or so times. Don’t stab yourself.
- Damaged or dull blade – handy to have a spare to swap out. To get a closer look at your blade you can use your camera on your phone and zoom right in.
- Vinyl not attached to the mat well enough. If the material that you are cutting is not attached to the mat well enough all sorts of strife occurs. The vinyl tearing can be one of them. Press the HTV down firmly onto your mat. Using a brayer will help you gain a good hold. You can also use masking or washi tape to help it stay down.
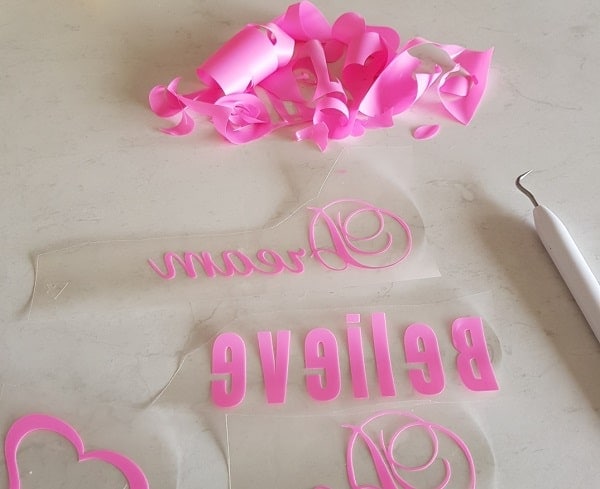
Weeding your HTV
Once you have cut out your design in HTV you need to weed or remove the unwanted pieces so that only your design remains on the carrier sheet.
Note that the writing looks back to front. This is so that when you press the design onto your project it will then be the correct way around. The soft vinyl ends up against your fabric.
Want to know more about weeding? Check out this tutorial for more information.
What will HTV adhere to
I often get asked what type of materials can you use HTV on? Well, depending on what HTV you are using, anything that you can apply a reasonable amount of heat and pressure without damaging it. This includes fabric, leather, wood, canvas, glass, coffee mugs…. even metal. If the project that you want to make will not melt then give it a try.
Here is a great post from Craftables where they test a wide variety of surfaces to see how well HTV works on them. Some great successes and a few failures.
What heat settings to use for HTV
Different HTV uses different heat settings. Often you will receive recommended settings when you purchase your HTV however unfortunately this is not always the case. As a rough guide around 150C for approx 15 seconds and then check to see if the vinyl will come away from the carrier sheet.
Remember it will be hot – I am always impatient and end up trying to lift while it is way to hot to handle.
Some HTV is what might be classified as “cold peel” which means it actually peels better once it has cooled properly.
Tips to keep track of settings.
- If you receive the temperature settings with your HTV that is great! Make sure you keep them. You could store it directly with the HTV or in a folder with a sample of your HTV or simply a notepad with a description.
- Another option is to write the information directly on a small section of the carrier sheet of the HTV with a permananent marker. (not on the actual HTV..on the carrier sheet only)
- Successful settings – once you have made a project with your HTV remember to jot the information down for next time. This will save you from having to work it out from scratch next time you use it.
TIP – the above works if you have HTV that has been difficult to decipher which side is the carrier sheet side. Mark the carrier sheet with a permanent marker for next time.
Temperature and pressure recommendations from Siser
Siser provide A LOT of information on how to use their products.
Celcius – Siser Reference Sheet with temperature and pressure recommendations.
Farenheit – Siser Reference Sheet with temperature and pressure recommendations.
A quick video on pressing with an iron
More top tips for using HTV on the Siser site
If you are keen to find out even more information on using HTV then check out the Siser site.
Here is the link to tips on the Siser site.
Video: HTV Tutorial – replacing a name with Heat Transfer Vinyl
In this tutorial, we’ll demonstrate how to remove the old HTV using an HTVRont mini press, design the new name in Canvas Workspace, create an offset for it to ensure precision, cut the vinyl name out with your Scan N Cut, weed the vinyl for clean lines, and finally, use an HTVRont Autopress to adhere the HTV onto the garment seamlessly.
Find more tutorials on how to use your Scan N Cut
Make sure that you browse around while you are here and I hope that you enjoy the website.
Happy creating!!!

Join me on facebook
Welcome to Create With Sue facebook where you can make friends, share your creations and ask questions for additional assistance.
Join me in the Scan N Cut – Let’s Create With Sue facebook group.
I would love to see you there.
Exploring the New Affinity Designer V3 — My First Impressions
Today we are exploring the new Affinity Designer V2 software which was released on October…
Cutting Cardstock: Tips for Better Results
Cutting cardstock with your ScanNCut can produce beautiful results, but sometimes you may notice issues…

Rejuvenate Old Jeans with HTV and Your ScanNCut
Embroidering Cardstock: A Creative Twist for Your Craft Projects
If you’re looking for something a little different to add to your cardmaking or papercraft…
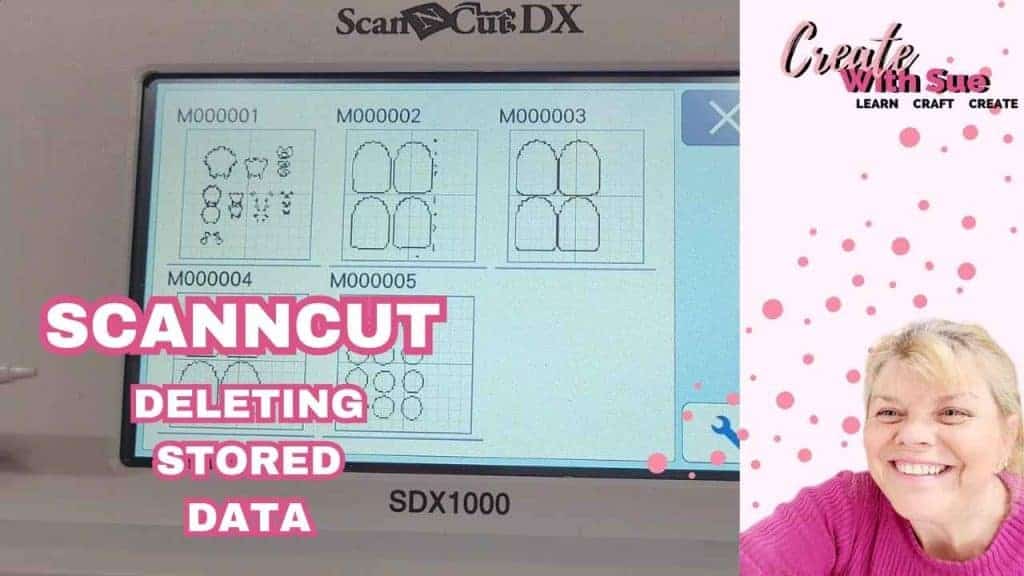
How to Delete Saved Files on Your ScanNCut


can you send me the link to get the downloaded version of canvas workspace. tia
If you go to this link you will see the option to download Canvas Workspace. It is the black button 🙂 https://canvasworkspace.brother.com/en