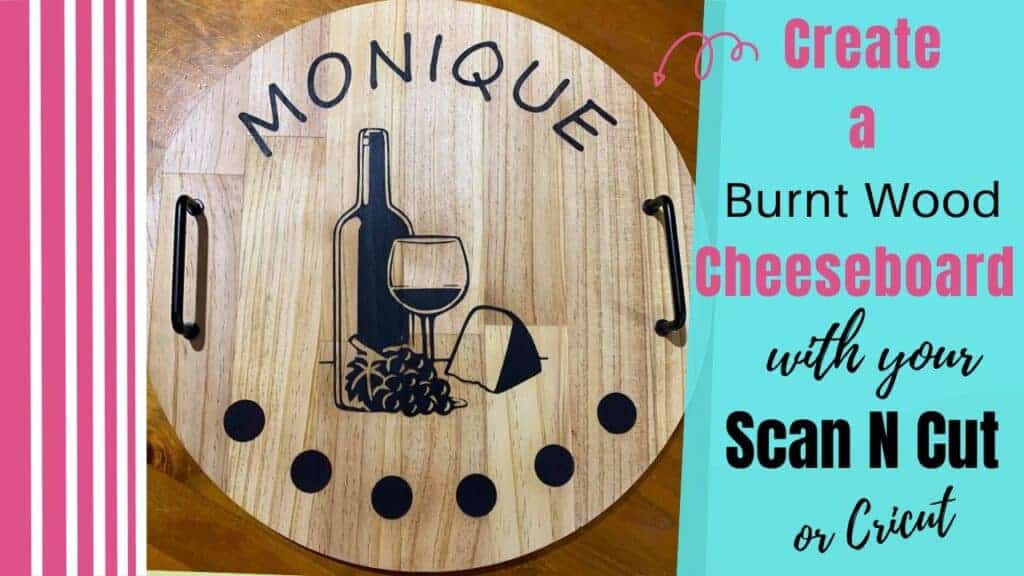
Have you thought to try wood burning using a stencil? This tutorial looks at creating a stencil using your Scan N Cut or a Cricut cutting machine and making an awesome cheeseboard using a wood burning technique.
Disclaimer: As an Amazon Associate, I earn from qualifying purchases. Links included in this tutorial may be affiliate links, Amazon or others, meaning I may earn a small commission at no additional cost. These commissions will help me continue creating content for you. Thank you for your support! Read my very boring full disclosure policy here.
My friend, Tamra, creates these awesome cheeseboards using this wood burning technique as gifts for birthdays, Christmas, weddings… all sorts of occasions. She has put floral designs on them, wine and cheese designs, and split designs with the family name. If you can think of an occasion she has probably created a wood burnt board for it.
Now, I am saying cheeseboard as that is how Tamra refers to them HOWEVER they certainly lend themselves to other uses. You could turn them into a Lazy Susan by adding a spinning base to them. Use them as a drink or food tray or simply as a really cool decoration on your table. I am certain you will think of more ideas for them. Post a comment below if you have a great idea.
I asked Tamra if she would mind providing the steps and filming them when she made her next board. I am super excited to say that she has put together a really great video for you. Thank you Tamra!
Let us look at how these really cool wood burning boards are made.
What do you need
- Vinyl for the stencil (any color)
- Transfer tape
- Wooden board for your project
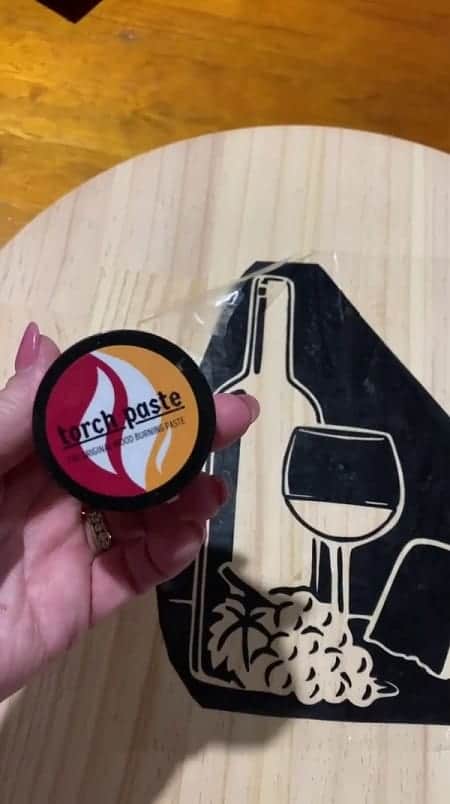
- Torch Paste for the wood burning technique
- Handles for your board
- Heat Gun
- Food-safe oil or wax
- Disposable gloves to protect your skin
- Squeegee or small spatula
Create your wood burning design
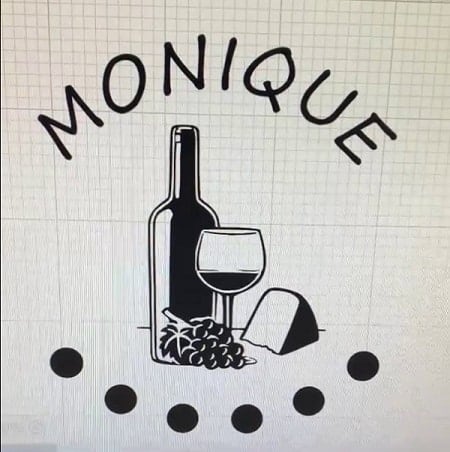
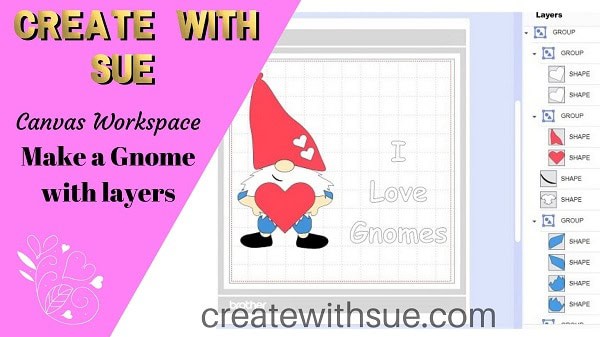
Below is the design that Tamra created. This is Cricut DesignSpace however designing a vinyl stencil is just as easy in Brother’s Canvas Workspace.
In Canvas Workspace, you use the Half Cut feature to vinyl. Here is more information if you need help with using this Scan N Cut feature.
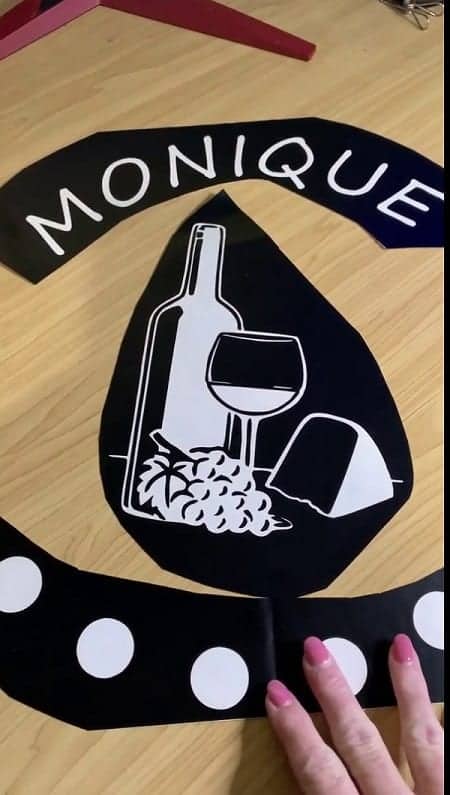
Weeding your wood burning stencil
Weeding the design is where creating a stencil differs from cutting vinyl for other projects like a decal or wall hanging. The design for a stencil needs to be weeded in reverse.
This means that you remove the areas of the design that you want to apply the wood burning technique to. For example, in the design above, you would remove all the areas that you want to be black and leave the vinyl in the areas that you would like the wood to show.
This basically protects the wood from the wood burning paste.
Below is the weeded design. You can see that the areas that are white are the opposite of the original design pictured above. If you need help with how to weed vinyl you can check out this tutorial.
Apply the vinyl stencil to your board
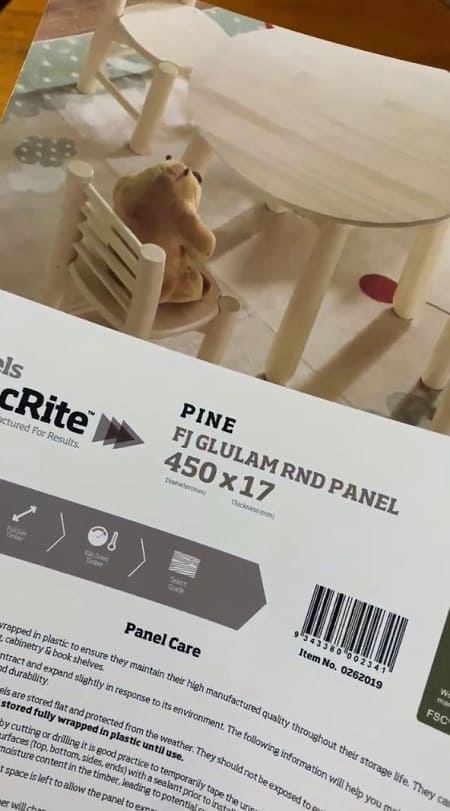
About the wooden board for your project
The wooden board Tamra has used looks like the one pictured below. The board is 450mm around and 17mm thick and is a lovely sturdy board and a great choice for a wood burning project. Bunnings in Australia had them quite cheaply. Make certain that you choose a board that hasn’t already been sealed or treated in any way as this will impact your finished results.
Apply your vinyl stencil to the board
Once you have finished weeding your stencil, apply transfer tape to the vinyl. Peel the paper backing from the vinyl and apply the design to your board. Once the stencil is firmly attached, peel the transfer tape from the stencil.
Weeding TIP:– When trying to lift the vinyl from the backing paper, I bend the backing paper back away from the vinyl as opposed to lifting the vinyl off the backing. Quite flat against itself. This method usually works even If the transfer sheet isn’t sticking overly well.
If it is reluctant to come away I will help to start it peeling with my nail. Be careful not to bend the edge cut line.
Press the vinyl stencil down firmly
Using a scraper or squeegee, press the vinyl stencil firmly down onto the board paying special attention to all the edges that will have the wood burning paste pushed against them. This will reduce the risk of the paste “bleeding” under the edge of the design and spoiling it. You are aiming to have crisp edges that will seal nicely against the wood to achieve a clean edge.

Tamra’s TIP: add masking or painter’s tape over any edges that are a bit thinner. This protects the board from paste inadvertently going over the edge and onto the board where you do not want the design.
Wood burning paste
Applying the wood burning paste is the next step. Tamra uses Torch Paste which is available at a number of places. If you are in the USA try Amazon. For Australians, we have located it on the Skatz Katz website. There may be other places that stock this brand too and of course, both of these websites will ship internationally.
The paste needs to be applied sparingly to the stenciled areas where you want the wood burnt design. You can use a smaller squeegee or scraper to apply the paste and make sure you wear protective gloves as a safety precaution. The small jar pictured goes a LONG way and will make many, many boards.
Press the paste onto the wood thoroughly.
Remember to apply sparingly as if it is too thick the paste, when heated, will bubble too much and end up crusting off and spreading over unwanted areas of your project.
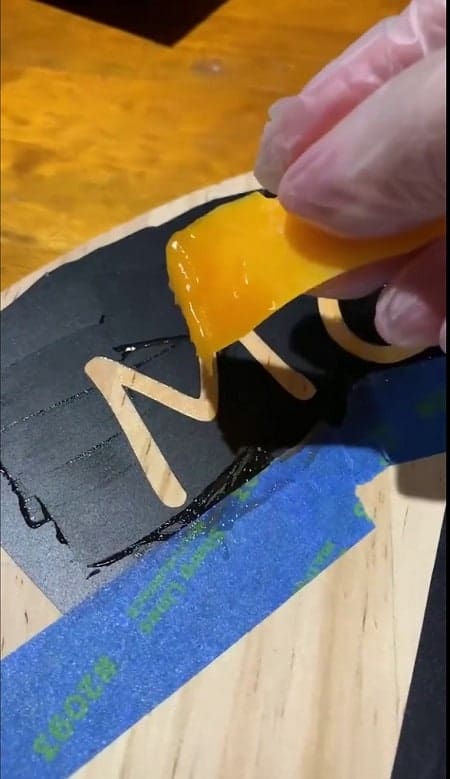
Tamra’s Tip: push the paste in all 4 directions in long sweeping-type movements. Work top to bottom, left to right, right to left and then crosswise from the four corners.
When you have completed an area, remove any excess paste and pop it over to use in another area of the design. This will help prevent the paste from forming thick black blobs during the heating process. As an added bonus, you won’t waste the paste.
When you have finished applying the paste, look over your design and wipe off any areas that may still have a little excess paste.
Dry for about an hour or so before you heat the paste. Drying time may be dependent on your climate. Tamra prefers not to create her boards if the weather is too cold.
Heating the Torche Paste
Using a heat gun, heat the Torche Paste until it darkens. Be careful not to overheat the wood as it may discolor or even warp the wood.
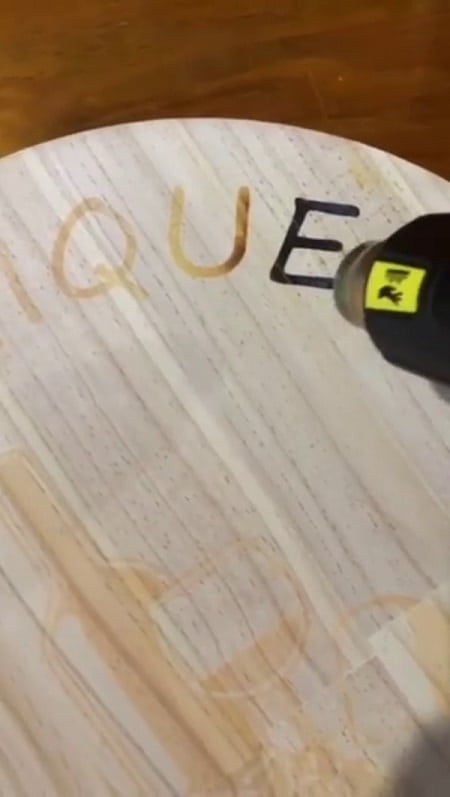
Tamra’s TIP: If your board warps, try dampening one side of the board and placing something heavy on it to help flatten it again.
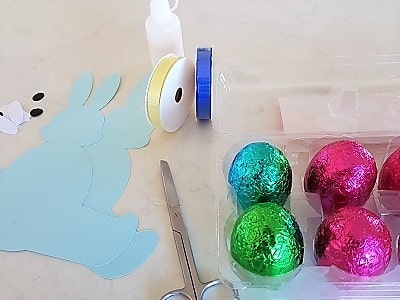
Drill holes for handles
Purchase the handles that you would like on your board and then drill holes to match them. Two black handles were used on this project and look similar to these ones. Choose a handle that feels comfortable in your hand when you pick the cheeseboard up, is sturdy, and looks stylish. These will finish your project nicely.
Oiling your project
The next stage of your project is to apply some kind of protection for the wood. For this project, a food safe oil was used called Bondall Monocel Timber Bench Oil. The easiest way to apply it is using a paintbrush. Tamra propped hers up on her washing trolley lol.
She can be very ingenious.
Alternative finishes could include a wax-type finish or even possibly a varnish.
Below you will see the wood burning project being oiled to give it a lush finish and protect the wood.
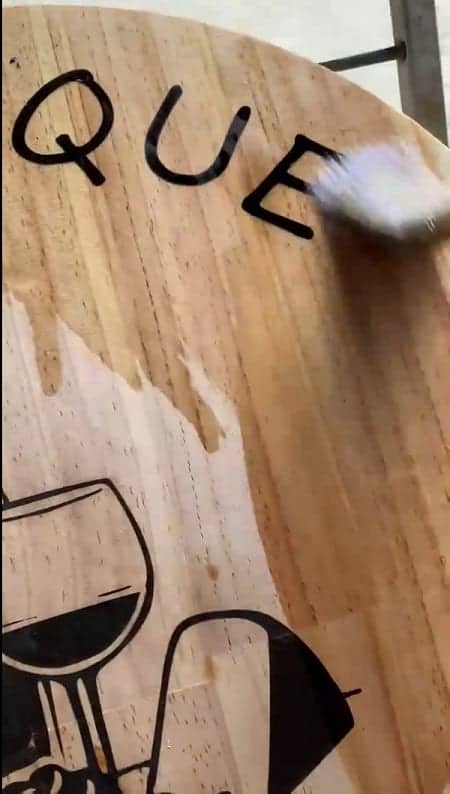
Allow the oil to dry.
Turn your project into a cheeseboard
Finally, add handles to turn this awesome project into a cheeseboard, food, or drink tray. Handles in this project are cupboard handles that are easy to hold onto. I found a huge range here to choose from. Black handles were chosen for this project which compliments the blackened wood burnt effect nicely.
Video Tutorial
Do you like to watch how to create projects on video? We have put together this video to assist you further.
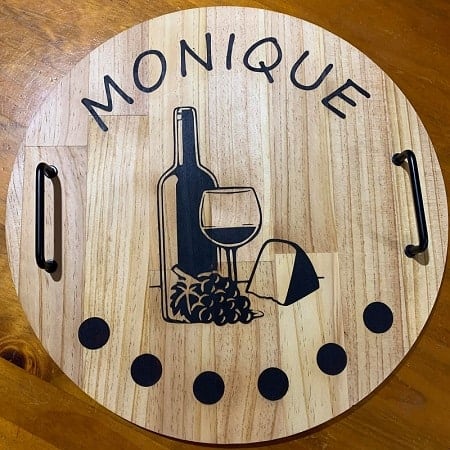
Wood burning using a stencil project finished results
Here is the finished wood burning project showing the wine and grapes design that was applied using the vinyl stencil technique. The black handles set the design off nicely.
You would have to agree that Tamra does a lovely job creating these awesome gifts.
I am certain you will have fun creating these unique boards and if you give them as a gift to a special person… they will absolutely love them.
Learn how to create your very own designs in Canvas Workspace

Like to learn how to use Canvas Workspace? More information can be found here!
*****Use the coupon code SPECIAL to get a further $20 off the bundled price*****
Happy creating.


I really enjoyed watching the tutorial on burning wood. The cheese tray is beautiful and a wonderful gift idea. thank you!
Hi Marian, I am pleased that you enjoyed it. My friend did a great job of the video and her cheese boards are awesome! Thanks for letting me know. 🙂
Why did you cut the pieces of the stencil apart rather than use them in place? Did you need to change their configuration on the board? Seems like I’d make much less of a mess if I didn’t cut them apart – and can they be reused?
Hi Karen, This stencil was created with adhesive vinyl. The way this was cut was the most economical use of the vinyl. You could certainly cut your design in one piece if it works for you better. There are no rules :-). Adhesive vinyl was used to ensure that a tight seal was created at the cut edges of the design. The edge was pressed down firmly to the board to reduce the risk of the torch paste bleeding under the edge. This is to enable a crisp edge. The vinyl remains on the board until the torch paste has dried and then removed. The benefit of using adhesive vinyl is that it will not move around the board until you are ready to remove it.
Heat is applied to the paste once the vinyl is removed to complete the torch paste process. You could use a reusable stencil if you can manage to create a crisp cut edge and ensure that the stencil does not move until dried. The adhesive vinyl in this instance was not re-useable. Sue 🙂