This ScanNCut Guide For Beginners tutorial is a great way to get you started. The Create With Sue website has many tutorials to help you learn to use your ScanNCut. PLUS a free course. Read on to learn much more….
- Introduction to the ScanNCut
- The first step with your ScanNCut
- Important Tips & Tricks before you start.
- Free ScanNCut Basics course
- Features of the ScanNCut
- DX Models of the ScanNCut
- Easy projects to start you off
- Free and easy projects in Canvas Workspace
- More free SVG designs
- Canvas Workspace Course
- Tools and accessories for your ScanNCut
- Helpful tutorials
- Working with vinyls – Guides for Beginners
- Making cards
- Cutting Fabric with your ScanNCut
- Join me on Facebook
- Recent Posts
- ScanNCut Guide for Beginners Pinterest Pins
Disclaimer: As an Amazon Associate, I earn from qualifying purchases. Links included in this tutorial may be affiliate links, Amazon or others, meaning I may earn a small commission at no additional cost. These commissions will help me continue creating content for you. Thank you for your support! Read my very boring full disclosure policy here.
Introduction to the ScanNCut
What is a ScanNCut?
Well, it is a cutting machine designed for crafters, offering the ability to cut various materials like paper, vinyl, fabric, and much more. It features built-in scanning capabilities, enabling users to create custom designs and cut them precisely. The ScanNCut simplifies projects like cardmaking, scrapbooking, Appliqué, and will manage many of your fussy cutting projects for you. It can label items and decorate clothing. Its versatility and ease of use make it ideal for beginners and advanced users alike. Projects that can be created are endless.
Are you still trying to work out which ScanNCut model you would like to purchase? Here is a Beginner’s Guide to purchasing a ScanNCut that may help remove some of the confusion for you.
The first step with your ScanNCut
The very first step with your ScanNCut is to get it out of the box! Yep… as Nike says… just do it! There is nothing to fear and if you make a mistake it is no biggy. Mistakes are only learning opportunities. Believe me, I still make LOTS!
I have three ScanNCut machines at the moment. Here is my unboxing video of my latest purchase. I was so excited to purchase it… you would have thought it was my first one.
If you have already been playing and creating with your ScanNCut, you will have already discovered how much fun your new cutting machine is AND how many different projects you can make with it.
Important Tips & Tricks before you start.
Here are a couple of quick tips before you start cutting with your new machine.
- Mat Stickiness: Ensure the mat isn’t overly sticky, especially for delicate materials. If needed, gently dab a clean, lint-free cloth over the mat to reduce stickiness. To restore stickiness again, use alcohol-free baby wipes—these wipes are great for cleaning the mat between projects as well. Materials like cardstock and fabric tend to leave residue behind, which can reduce the mat’s stickiness over time, potentially affecting future projects.
- Cardstock gets stuck on the mat: If your mat is too sticky and your cardstock sticks like glue to the mat, you may find part of your cardstock seriously stuck and left behind on the mat. This can cause concern for new ScanNCut users as it seems like that stuck card is never coming off. I have heard crafters ask if they need to throw away the mat. Nope, this isn’t an unsolvable problem (only a darn nuisance). You can simply rinse your mat under the tap or give it a quick soak in the bathtub and it will be as good as new.
- Mat Wear and Tear: Expect the mat to show scoring over time so don’t panic — this is quite normal and doesn’t affect its performance. Mat scoring will possibly occur even with your very first cut. Do not be concerned.
- Blade Settings: Adjust the blade depth according to the material; Use the test cut feature to check the depth of cut which, in the long run, will save you time and resources. I demonstrate how to do this in many of my ScanNCut tutorials.
- Cutting too Deep: If you decide that the blade is cutting too deeply the pressure can be adjusted. You will find the tutorial on how to do this here.
- Don’t Throw Your Mat Away: You will find many mat-related tips in this tutorial. It covers minor issues to major disasters. You don’t need to spend money continually purchasing new mats.
- Files your ScanNCut machine will use: The ScanNCut will import FCM (Brothers file format) and SVG which stands for Scalable Vector Graphic.
- Canvas Workspace supported files: Canvas Workspace will import FCM files, SVG files and will also support Tracing PNG, JPG, GIF and BMP which are all picture files. Here is a tutorial on using the Trace feature.
****You will find helpful tips and tricks in many of my tutorials.
Free ScanNCut Basics course
The ScanNCut Basics course is a great starter video course that covers how to use most of the ScanNCut features. The course will show you how to use your Scan N Cut in an easy-to-follow, logical order. Many of the tutorials were created on a CM900 model, which is a great model and has many features built into it. It also includes step-by-step instructions on the newer features of the DX models. You will find more information on how to enroll in the course here.
What if you have an older CM Model?
If you have an older CM model then this course is still ideal and it will show you how to do so much with your ScanNCut. The course has information demonstrated on both the SDX and CM range of Scan N Cut machines. A number of areas are the same with Brother being fairly consistent with the icons they have used across ALL the models.
Features of the ScanNCut
Did you know your ScanNCut has a LOT of features? These include:
- Add, duplicate, flip, and rotate shapes directly on the machine.
- Cut a wide variety of materials plus draw designs with precision.
- A Universal Pen Holder for non-Brother pens.
- Zoom in up to 200% or 400% for detailed adjustments.
- Add designs and text to projects with ease. Here is a tutorial for using built-in designs.
- Weld text and shapes for custom creations.
- Save and retrieve your projects directly on the machine.
- Scan images or drawings to create custom cut files.
- Use built-in designs and fonts or import your own via USB or Wi-Fi.
- Design in Free Canvas Workspace to edit and create your own personalizations
To find out more and enroll follow this link.
DX Models of the ScanNCut
If you have a DX model you will have added features. Many are included in the course however I have free tutorials on the website as well. Some are included in Project form and others as a tutorial on that feature
Here are some “How To” tutorials to get you started on how to use your Scan N Cut.

Brother Scan N Cut SDX1000 – I bought another one!

Using the Built-in Scan N Cut designs
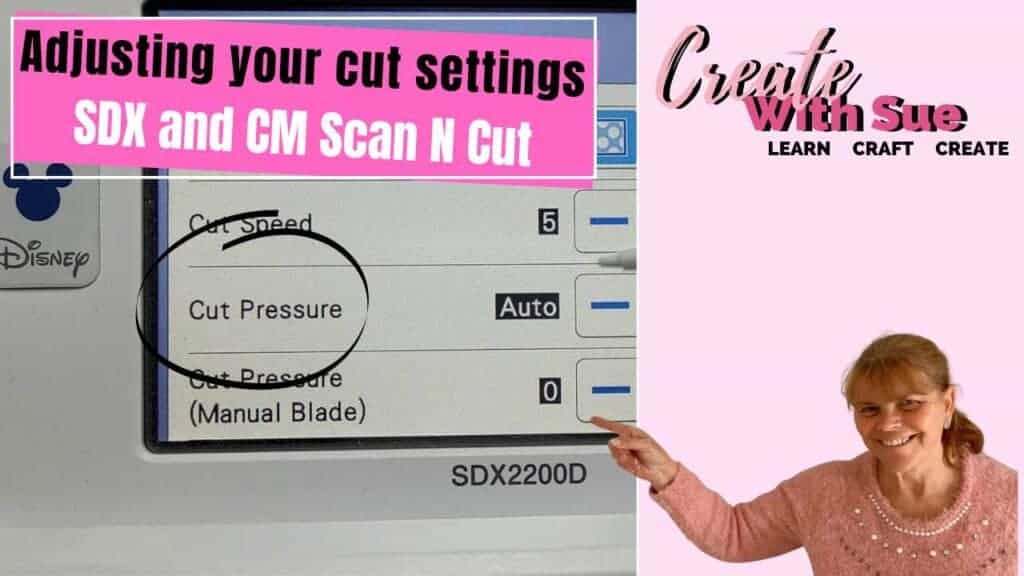
Adjusting the Cutting Depth on Your Scan N Cut

Artspira – Phone App For The Scan N Cut
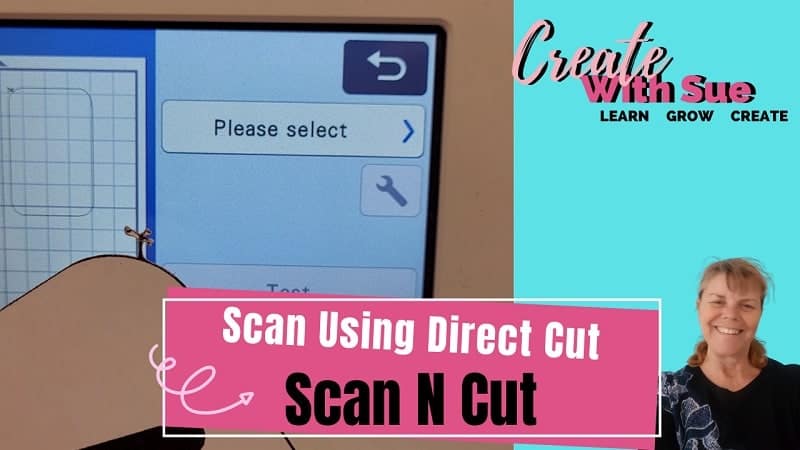
Scan With Direct Cut – ScanNCut

Update Your Software – Scan N Cut
Easy projects to start you off
Ideally, when you first start it is a good idea to do a couple of easy projects to build your confidence. You can start with the in-built designs in your machine OR some of the FREE projects in Canvas Workspace.
Canvas Workspace is the free software that Brother provides to create your own designs. There are two versions of Canvas Workspace. There is the online version which is quite good and then there is the downloaded version which is much more feature rich. It is certainly my choice for most projects.
Find out more about the two versions
Free and easy projects in Canvas Workspace
Yes… you read that correctly. There are FREE projects in Canvas Workspace and they are GREAT to get you started. The projects are ideal Scan N Cut beginner projects.
Brother includes the cut file to import into Canvas Workspace, a PDF with some instructions, and a short video tutorial on most designs. They are certainly worth checking out when you are looking for a project.
You are also not restricted to using the project “as is”. You can mix and match objects from the various projects to create your own, unique projects. This can be a lot of fun!

The above are some projects in Canvas Workspace that are aimed at Valentine’s Day. These are fun projects with instructions for a shaker card, cake topper, some cute boxes, and candy-shaped boxes just to mention a few.
NOTE: there is a search bar at the top to enter keywords so you are not doing the never-ending search. (mind you the continual scroll through all the designs takes you on a wondrous journey of inspiration)
More free SVG designs
You will find lots and lots of free designs. I have written a complete post listing a number of them… I possibly haven’t even scratched the surface of the free designs out there. Just remember, when you are first learning…. keep it simple.
Information with the really a big list of free SVG files is here
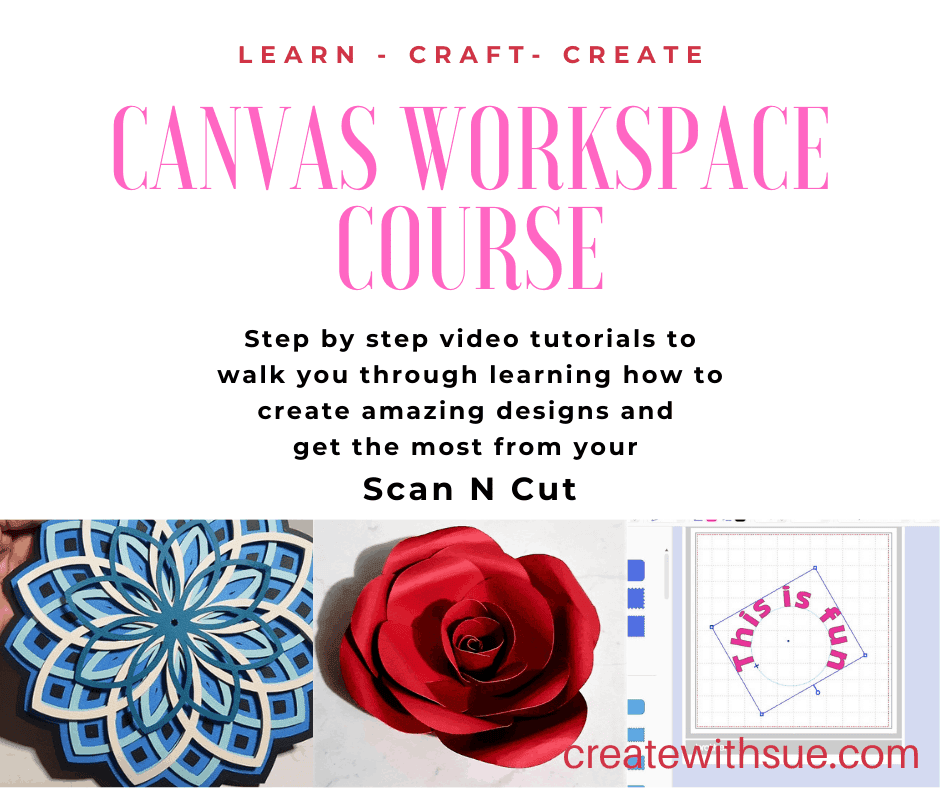
Canvas Workspace Course
Would you like to learn how to use Canvas Workspace?
While most of my tutorials are free, this one is a paid course called ‘Get Started With Canvas Workspace.‘ It guides you from beginner to pro through simple, easy-to-follow steps. It’s the perfect way to start your journey without the hassle of searching for tips and tricks on your own.
Tools and accessories for your ScanNCut
Tools, mats, pens, which ones fit, which do you really need… so many things to learn about.
I have tutorials on accessories that can be purchased plus various tutorials demonstrating how to install and use them with your ScanNCut.
Below are some examples of available accessories:
- Brother Universal Pen Holder
Allows the use of various pens for drawing and writing with the machine. Very handy! There is also a third-party tool called the 3DFunPrintz however at this time, the company is no longer selling them. - Vinyl Auto Blade Kit
Designed for precise cutting of vinyl materials, ideal for creating intricate projects. - Embossing Kit
Create raised designs on paper and other materials for a textured effect. You can also use it for scoring fold lines on cardstock. See here for the tutorial. - Foiling Kit
Apply foil accents to your crafts for a metallic finish. You are able to purchase the Brother Foiling kit which is a cold foil technique or a WRMK hot foil tool for hot foiling projects. Foil adds WOW factor to your projects. I have a few foil tutorials on the site. Check them out. This tutorial will compare the two I have suggested (I have both). - Calligraphy Kit
Incorporate beautiful calligraphy into your projects with specialized pens and tools. This personally, is my least favorite addition, though many other crafters seem to like it. - Paper Piercing Kit
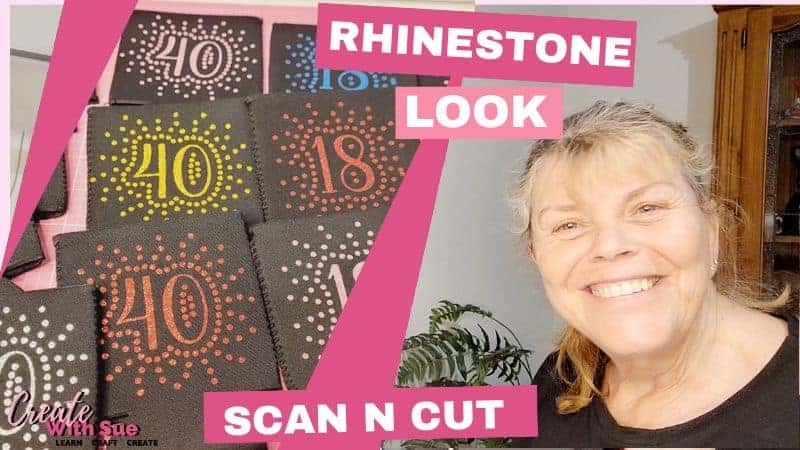
Add intricate pierced designs to paper crafts for a delicate touch. This tool can create a really nice effect on cardstock and papercraft projects. - Rhinestone Kit
Create sparkling designs by adding rhinestones to your projects. I really love this kit however, Brother appears to have stopped supplying it to vendors. It is very hard to locate, if at all.
There are quite a few more that can be purchased. Note: Some accessories are for the SDX models only.
You can find more about the various tools that are available for your Scan N Cut here
Mats
Mats are probably the most troublesome item. You need to make sure that you purchase the correct ones for your machine.
Basically, the CM mats work in all the CM range of ScanNCut machines and the DX mats work in the DX range of machines
BUT
They are NOT interchangeable
It can also be a bit confusing to determine which mat suits which range when you’re shopping for ScanNCut mats. Below are some quick tips to help.
Brother has NOT been helpful in this area with the mats looking very similar to new users.
There is a tutorial that shows you how to identify the difference between the mats. There are a few easy to spot differences. I see so many people purchase the incorrect mats it is certainly worth working out which ones you need BEFORE you go to buy them.
Keeping your mats clean is another very important thing to do. You can use alcohol-free baby wipes after you use your mat to help keep it clear of all the fluffy bits that can be left stuck to it after cutting your designs. I must confess I don’t always do it after each use however I aim to give them a wipe down very regularly as it really does make a big difference.
AAHHH, and before I forget and you have a very common mini-panic, the blade on your ScanNCut WILL score your nice new shiny mat as it cuts out your designs. Sad but true! It usually leaves light scratches/score marks in the shape that it has just cut. Do not be concerned!
Helpful tutorials
To help you along, I have created a few tutorials that cover a number of the main pain points. While I have listed a few, don’t forget to browse the site as there are many more. Even the projects have a LOT of information included on how to use your machine or Canvas Workspace.
- How to tell the mats apart, there are a couple of easy tips to remember
- How to clean and restick your mat to get the most wear out of it (cause let’s face it, they are not that cheap to buy!)
- How to stop materials moving around on the mat. If they are not stuck down well, there is a strong risk that your materials will move during the cutting process and your project will fail.
Working with vinyls – Guides for Beginners
Using vinyl, both Heat Transfer Vinyl (HTV) and the adhesive back vinyl is GREAT fun! I love both and they are usually fairly easy to cut for beginners.
So many projects are at your fingertips. To get you started with vinyl, you will find some really handy tutorials on the site. This Top Tips for Using HTV tutorial is a good starter for Heat Transfer Vinyl projects. There are more…….

Rejuvenate Old Jeans with HTV and Your ScanNCut
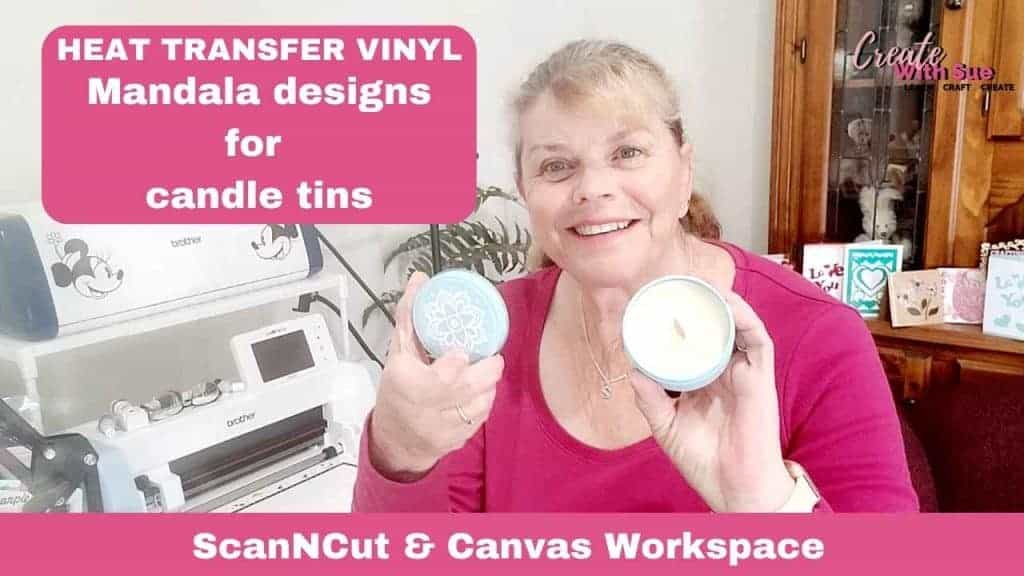
ScanNCut Vinyl Cutting Tutorial – Mandala HTV Candle Project
How to Create Stunning HTV Can Koozies

Personalizing Mugs With Vinyl – Scan N Cut
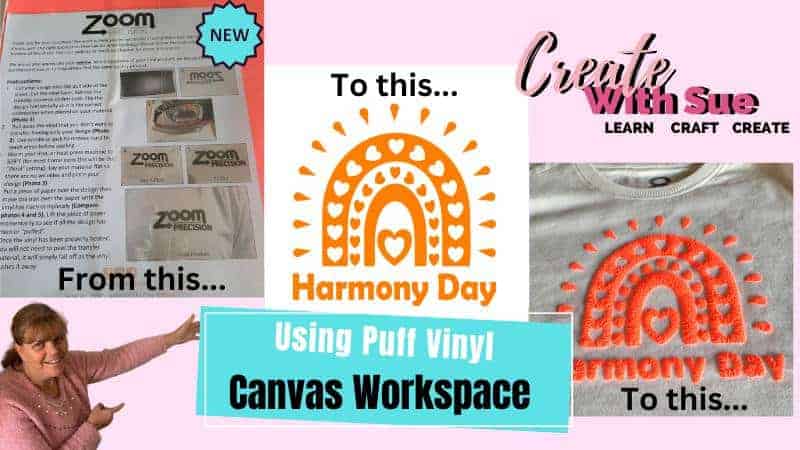
Zoom 3D Puff HTV – Tips for best results
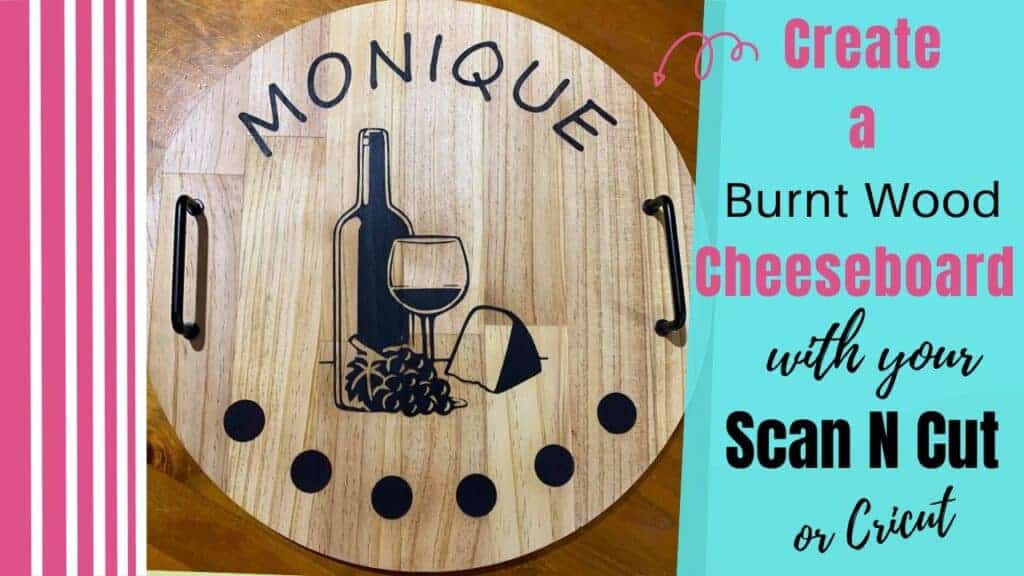
Wood Burning Using a Stencil – Scan N Cut

Vintage T-Shirt – HTV

Tips to fix vinyl mistakes

Easy Coasters With Your Scan N Cut

HTV Onesie – Scan N Cut

Vinyl T-Shirt Design – Scan N Cut
Making cards
I really like making cards however, the funny thing is this is a new phenomenon for me. I have never been much of a fan of cards, either buying OR making them. This was until I purchased my first ScanNCut. Lo and behold… a sharp change occurred and today is a different story.
There are so many unique card designs, from pop-up cards, flip-out cards, cut-out cards, concertina cards, tri-fold cards, box cards, 3D cards, and one of my favorites, the name card.
There are of course many many more and I am slowly working my way through them all. LOL
These projects are ideal Scan N Cut tutorials for beginners.

Make A Step Card ~ Scan N Cut

Make a Mandala Christmas Tree Card with the ScanNCut

How to Make a Concertina Card
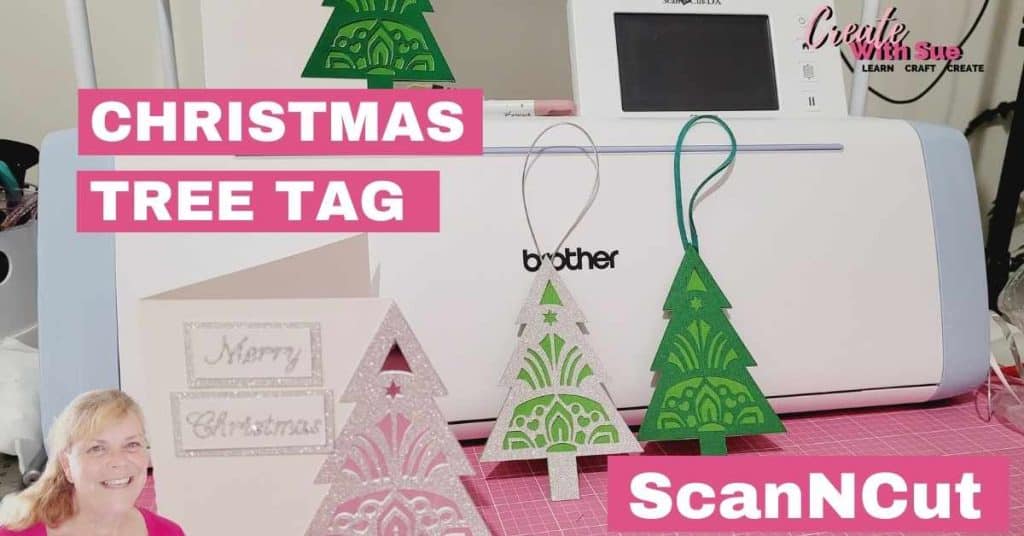
Christmas Tree Tag with your ScanNCut

3D Flower Tri-Fold Card – Create it!

Mandala Bell Tag Tutorial with Scan N Cut – Weddings – Christmas
Cutting Fabric with your ScanNCut
Stabilizing your fabric before cutting it is imperative for a good cut. This can be achieved in a few ways.
For tips check out this tutorial on “How to cut fabric with your ScanNCut”. You will also find an Applique series that will guide you through creating Applique projects.

Join me on Facebook
Join me in the ScanNCut – Let’s Create With Sue Facebook group. It is a group of awesome craft friends sharing and caring.
I would love to see you there.
Please feel free to ask any questions that you need.
Happy creating


Recent Posts
- Exploring the New Affinity Designer V3 — My First Impressions
- Cutting Cardstock: Tips for Better Results
- Rejuvenate Old Jeans with HTV and Your ScanNCut
- Embroidering Cardstock: A Creative Twist for Your Craft Projects
- How to Delete Saved Files on Your ScanNCut
ScanNCut Guide for Beginners Pinterest Pins
If you liked this ScanNCut Guide for Beginners why don’t you share it so others benefit as well. Thanks 🙂
PIN IT !
PIN IT !


I have had 10 brain surgeries and last one caused a massive stroke. My cousin said not to buy a SNC cause I would never be able to use it. I made my Christmas cards with it the first year. Granted l need more lessons, but l don’t give up. My brain is the problem not my heart.
Goodness Charlene, what a terrible journey. I am so pleased that you still have a positive outlook and persevered and continued with your goal of getting a Scan N Cut. How wonderful to have made your Christmas cards this year. Very, very special. There is always something to learn for all of us, just take it step by step. If you have any questions please ask. Are you on Facebook and able to join our group? I would love to see some of your cards. Sue
Sue, I have searched and searched but can’t find the answer to my question. I’m hoping you might know…can I design something in Cricut Design Space but then send the project to my Brother Scan and Cut? (I don’t currently have a Cricut machine.)
I can save the project in Cricut DS but don’t know where it is saving the file “for offline use” on my PC. It seems-at least to me-that Cricut DS is easier to use than Canvas Workspace.
Thank you for any info you can provide.
I would not recommend creating your designs in Design Space for your Scan N Cut. One reason in particular is that the format sizing is different. Cricut DS uses 72 dpi and the Scan N Cut uses 96 dpi. Every design that you create will need adjustment to get the sizing correct which will be frustrating. There are other software programs out there that are very easy to use. Sure Cuts a Lot is one you could look into.
Which version of Canvas Workspace have you been using? There are two versions, an online and also the downloaded version. The online version is the most simplistic and easy to use albeit very basic lacking the features of the downloaded version.
Here is the link that provides info on the two versions. https://www.createwithsue.com/which-canvas-workspace/
Your designs that you have downloaded from Cricut DS are located in the file area User >your username >cricut-design-space >LocalData >12345(some numbers) >images and then you will see your numbered folders with your designs in. There is a preview PNG option which could be Traced in Canvas Workspace if you needed the design. The other files in these folders will only open in Design Space.
Thank you so much Sue! I tried to find out about using DS for the ScanNCut but couldn’t find any info. You saved me a bunch of $$ as I was ready to buy a Cricut machine!
I am using the Workspace app on Windows but it seemed that DS has some awesome features that Workspace doesn’t have.
I will check into Sure Cuts A Lot.
Thank you for the excellent info.
Peg
You are very welcome. 🙂